|
Hey there!! I've been hard at work on the office bookcases and I'm just thrilled with them! I'm so close to done, but still have a good week of work till they are ready to reveal.
This post about the lighting I picked for the built ins. If you remember, last time I did this (years ago in our old house), it took me forEVER to find the lights I wanted. I finally went with outdoor lights because everything else was crazy expensive: 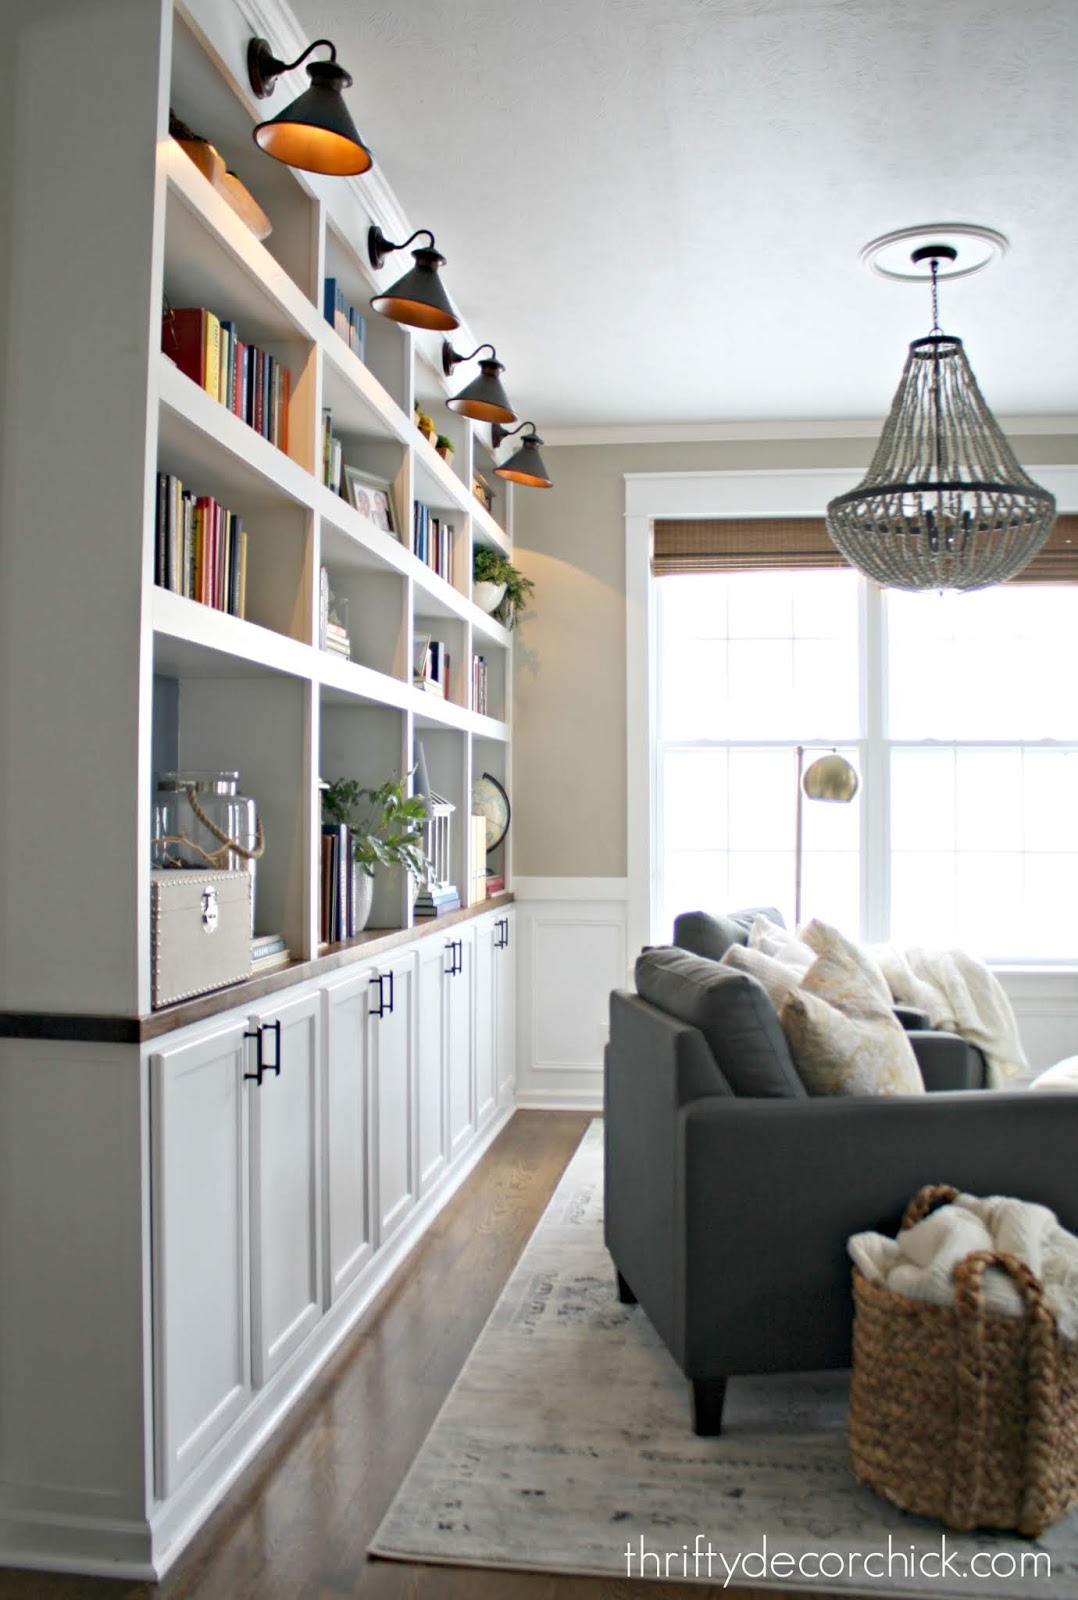
They worked perfectly!
Thankfully now that sconces have become more popular, they are much more affordable. There are a ton more options now too.
This post may contain affiliate links for your convenience.
See my policies and disclosure page for more information.
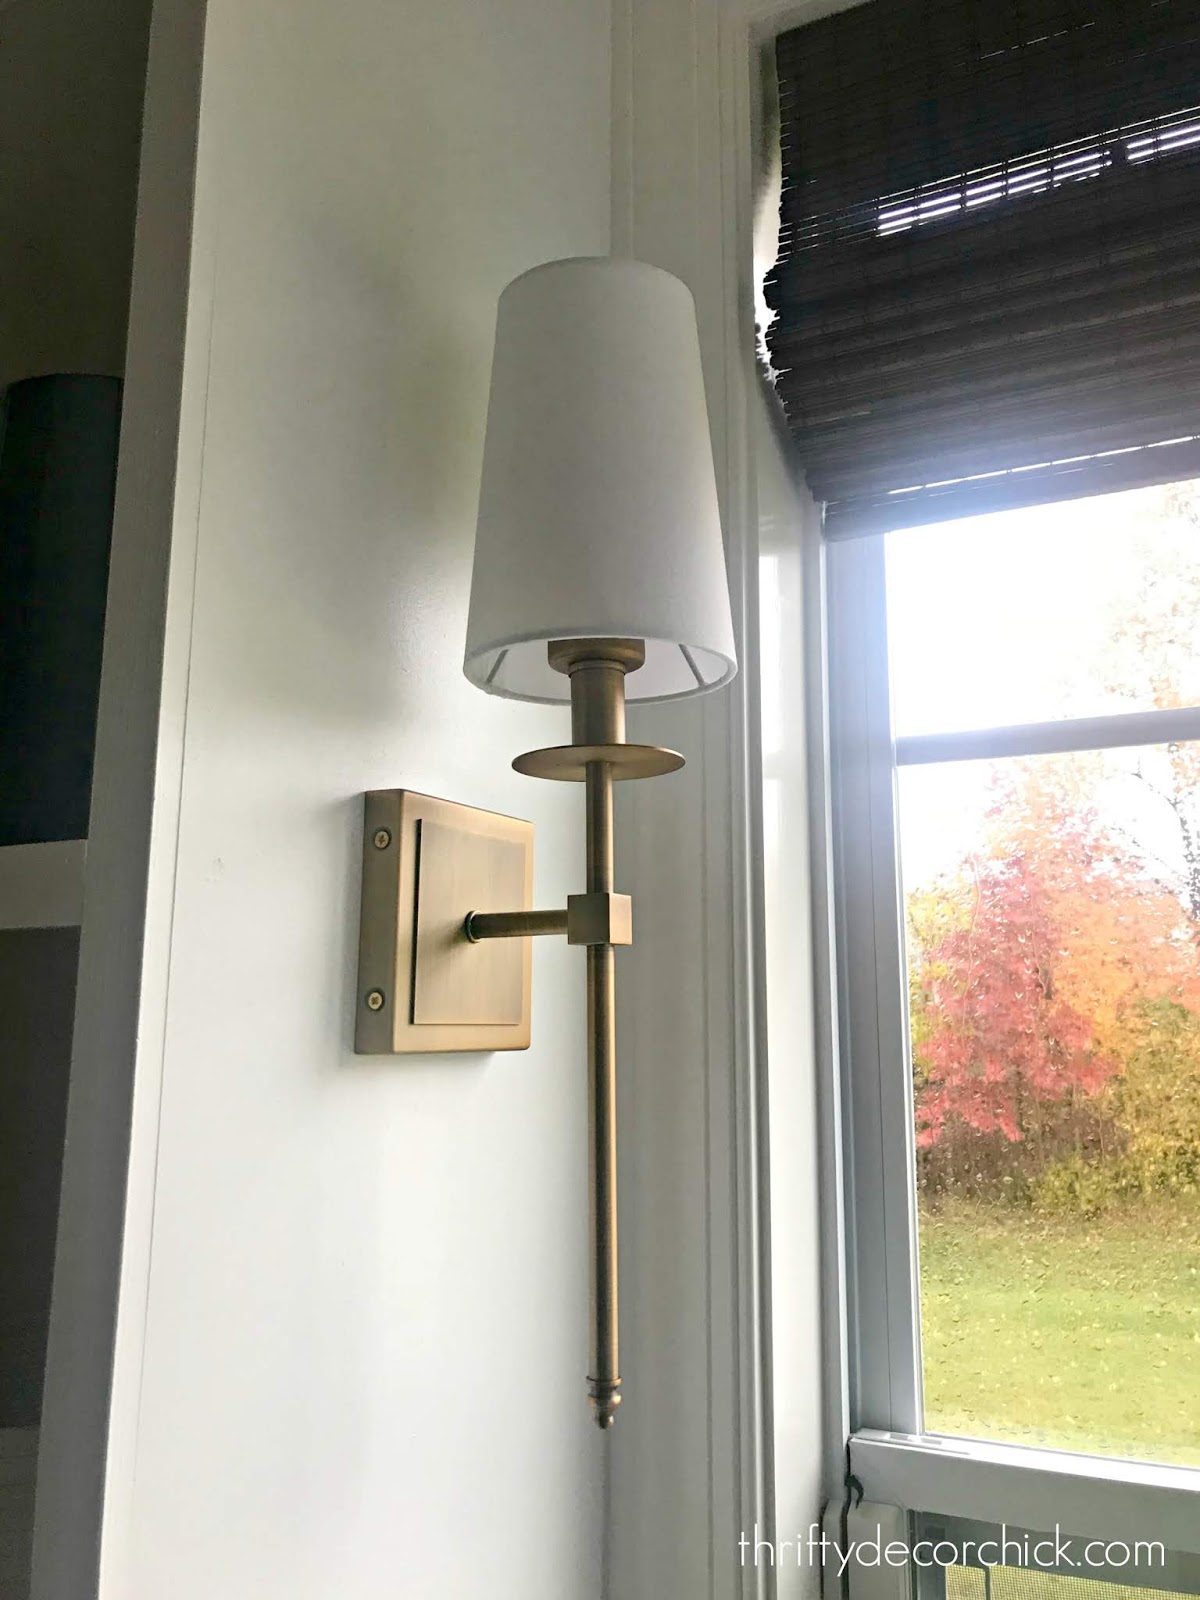
I found a brass and black sconce I love that I've used before -- you can see it here in our mud/laundry room:

I used this little hack on that light too! You can find the black sconces here (affiliate) -- they are crazy affordable and you get two in the order.
Last time I built bookcases, I had electrical run to the lights to the header. This time, because I know of this lighting trick...I didn't pay for that part. There are pros and cons to this trick so stay tuned for those!
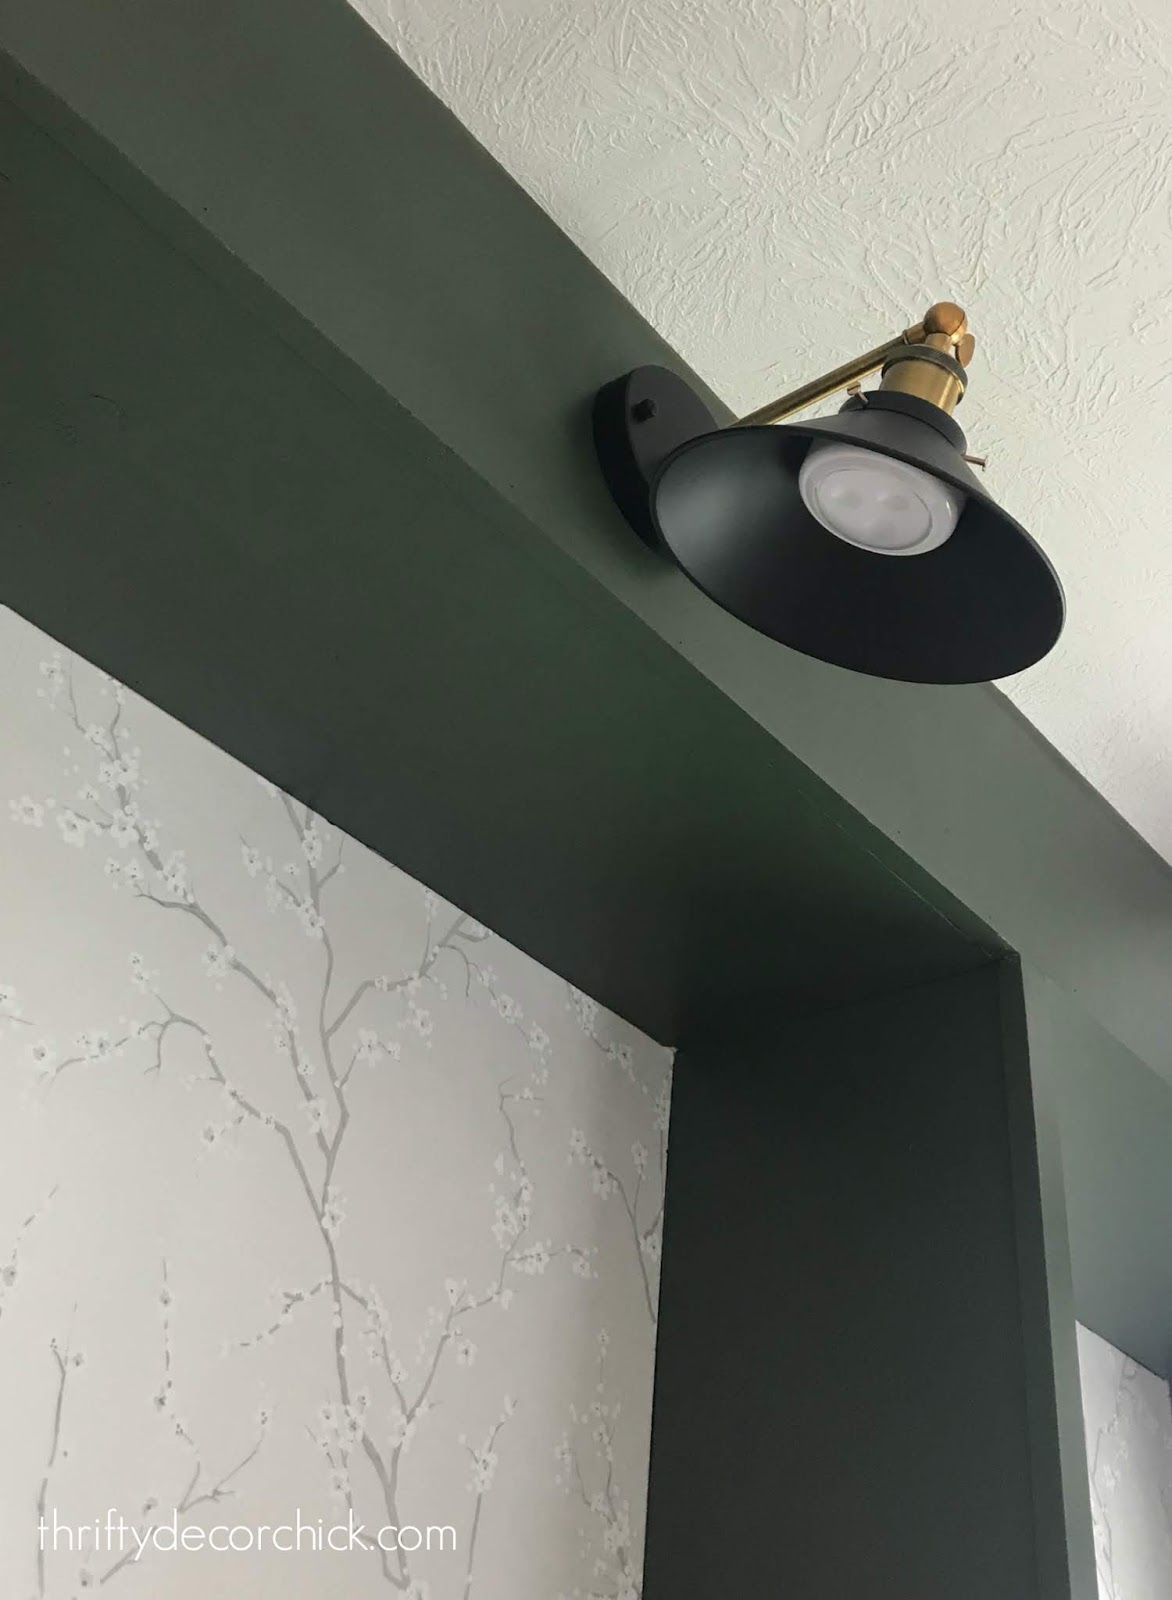
The trick is using these puck lights inside the fixtures:

I used this little hack in our dining area as well -- it's a way to add soft lighting without running electrical:
It would have been really difficult to wire them on these skinny shelves, so this trick worked great! Make sure to check out the post above to see how I made those specific sconces work and where I found this great idea!
This time, I needed to secure them to the sconce because it was facing down. The first thing you'll need is is this 24 gauge wire:

The sconces have a part inside that has a small hole. I ran the wire through that:


When it's secure, twist the puck light (with batteries) back on:

And that's it! I use the bracket that comes with the light to hang -- just screw it into the wall and hang your light:
They look GREAT! I wanted something simple that I could aim toward the shelves, and these work perfectly.
As you can see here, I angled them so you can't see the light unless you're right under them. The scones have adjustable arms:

Check out this post to see the steps of the DIY bookcases so far! Don't they look great with just the supports and header painted? I'm so close people! :)
I almost forgot to mention, that little remote in the photo above allows you to operate these without touching them. It has a timer and dimmer option which is great. The timer is key because when I've used puck lighting in the past, we would turn them on and ALWAYS forget to turn them off. The battery ran out quickly because of that. I purchased another puck light remote for this room.
Like I said before, there are pros and cons to these:
Pros
Cons
For me, the convenience far outweighs the cons. If I have an outlet below (to run wiring) and an good spot for a light switch nearby, I'll still opt for having it wired. But this is a great option for bigger projects like this. Have you tried this lighting hack? It's a fun idea right? See more of our home here. To shop items in our home, click here! Never miss a post by signing up to get posts via email. Via https://www.thriftydecorchick.com/2019/07/how-to-add-light-fixture-anywhere.html
0 Comments
Leave a Reply. |
