Building custom counter-to-ceiling shelving in the basement kitchenette.
This is the last project I recently finished up in our basement kitchenette project -- it added so much character and function to this space!
I've been building this room from scratch for the past few months, and this was one of the fun DIYs that really made the whole space feel finished and so custom!
If you'd like to catch up, you can see a comparison of big box store cabinets and why I chose the unassembled option, our LVP flooring and some installation tips, and the butcher block countertop, sink and faucet installation.
When we left this room last, I had installed the DIY faux brass gallery rail on the picture ledge above the sink:

This post may contain affiliate links for your convenience.
I may earn a small commission when you make a purchase through links.
See my policies and disclosure page for more information.
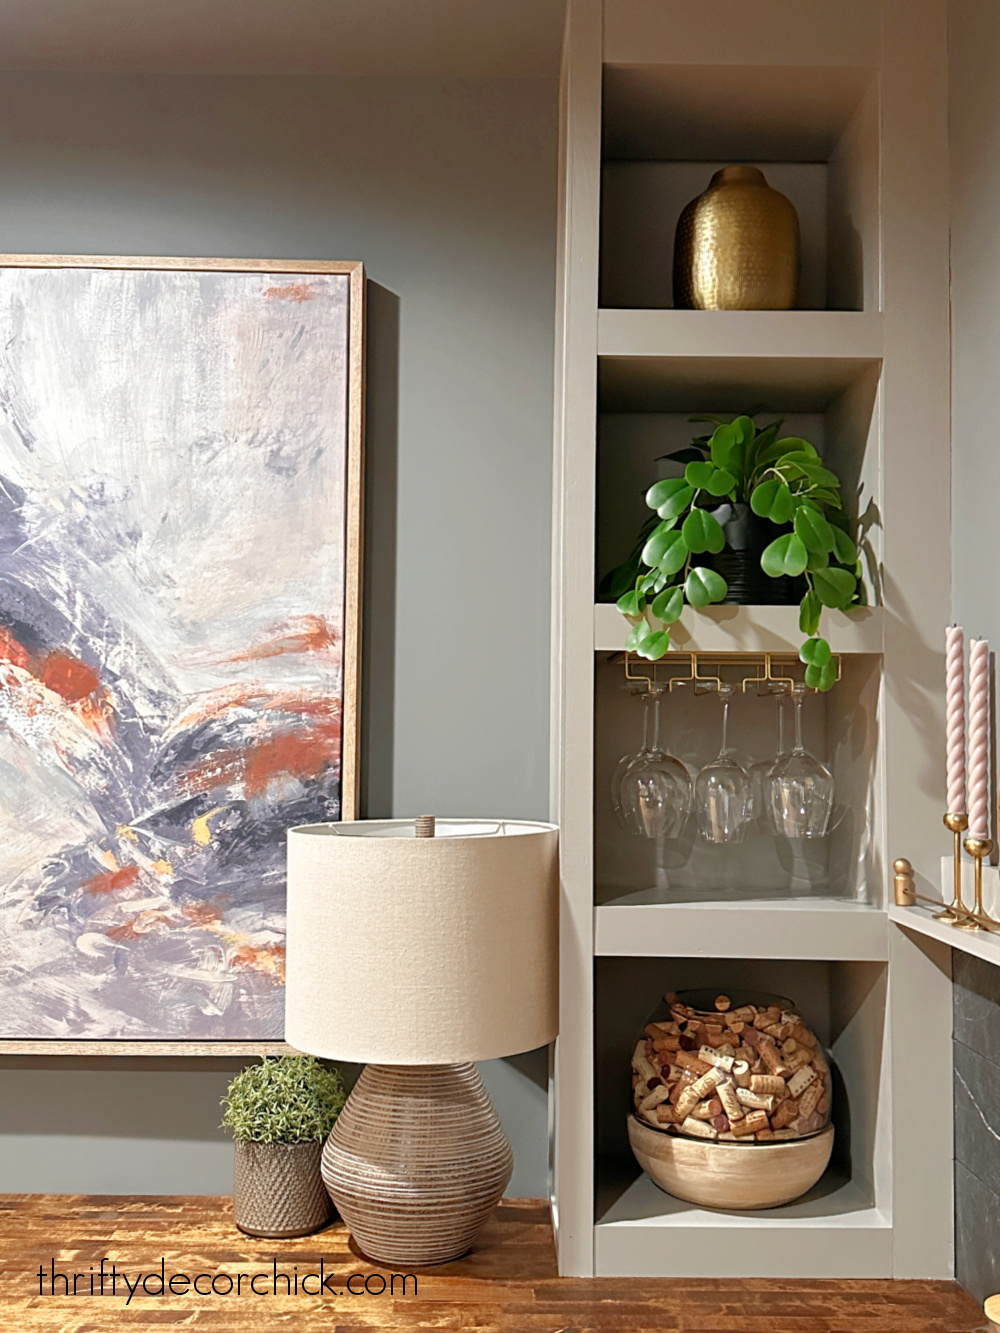
What you didn't see was that I stopped the ledge and tile about a foot from the corner on the left side of the room:
I had big plans for that spot!
We didn't install any upper cabinets on that left wall because I didn't want to close in the room too much. We don't need a ton of storage anyway, so I figured doing something fun (but still functional) would be a better use of the space.
I've always had a curved arch detail in mind for this wall, and toyed around with a few ideas over the past few months. I figured the easiest way to implement something like that was to build something tall on both sides so I could add the arch in between.
Our new counter to ceiling built ins were the perfect solution!
I wanted the picture ledge I built over the tile to butt up right against the shelving, so I had to build out this corner unit a bit. I made an "L" with two pieces of wood and secure one side against the wall:

The 1x3 board along the front is the decorative trim that the ledge runs into.
I nailed in scrap wood in the left corner so the 1x12 that became the side of these countertop bookcases could be nailed into those on one side and some scrap I placed behind the 1x3 on the other:

These projects are always like a puzzle for me. I enjoy figuring out how to make them work, but that's most likely not how a professional would do it!
And that is OK! Don't let that stop you from trying similar projects in your own home. It will come out just fine in the end with the proper finishing touches.
From that point I started building these built in shelves like I do all of my bookcase shelves. Check out our dining room window seat bookcases to see how I build the shelving part of these built in shelving units.
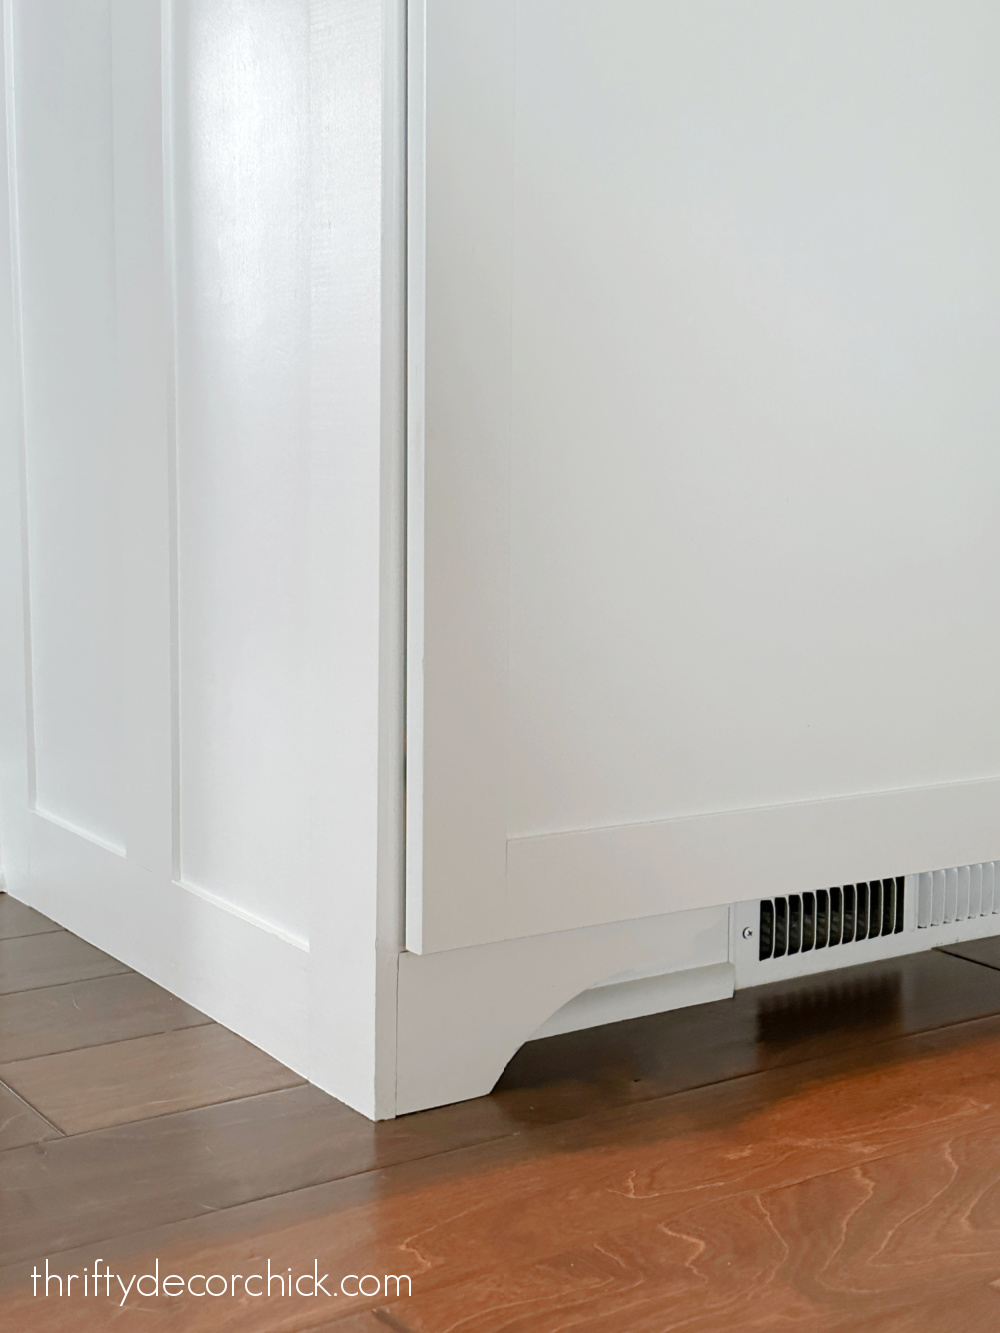
When the two sides and shelves were up, I installed some 1x2 select pine trim from top to bottom with a nail gun and then 1x3s along the front to finish off the shelves.
Once the nail holes are filled and corners are caulked, they're ready for paint. Those are the most time consuming parts but make all the difference!:

I found those gold wine glass holders on Amazon -- they're super easy to attach under the shelves.
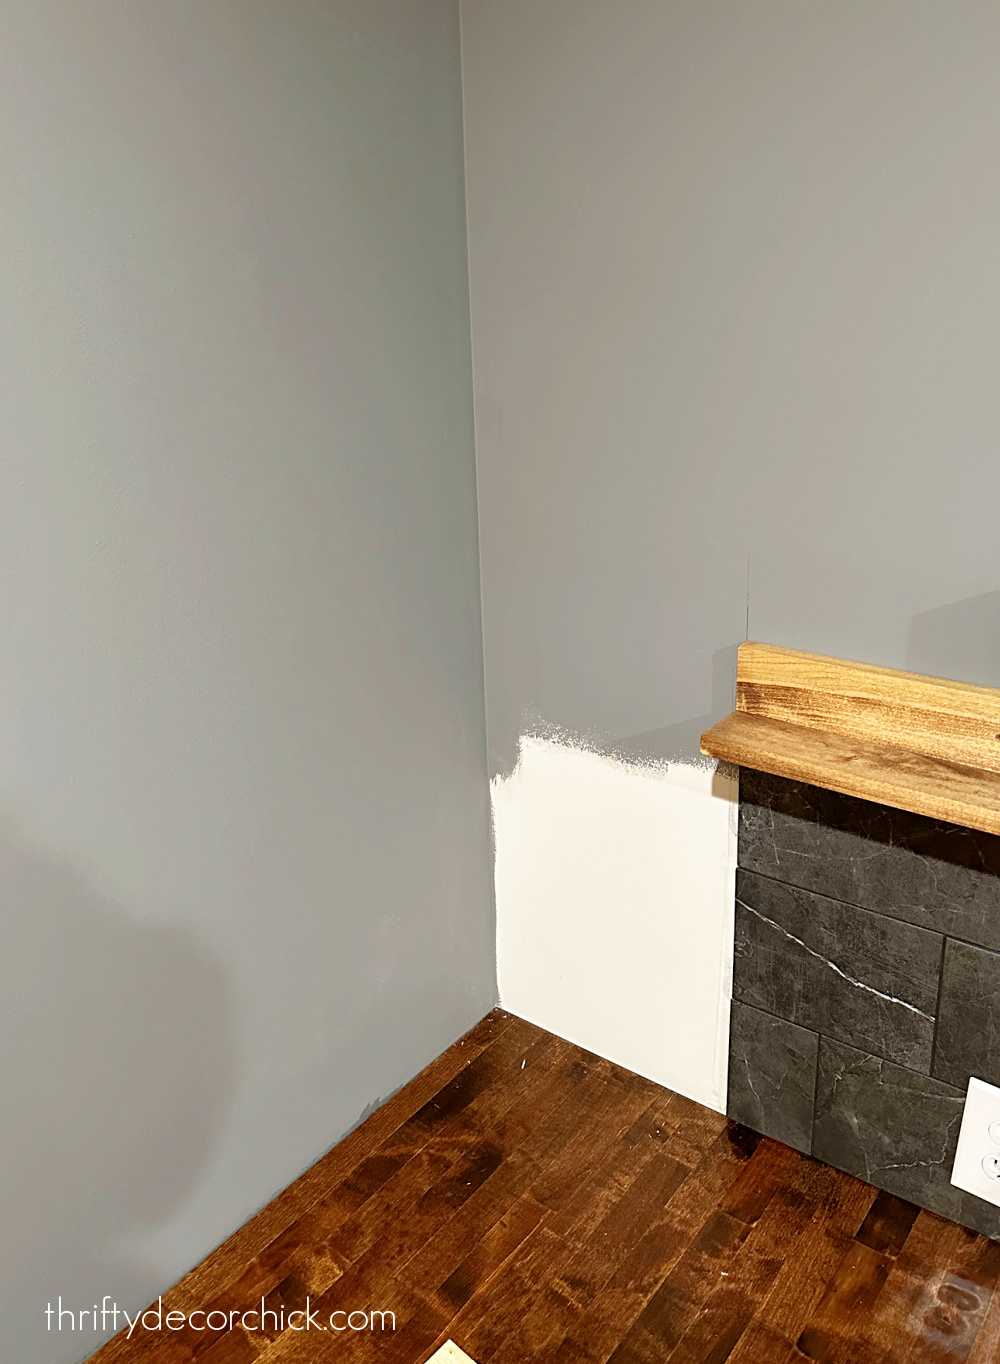
This light gray paint color is matched to our cabinets, here's the formula:
Each unit has four cubbies, but if you try this it out it can be customized for your needs! We keep some barware and a few decorative items on there -- they're not super big, just large enough:

I built one shelving unit (the one against the wall) in place, and the other I built on the floor and then installed into the wall (at the top and bottom behind the trim).
After trying both ways a few times over the years, I much prefer to build these in place. I find the fit is much better that way. It just depends on what you feel most comfortable with:

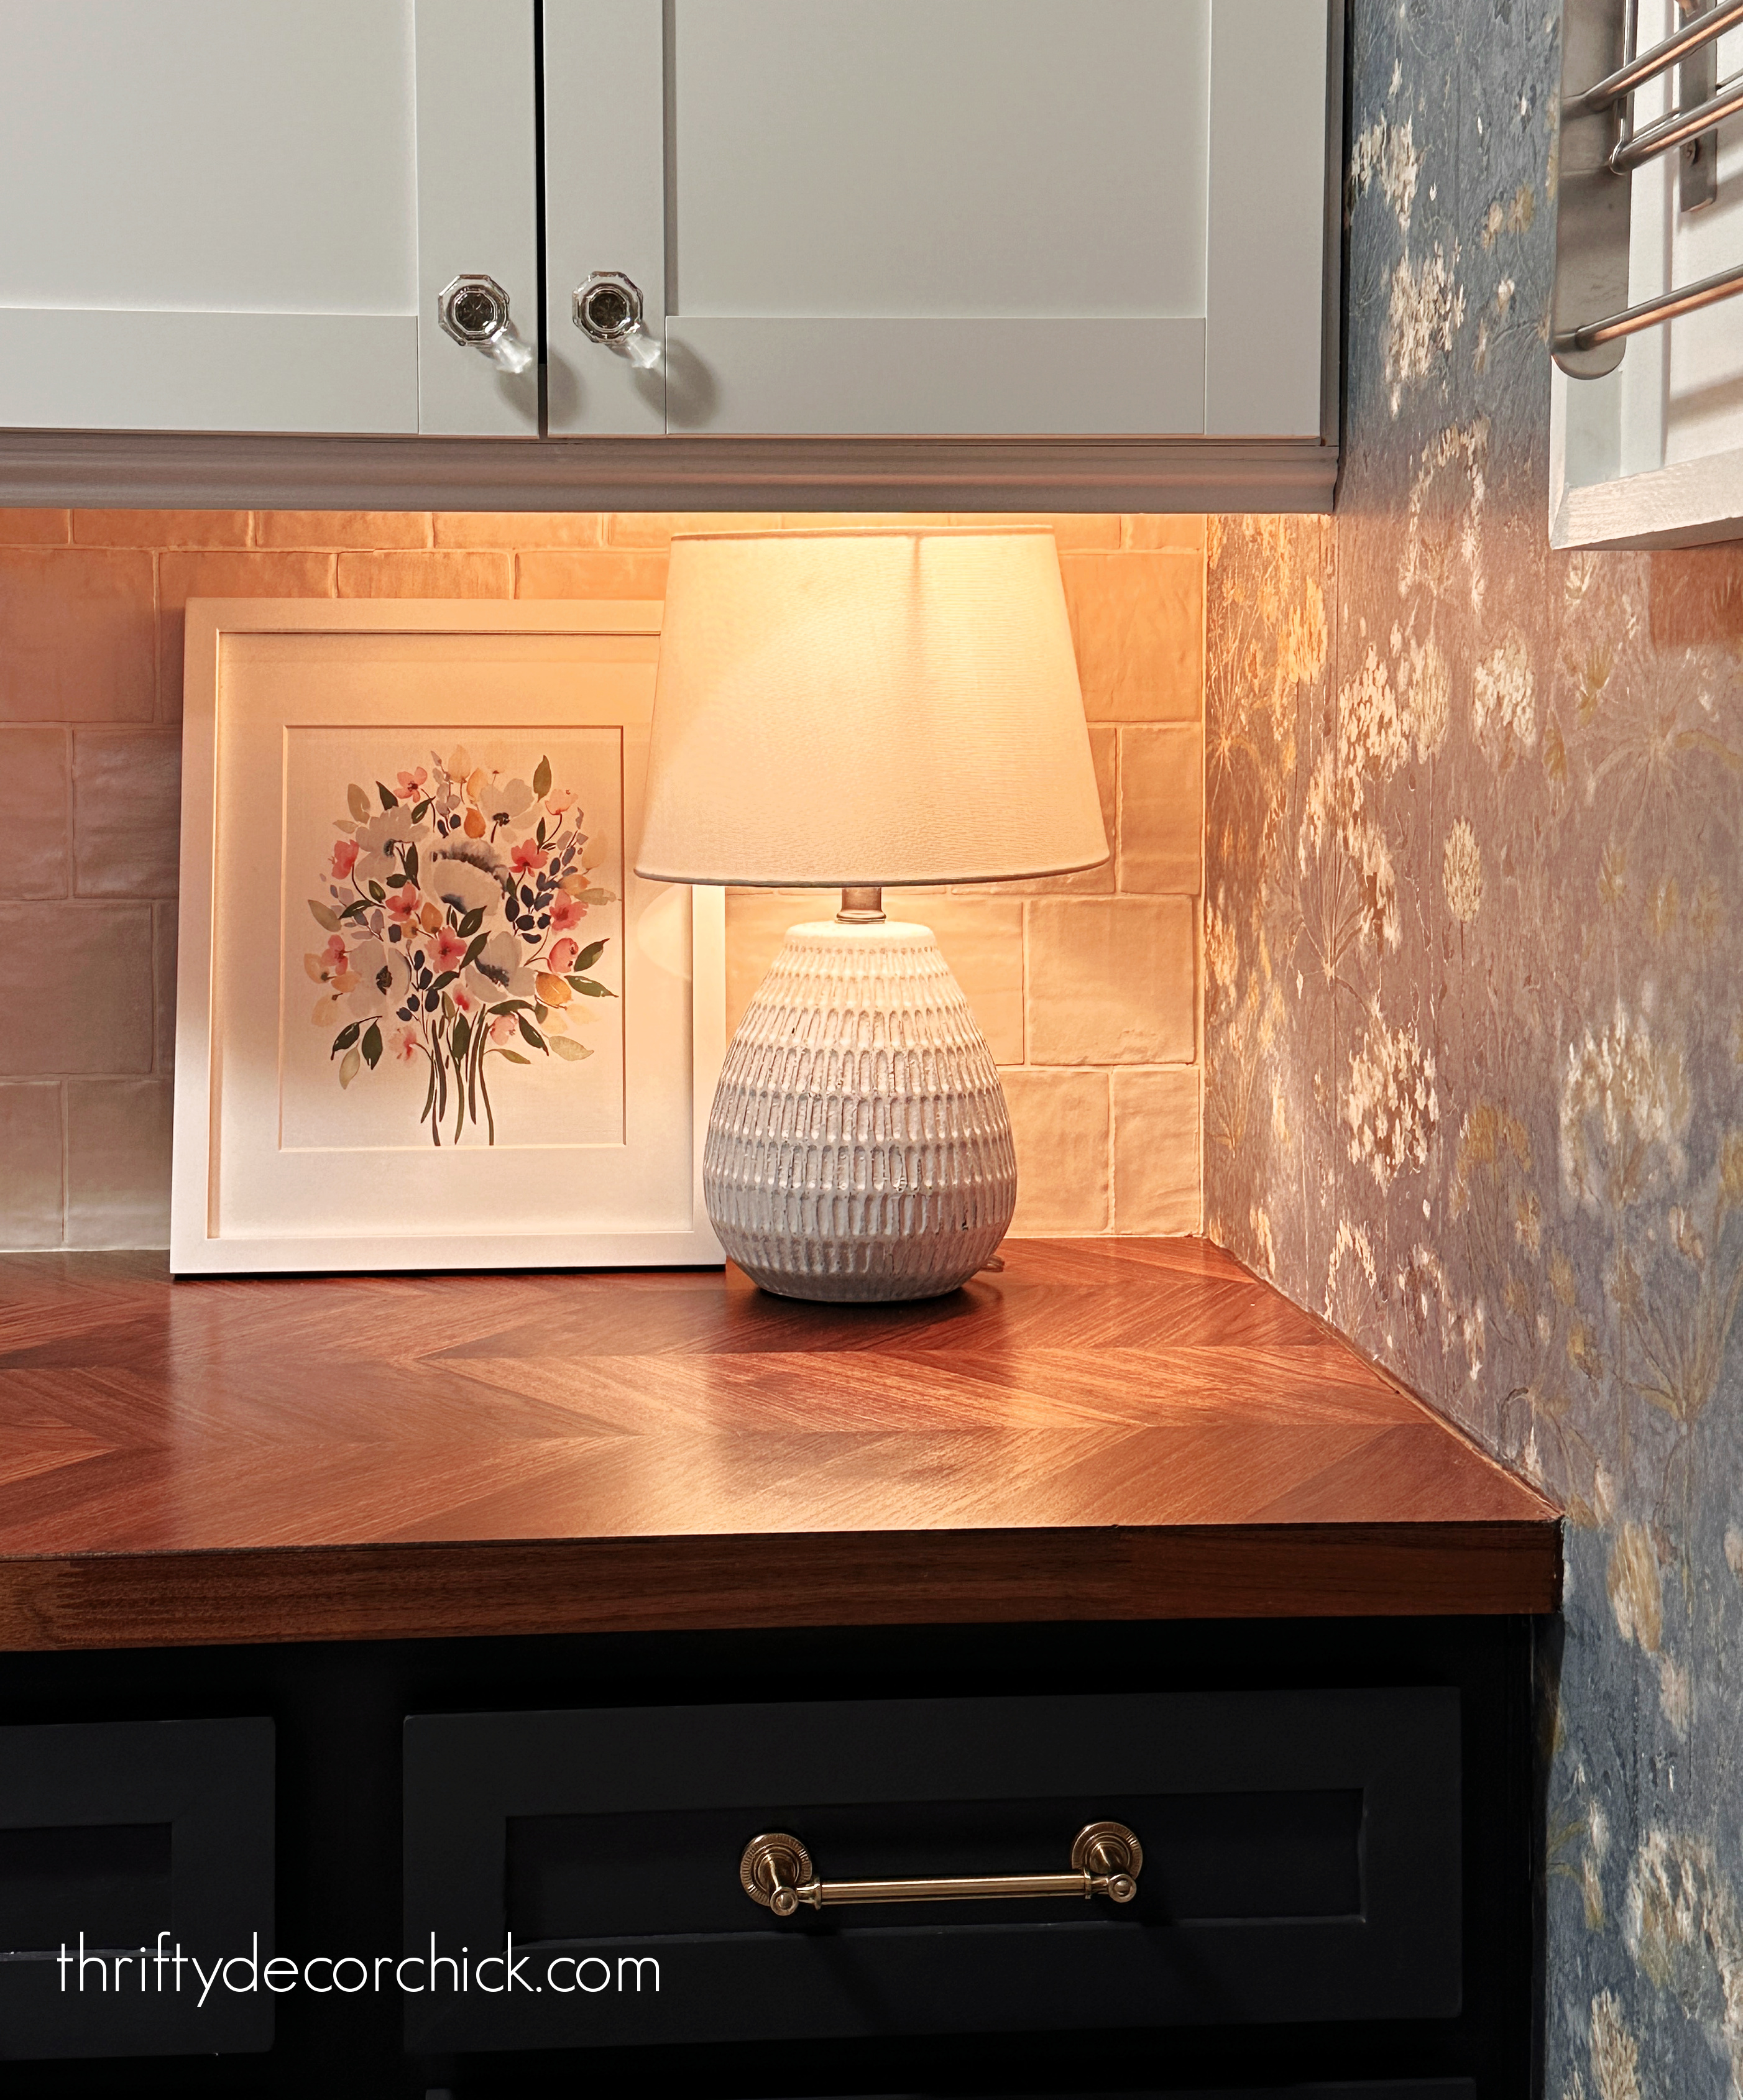
My plan was to install the backsplash tile on the wall between the two units and then build the arch, but when I hung the art in the middle, we quite liked it as is:

So now I'm not so sure I'll do the arch...we'll wait and see. I am sure that I won't be tiling that wall -- I have a new idea in mind that I think will be really fun!
I built the left countertop shelf right up against the end of the counter because eventually there will be a taller bar top/peninsula coming out from there. I'm working on that plan right now, but I'll share the full room reveal before that project starts.
This is how this side of the room started last fall:

And here's how it looks now with the simple bar bookcases built up to the ceiling:

You know how I love countertop lamps! I got this brown one here but switched out the lamp shade for one we had (it was so wide and took up too much space in that corner).
We still have plenty of countertop space as the shelving units are only 12 inches deep and 18 inches wide. The pretty storage is great for a bar area like this.
Now I kind of wish I had run lighting to the tops of each one, but we could still do that. The finishing details will be fun to figure out.
This countertop shelving would also create a lot more storage in a bathroom, as long as you have the space.
We've packed a lot of form and function into this little kitchenette alcove in our basement! This has been such a fun project -- I'll share the (almost) final reveal soon!
If you have any questions about this project, please let me know in the comments. :)
Never miss a post by signing up to get posts via email.
Via https://www.thriftydecorchick.com/2023/03/how-to-build-counter-to-ceiling-built-ins.html
0 Comments
How to add decorative furniture feet to cabinet toe kicks with this DIY hack!
I've made so many small updates to our kitchen over the years, and this simple DIY detail is one of my favorites!
I gathered a list of all of my smaller kitchen projects that pack a big punch here!
I love the look of furniture feet on bathroom and kitchen cabinets -- they add a custom touch and make them look so much more expensive.
Years ago I came up with this hack to make them for much less, but never implemented it. When I added trim to our end cabinet panels, I knew it would be a perfect time try it out! I was left with a straight edge on the sides of the cabinets that made this even easier to implement.
You can also add these decorative "feet" where your cabinets meet a wall or another cabinet.
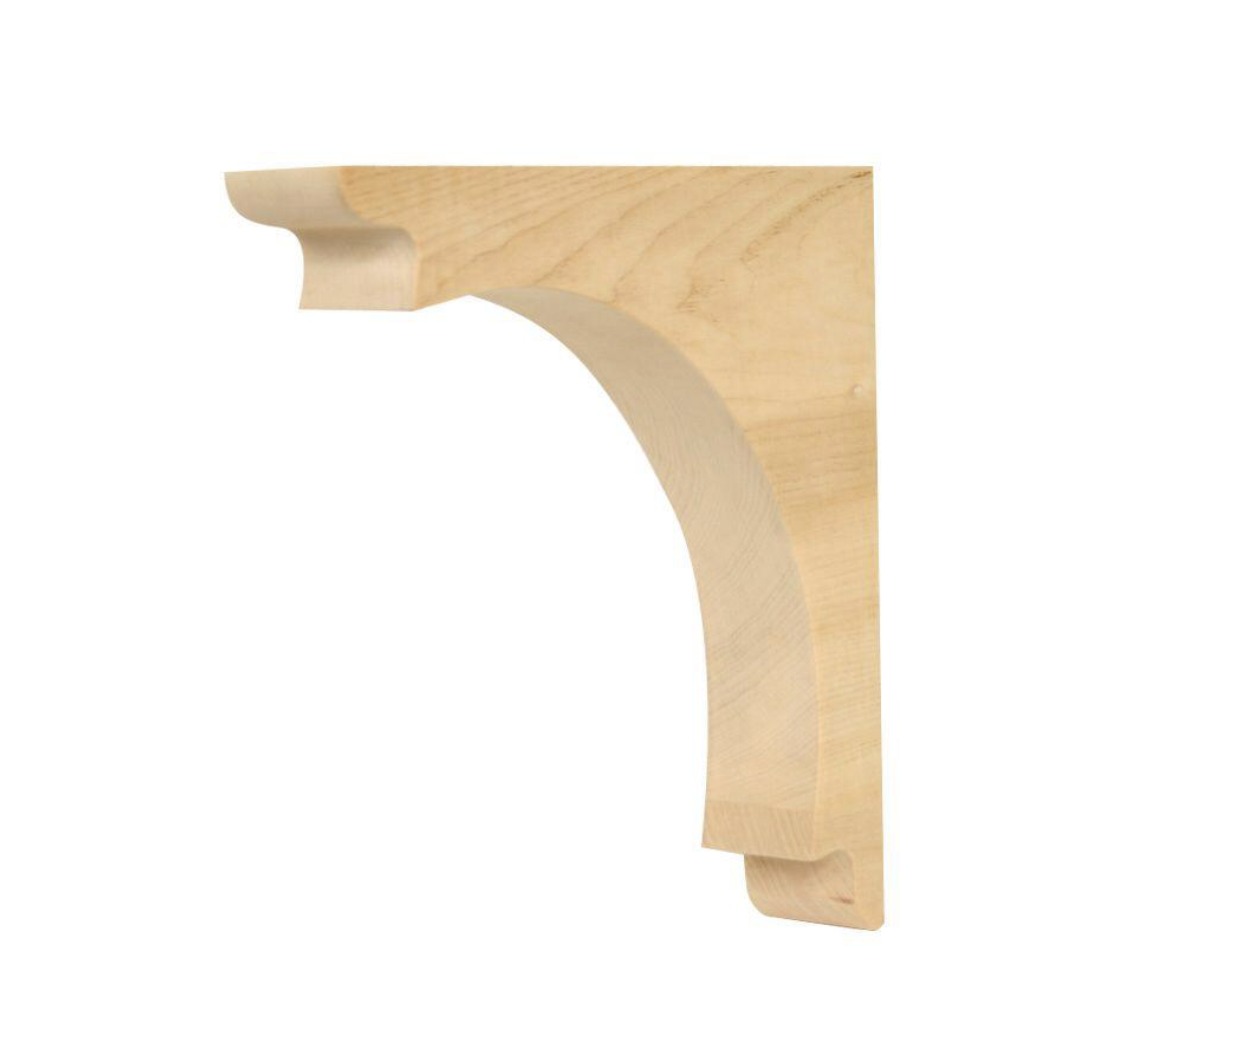
Instead of buying expensive feet for the cabinets, or jigsawing them out of wood (the jigsaw is my least favorite tool...I avoid it at costs ?), I made some easy changes to these wood corbels:
This post may contain affiliate links for your convenience.
I may earn a small commission when you make a purchase through links.
See my policies and disclosure page for more information.
All I had to do was cut them down to the height of our kitchen cabinets. More specifically, the height of the toe kick.
I marked that measurement on the bottom of the corbel and cut it down with a miter saw. Then I gave them a few coats of the cabinet paint color with light sandings in between:
Read the full post
Via https://www.thriftydecorchick.com/2019/04/diy-furniture-feet-for-basic-kitchen.html How to recover a wood bench with a rug (and no sewing machine)!
I've reupholstered a bench using a rug instead of regular decorative fabric a few times over the years. This option will hold up to wear and tear and is often less expensive than thick upholstery fabric.
I shared the start of a mini makeover in our bedroom recently...I'm trying to do as many small projects as I can without spending any money. This little bench makeover turned out so well!
My first project for the bedroom was transforming our nightstand dressers with some black paint. I don't know why I waited so long to do it!
We've had a long upholstered bench that I love for years. I like the length and the pretty stained legs, but the burlap-type fabric had discolored over time.
Lately we've had the bench in our basement:

This post may contain affiliate links for your convenience.
I may earn a small commission when you make a purchase through links.
See my policies and disclosure page for more information.
It came from HomeGoods year ago but there's no brand name on it. Sorry I can't source it for you!

I love that one too, but all the metal legs were a bit busy in here. I wanted to tone that down with something simpler, plus have room underneath to easily throw our decorative bed pillows. :)
The burlap on the bench had discolored over the years and the fabric wasn't the most comfortable anyway:
Read the full post
Via https://www.thriftydecorchick.com/2023/03/how-to-reupholster-bench-with-rug.html Ten pretty lamps for kitchen countertops and bookshelves.
Small lamps on kitchen counters create such a lovely, warm mood in what can be one of the most sterile rooms in the house! This is a trend that I'm happy to get behind, probably because I've been doing it for years. ?
I love the added charm of a lamp in unexpected places. They look great in mud rooms, on the counter in the kitchen and even in bathrooms!
The low light is perfect for small tasks in the evenings, and they just look SO sweet nestled under the kitchen cabinets. And the texture of a pretty lamp base and shade also breaks up the monotony of the necessities on the countertops.
I've added small lamps all over our house and they still make me smile years later. I added on our laundry room counter for some soft light:
This laundry/mud room lamp is especially nice when we run out in the evenings. I love having the soft light on when we walk in the door!
I have a couple in our kitchen as well. This small lamp (no longer available from Target) next to my DIY spice rack under the cabinets gives us just the right amount of light:
Via https://www.thriftydecorchick.com/2023/03/add-charm-to-kitchen-counters-with-lamps.html How to make furniture look more expensive with a few coats of black paint!
I recently finished up a quick painting project and was so happy with the result...I was reminded of the difference black paint can make on a piece of furniture!
Black is one of my favorite colors to use in a room because it's a classic -- black furniture is a chameleon that works in nearly every space, no matter the wall color. I find black accents to be more neutral because they ground a space and give your eyes a place to rest.
I've transformed many items over the years with a few coats of dark paint, but this recent nightstand project is one of my favorites because it calmed the room so much.
I'll show you more and a quick how-to on how to paint furniture black in a bit, but first -- some of my favorites I've painted black over the years.
The brass hardware on this second hand dresser popped when I painted it with Graphite by Benjamin Moore:

This post may contain affiliate links for your convenience.
I may earn a small commission when you make a purchase through links.
See my policies and disclosure page for more information.
If you want to update the whole look of a piece by adding new knobs, check out this tutorial for filling old hardware holes.
Graphite is a very dark gray, almost black color that I used to paint all of our doors in our last house. I love that paint color!
I found this sewing machine cabinet on the side of the road and a few coats of black paint brought in back to life:
Via https://www.thriftydecorchick.com/2023/03/how-to-make-furniture-look-expensive-with-black-paint.html Easy updates to your outlets and light switches that make life easier!If you know how to change out a light switch or outlet, these small updates will be easy for you. And if you don't, they are worth paying someone to install until you get the hang of it.
I encourage you to watch a YouTube video to see how easy it is (or check out the tutorials I share in this post).
Read the full post
You don't need an electrician to add these gadgets in your home! I promise it's not that hard to change out a switch or outlet. Once you get the hang of it, each of these will take five minutes to update.
If you are inexperienced, have an electrician or other knowledgeable person install these until you feel comfortable. These DIY lighting and outlet hacks are all easy fixes that make life a bit easier, save energy and extend the life of light bulbs! 1. Dimmer SwitchesI've blabbed on and on about dimmer switches for years for good reason! They are my FAVORITE!
Dimmers allow you to soften the light rooms so they aren't so bright at all times:

This post may contain affiliate links for your convenience.
I may earn a small commission when you make a purchase through links.
See my policies and disclosure page for more information.
I love them in any room -- we have them in bedrooms, bathrooms (if you get up before the sun they are a must!), the kitchen, dining area and living room.
Pretty much on light fixtures all over the house:
Via https://www.thriftydecorchick.com/2020/04/my-favorite-lighting-and-outlet-hacks.html |