Easy trick for removing a broken Command strip from walls or windows!
I have a super quick tip to remove broken 3M Command strips that I have found very helpful over the years!
I find most of the time when I go to remove a Command hook, the sticky strip breaks at just the right part so that I can't pull on it anymore.
This easy fix allows you to remove the wall or window hooks without access to the tab.
I use the Command strips often, especially at the holidays. So this is especially helpful this time of year!
When it comes to removing them from the wall, I start pulling and grimacing because I'm SURE the hook is going to break free and snap back at my face or my hand.
It never fails that the tab breaks, on at least one of them!
The tab breaks off just under the hook and then I'm left with the hook and the sticky stuff still on the wall (or window) and no way to get it off:

This post may contain affiliate links for your convenience.
I may earn a small commission when you make a purchase through links.
See my policies and disclosure page for more information.
The thing is, you can't just pull this off -- at least on a wall.
It will pull your drywall off (I tell you this from personal experience) and leave a nice little spot to repaint or patch.
On a window or mirror you'll need some leverage to get it to pop off, and you risk scratching the surface.
Read the full post
Via https://www.thriftydecorchick.com/2015/06/quick-tip-command-strips.html
0 Comments
2022 Thrifty Decor Chick Christmas Home Tour
There's so much holiday decor I haven't shown you yet this season! Time seems to move twice as fast in December, right?
I shared our cozy basement a couple weeks ago and our main living room tour a few weeks ago:

Today I walked through the house and took photos of the spaces I haven't shared with you yet. This is also a nice way to round up some of the projects I completed this year!
I didn't add as a much to the front porch as usual, but I love it how it turned out! I hung fresh, real garland around our Craftsman style door:

I got the cute Santa mailbox at Cracker Barrel years ago. :)
Those faux topiary balls in our planters have held up GREAT -- they're perfect for the winter months!
In the foyer, I added my favorite glass trees (from Target a few years ago) and some greenery draped over the mirror:
Via https://www.thriftydecorchick.com/2022/12/Christmas-home-tour-decorating-ideas.html My letter to Santa (30 years later) in the craziest of places!
I have a wonderful Christmas story for you!
It started when I ran into Hallmark years ago to pick up something for our son. It was only the beginning of October, but they had quite a few holiday items out already.
The employees were grabbing my order for me, and while I waited I noticed a beautiful Christmas book on the counter:

This post may contain affiliate links for your convenience.
I may earn a small commission when you make a purchase through links.
See my policies and disclosure page for more information.
It was called Letters to Santa Claus and because I love anything Christmas, I picked it up and starting looking at it.
It really is a lovely book. I noticed in the first few pages that it's based on letters sent to the city of Santa Claus, Indiana and thought, wow, the Indiana connection is cool!
I was in a hurry so I very quickly scanned through some of the pages. Each page is a scanned letter to Santa, in its original form. What's really cool is they are separated into decades, with the first ones from the 1940's.
Some letters are sweet, some funny, and a few are quite touching.
What a treasure!
I had no idea what a treasure it would be. :) You see, I only looked at a couple pages and was getting ready to put it down when I flipped to one more.
I thought I was losing my mind for a minute.
I was looking at my own (8-year-old) handwriting.
I can't even describe how weird it felt looking at my writing in this book. I started reading and none of it was familiar to me at first.
Then I saw the name at the bottom…Sarah. I couldn't even believe what I was reading.
It was my letter to Santa:
Read the full post
Via https://www.thriftydecorchick.com/2015/10/my-letter-to-santa.html How to make easy DIY acrylic photo ornaments for your tree or decor.
These sweet acrylic ornaments were so easy to make, and they remind of us of some of our favorite memories from this year.
We'll have them to look back at for years!
I LOVE adding sentimental ornaments to the tree every year. I always purchase one for our son and that marks something he loves at that age.
This year his was churro ornament -- his favorite treat when we're at Disney. ? (He's loved them since our first trip, and now he's 16!!)
If you've been reading here for a long time, you might remember the skinny photo Christmas tree I put up in our bedroom nearly ten years ago:

I've since added those photos to our photo albums, and I wanted to create some different ornaments that would hold up over time.
I found these flat, round acrylic ornaments in the holiday craft section at Hobby Lobby a few weeks ago and knew I could do something fun with them!:

This post may contain affiliate links for your convenience.
I may earn a small commission when you make a purchase through links.
See my policies and disclosure page for more information.
I had a plan in mind that changed up a bit during the process, but overall this was still a very easy Christmas craft!
A good X-acto knife is always good to have for these types of projects! It makes everything so much easier. I had to use it to get even get the protective coating off the acrylic:
Read the full post
Via https://www.thriftydecorchick.com/2022/12/easy-DIY-acrylic-photo-ornaments.html A tour of our cozy Christmas basement with traditional and festive decor!
Our basement is a warm and homey space with dark gray walls and a looooong TV built in that I finished up early last year.
I can't believe it's been almost two years since I built that giant beast of a bookcase! Wow. Seems like it was only a few months ago. :)
If you saw our upstairs family room holiday tour a couple weeks ago, you know I went a little moody and non-traditional with my decor and colors up there.
I'm still a lover of a playful and festive look though, so it's fun to decorate the basement living room with traditional Christmas colors every year.
I didn't share a tour of this space last Christmas, so I figured it would be fun to share the holiday decor down there!
We set up our Christmas village on the large bench under the TV because it's so spacious. It's been the perfect spot:

This post may contain affiliate links for your convenience.
I may earn a small commission when you make a purchase through links.
See my policies and disclosure page for more information.

We try to add to our village every year or two, but we're starting to run out of room. I think we can comfortably only add a few more. :)
I placed my cutie DIY yarn Christmas trees in the corners and I love how they look with the village:


Our tree has a great spot over to the side of the built ins. I decorate it in red, green, white and black ornaments, garland and ribbon.
I love a touch of black in decor, and it has the same effect in the tree! It just grounds it in a way:

My new additions this year were these adorable candles that clip on the tree branches:

They come with suction cups for windows as well. The set comes with 24 candles and they flicker like real candles. There's a remote that makes them easy to turn on as well. (With a timer.)
Love them!! That popcorn garland is still a favorite too. (You can find it at Hobby Lobby.)
I didn't do a ton of decor on the shelves or tables in this space because the village is so busy visually.
This sweet, tiny brass nativity set is one of my favorites to pull out:

I wish I could remember where I got that! I'm sure it was secondhand. They are SO small but very detailed.
On the other side of the room, I went simple on the stairs. I repeated the garland at the bottom of the railings like I did upstairs:

And we always love to hang the reindeer garland from Michaels! I saw it at the store again this year, so they still carry it:

This year I added battery-operated twinkle lights to the garland, and didn't even realize till I stepped back that it looks like the lights on Santa's reindeer and sleigh!:

ADOYABLE! (As my niece says.)
This room is such a fun space. It's more sophisticated most of the year, but the kid in me definitely comes out at Christmas:

At the bottom of the stairs, I hung these velvet covered stars. They have lights inside that operate on a battery, so they light up on their own at night:
We've moved some furniture around on the other side of the room, because we wanted to add a cozy seating area near the new(ish) electric fireplace:

I found those faux leather chairs on sale at Big Lots earlier this year and we LOVE them. They are so comfy.
We also really like how roomy they are. Plenty of room to get cozy!
We moved the long table over a bit, but I'm not sure where it will land for good:

The final placement will depend on the new kitchenette that I finally started last month. (More on that soon!)
Having that table has been so wonderful for entertaining, but I also find that I use it a lot for crafting and more recently, lots of wrapping! (Find out more about the table and this space here.)
We're definitely basement people and spend a lot of time down here. I hibernate in the basement family room in the winter especially.
We turn on the fireplace, dim the lights, and the animals all cozy up with us:

I hope you enjoyed the basement tour!
I'll be back to a regular posting schedule this week and next. The first two weeks of December are always nuts for us...we went away as a family for a few days, celebrated five birthdays in our immediate family (and two birthday parties), attended numerous band concerts and hosted a Christmas party!
I love the hustle and bustle of this season, but I'm ready to hibernate! :) Hope you're all doing well and hanging in there!
Never miss a post by signing up to get posts via email.
Via https://www.thriftydecorchick.com/2022/12/Christmas-basement-tour-with-traditional-decor.html How to make the cutest and (fluffiest!) yarn wrapped Christmas tree decor.
This is one of my easiest holiday DIYs yet! These Styrofoam yarn trees can be changed up with any material you'd like to use.
I wanted some new holiday decor for our basement but didn't want to spend a ton of money -- I came up with this idea and they turned out better than I imagined.
At first I was going to use basic yarn on Styrofoam cones, but wanted a fluffier look.
Enter this finger knit yarn I've had forever -- for the blanket I still haven't made yet, ha!:
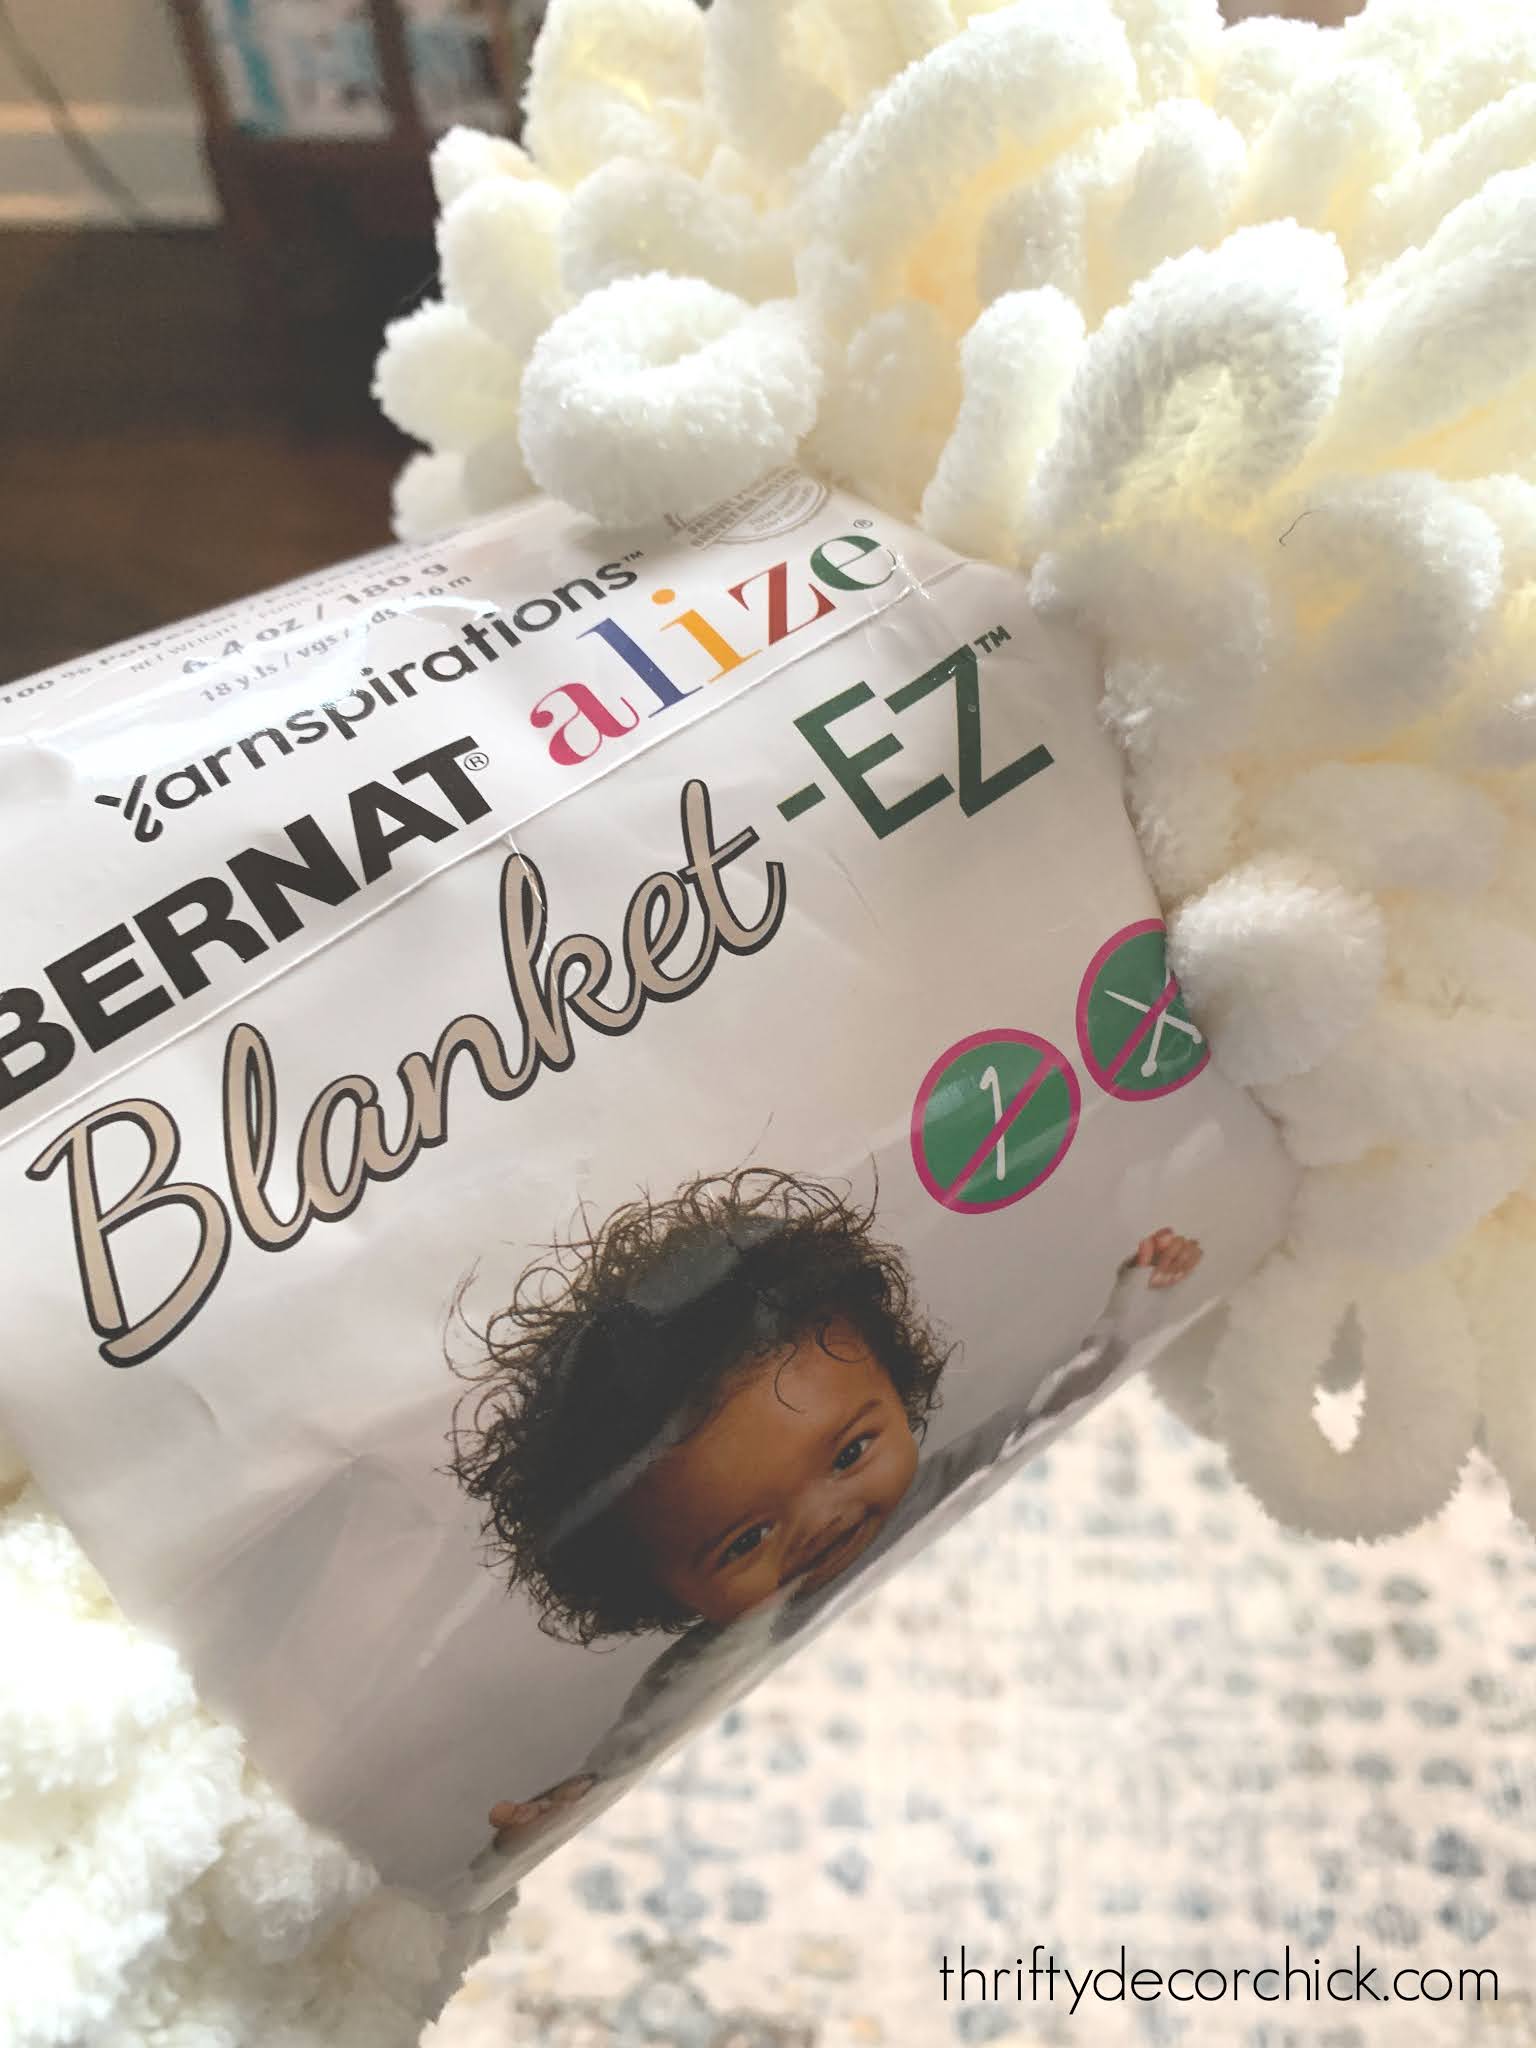
It is SO so soft and fluffy and I had an idea -- I wondered how it would work wound around the cones instead of regular yarn. Well, I'll tell you...it worked ADORABLE. ?
This post may contain affiliate links for your convenience.
See my policies and disclosure page for more information.
These DIY yarn Christmas trees are quick to make with just a few easy steps.
I started with basic craft foam forms:
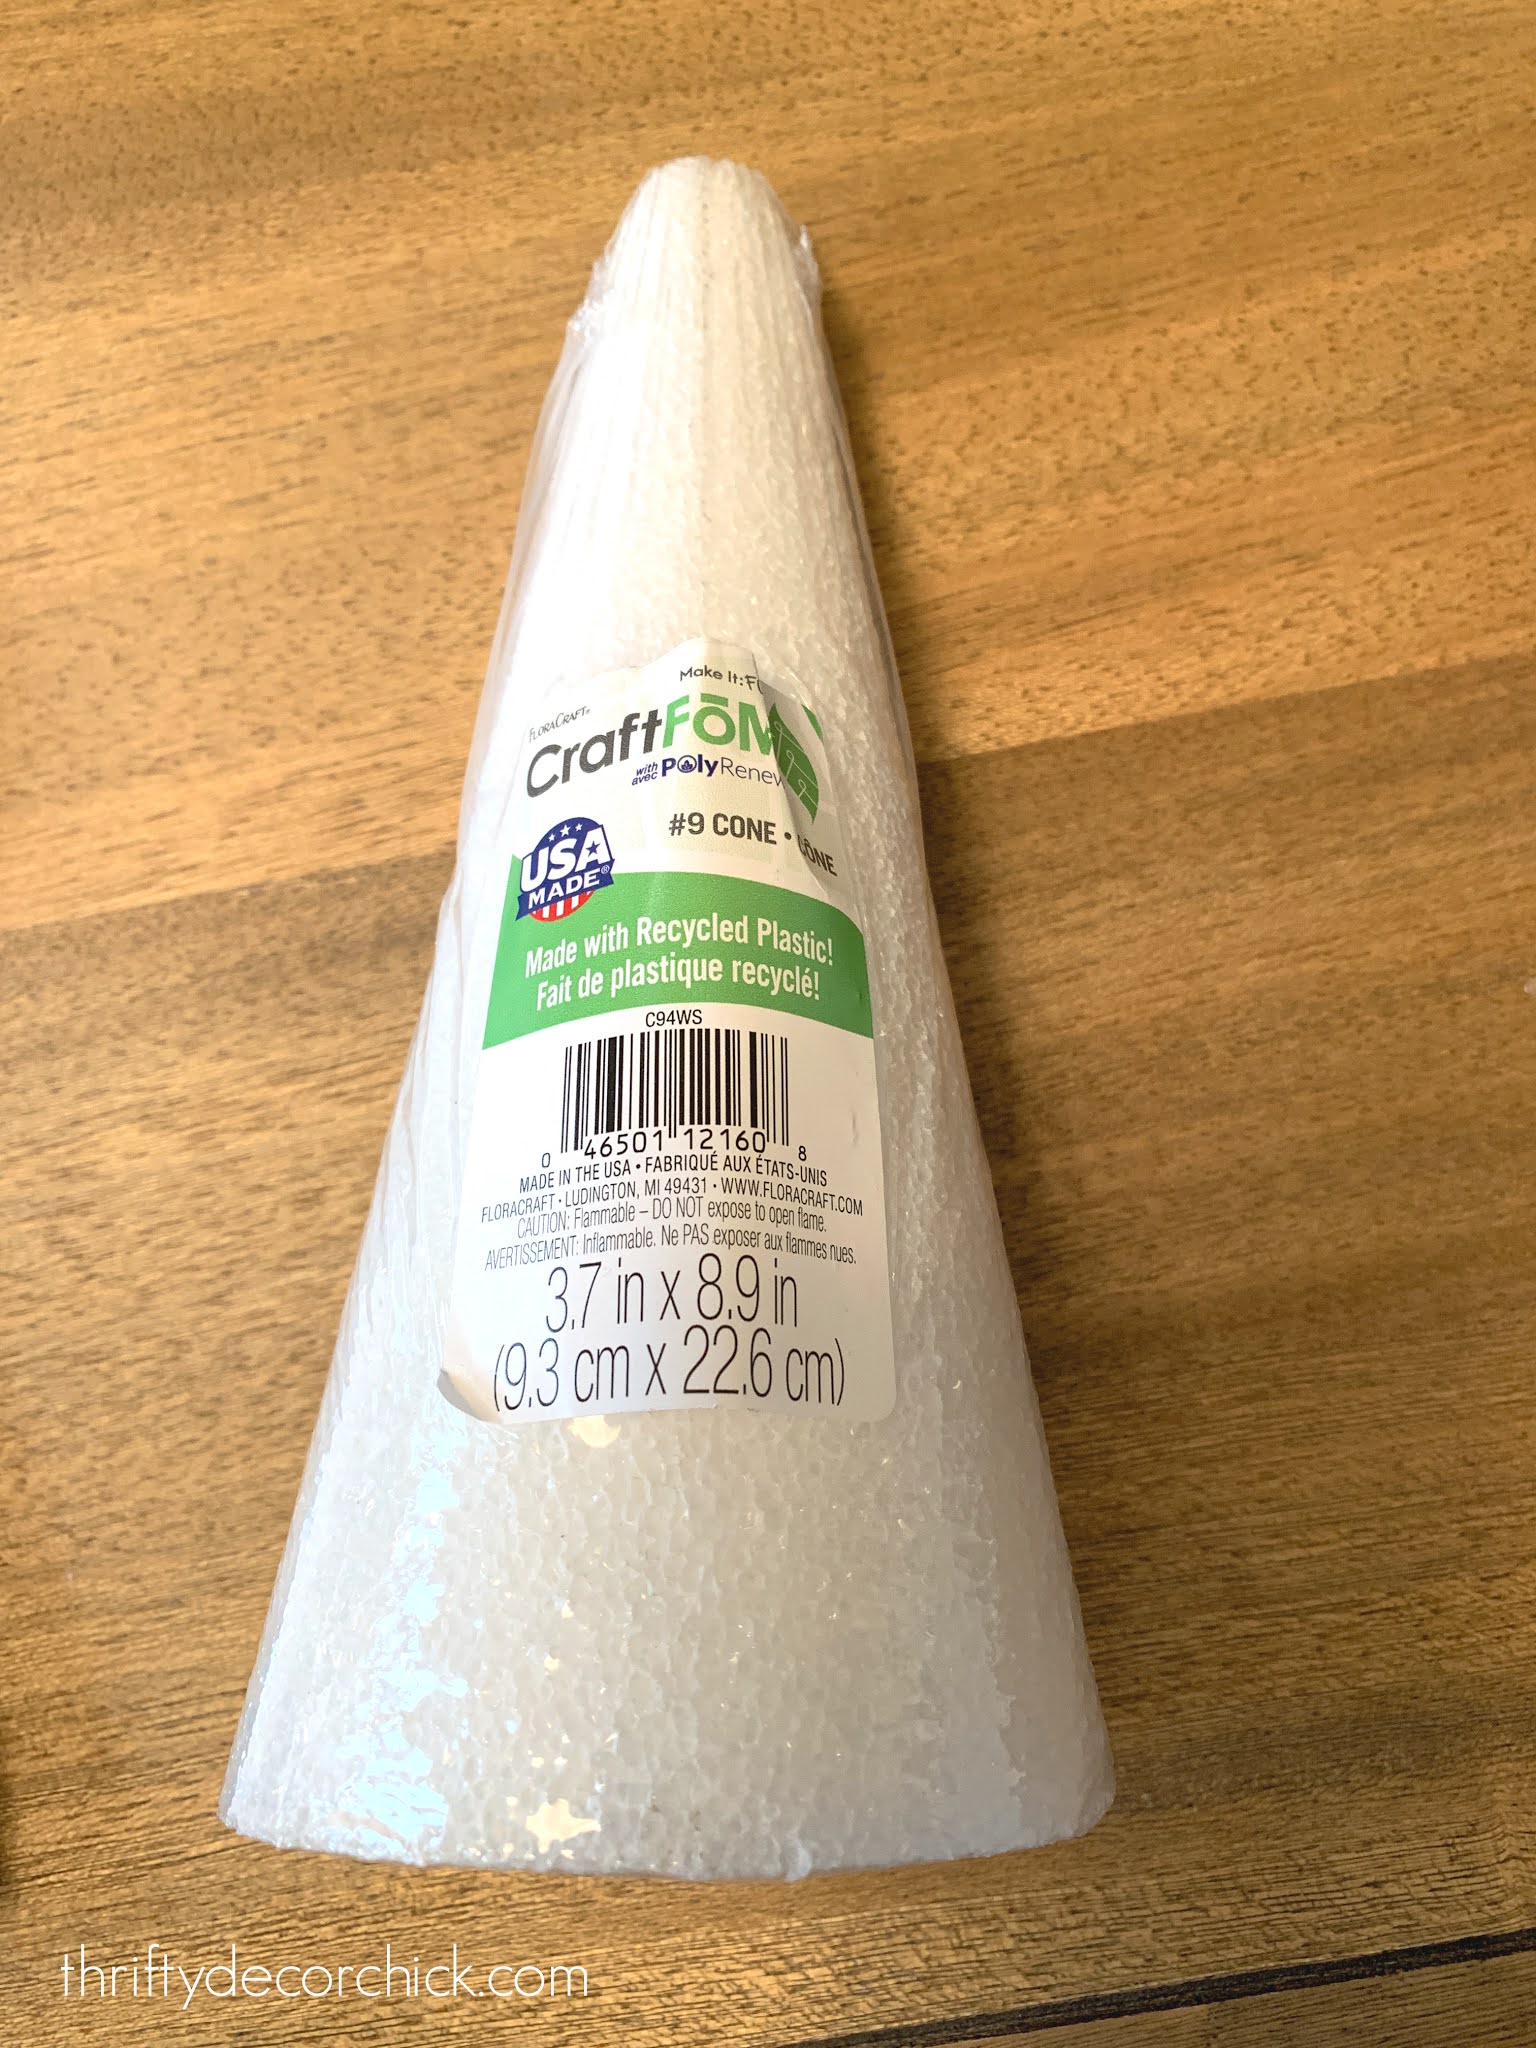
I got my yarn and foam cones from Michael's.
And used my hot glue gun to attach the yard at the bottom of the cone first:
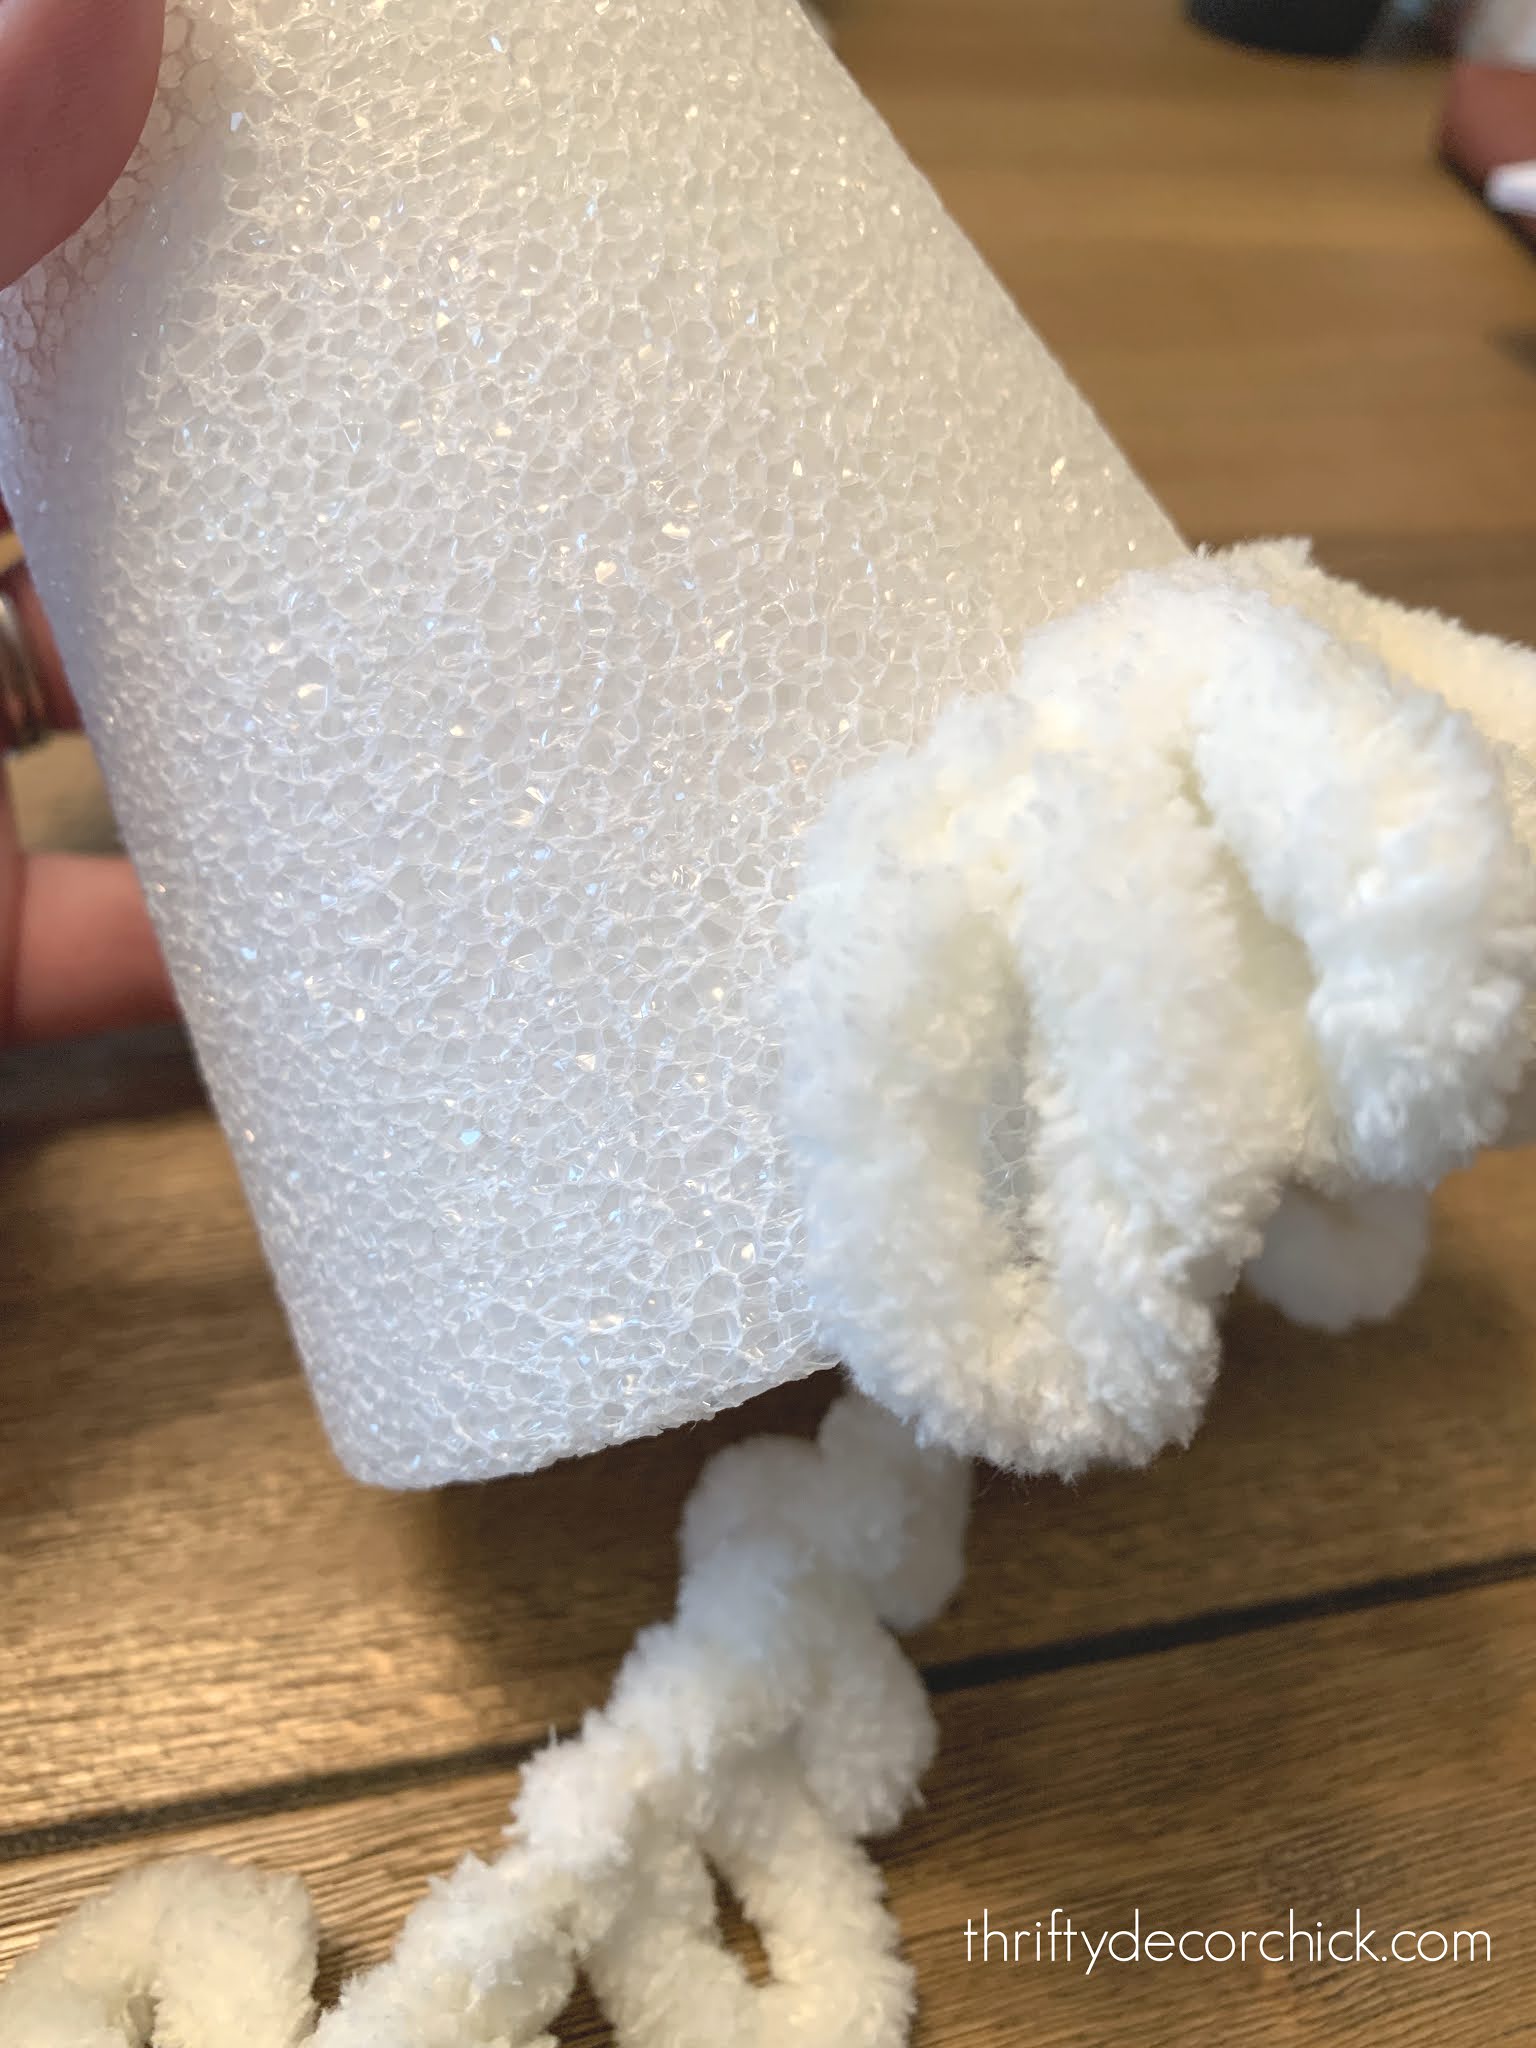
I started the first line of yarn about an inch from the bottom because this yarn drapes so much.
I went up about 3/4 inch to an inch each pass around the cone:
I just kept wrapping...this was a great mindless craft to do while watching TV.
They go together fast:

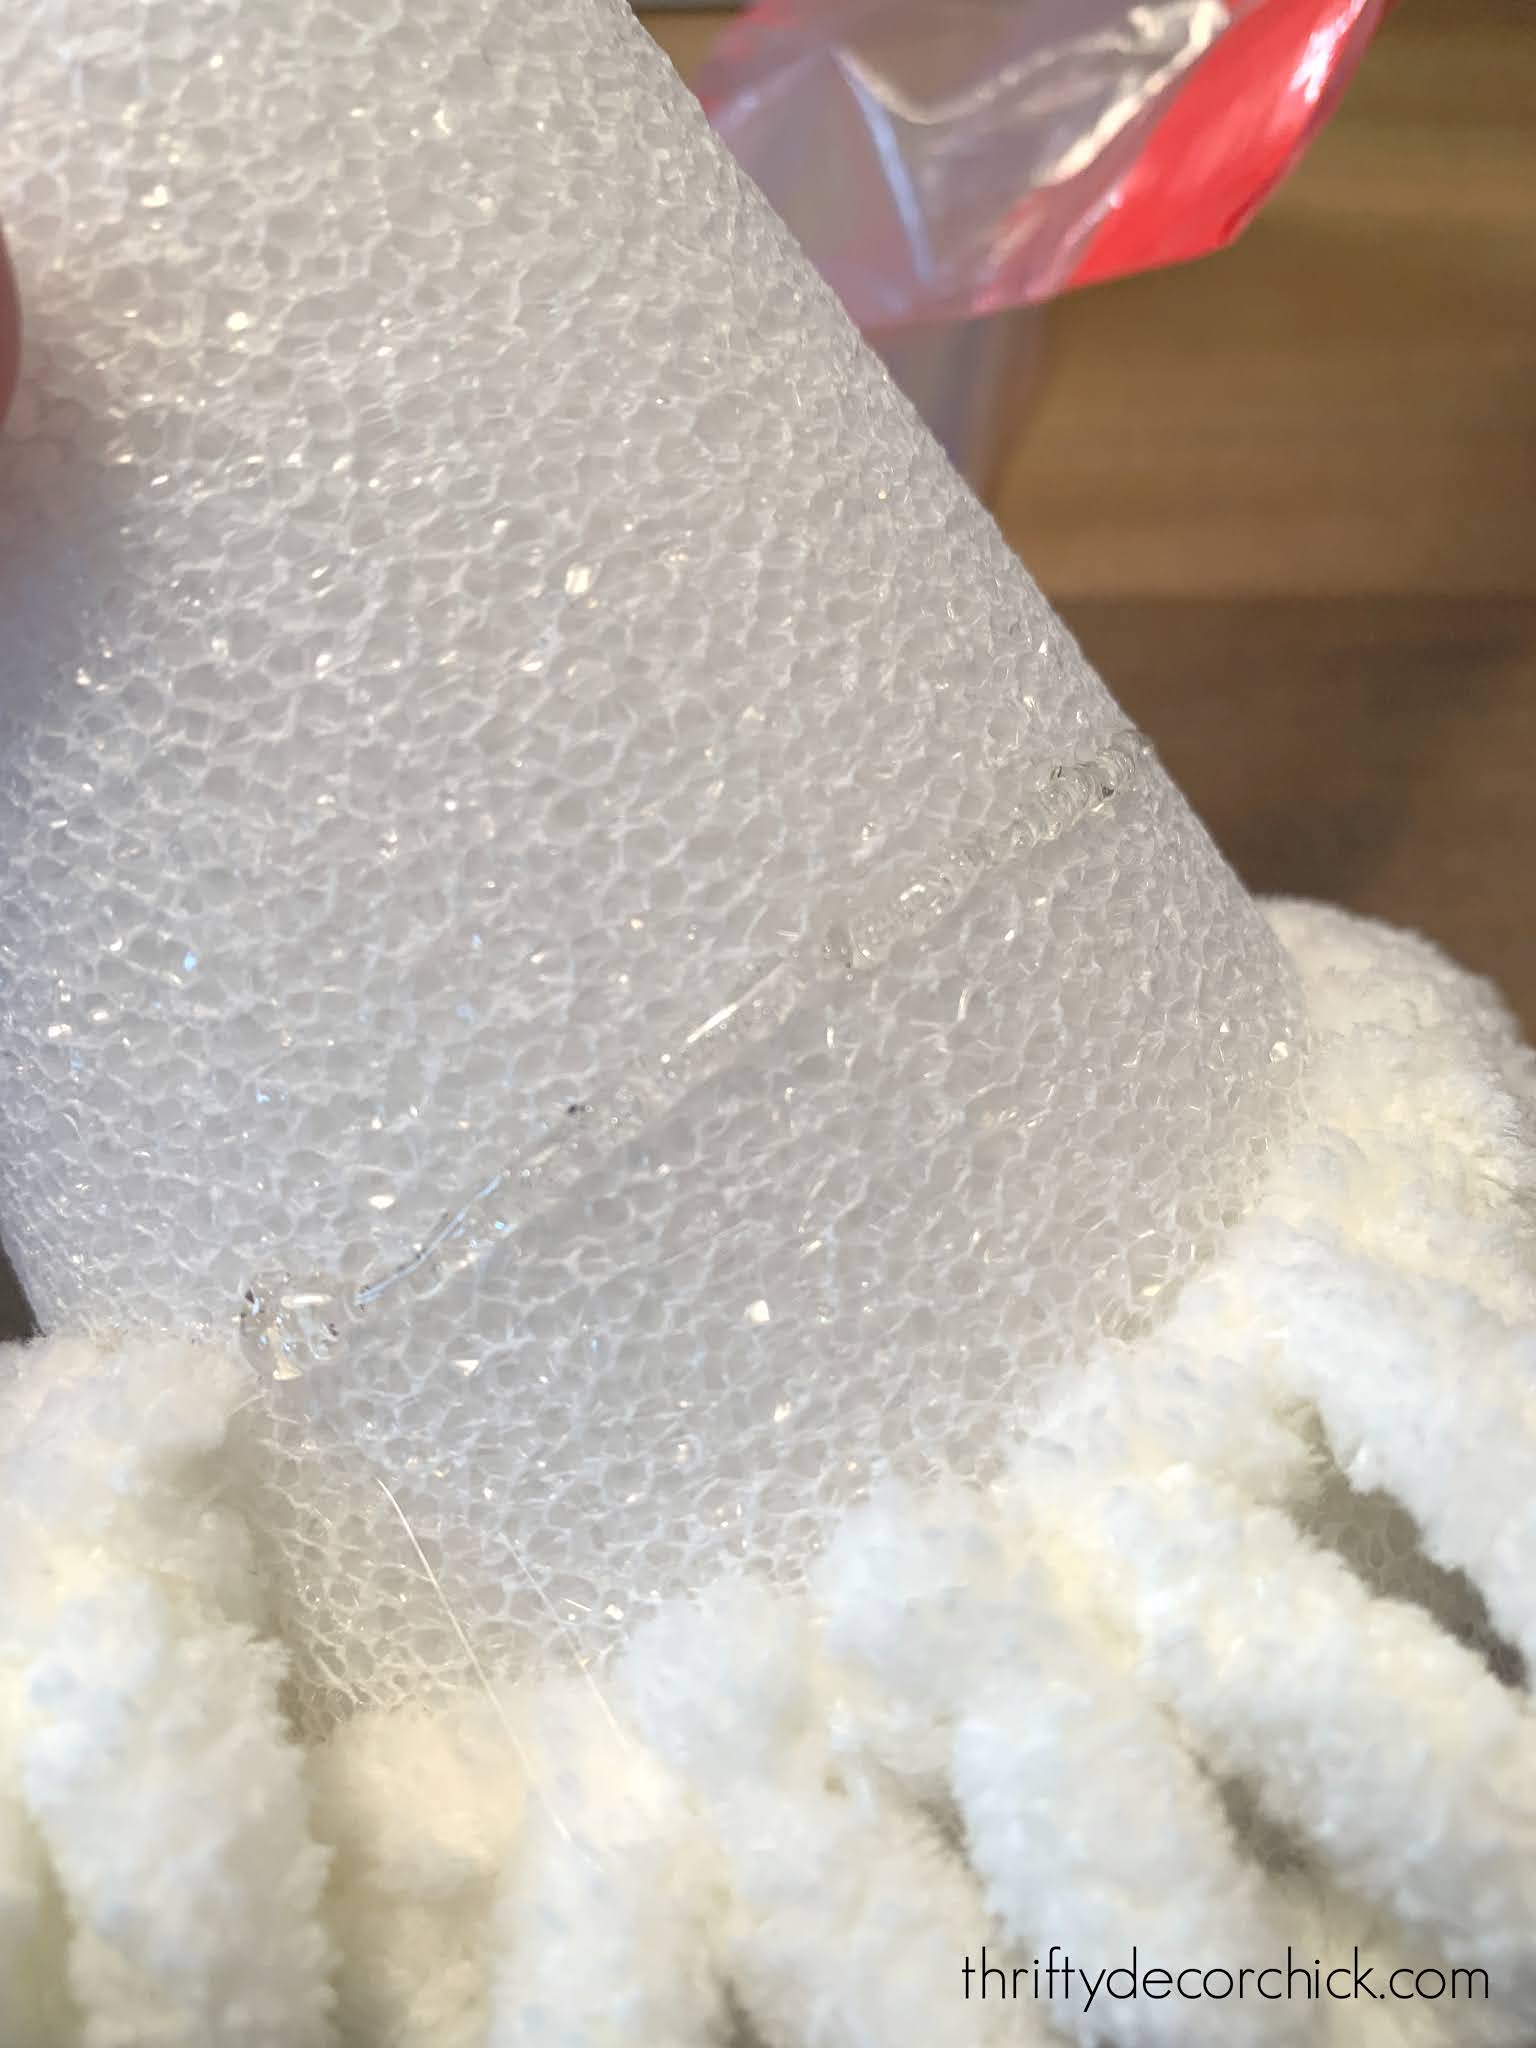
When I got to the top of the very top of the cone, I cut just enough excess yarn and then wrapped it up on the very tip with hot glue.
This finger knit looped stuff is very forgiving!
I did three different sizes -- one was about six inches, one was 11 inches and the final was about 17 inches but I cut those two down a bit:
You can find all of the foam cones I used here! I used one skein of yarn for all the trees and had a bit leftover.
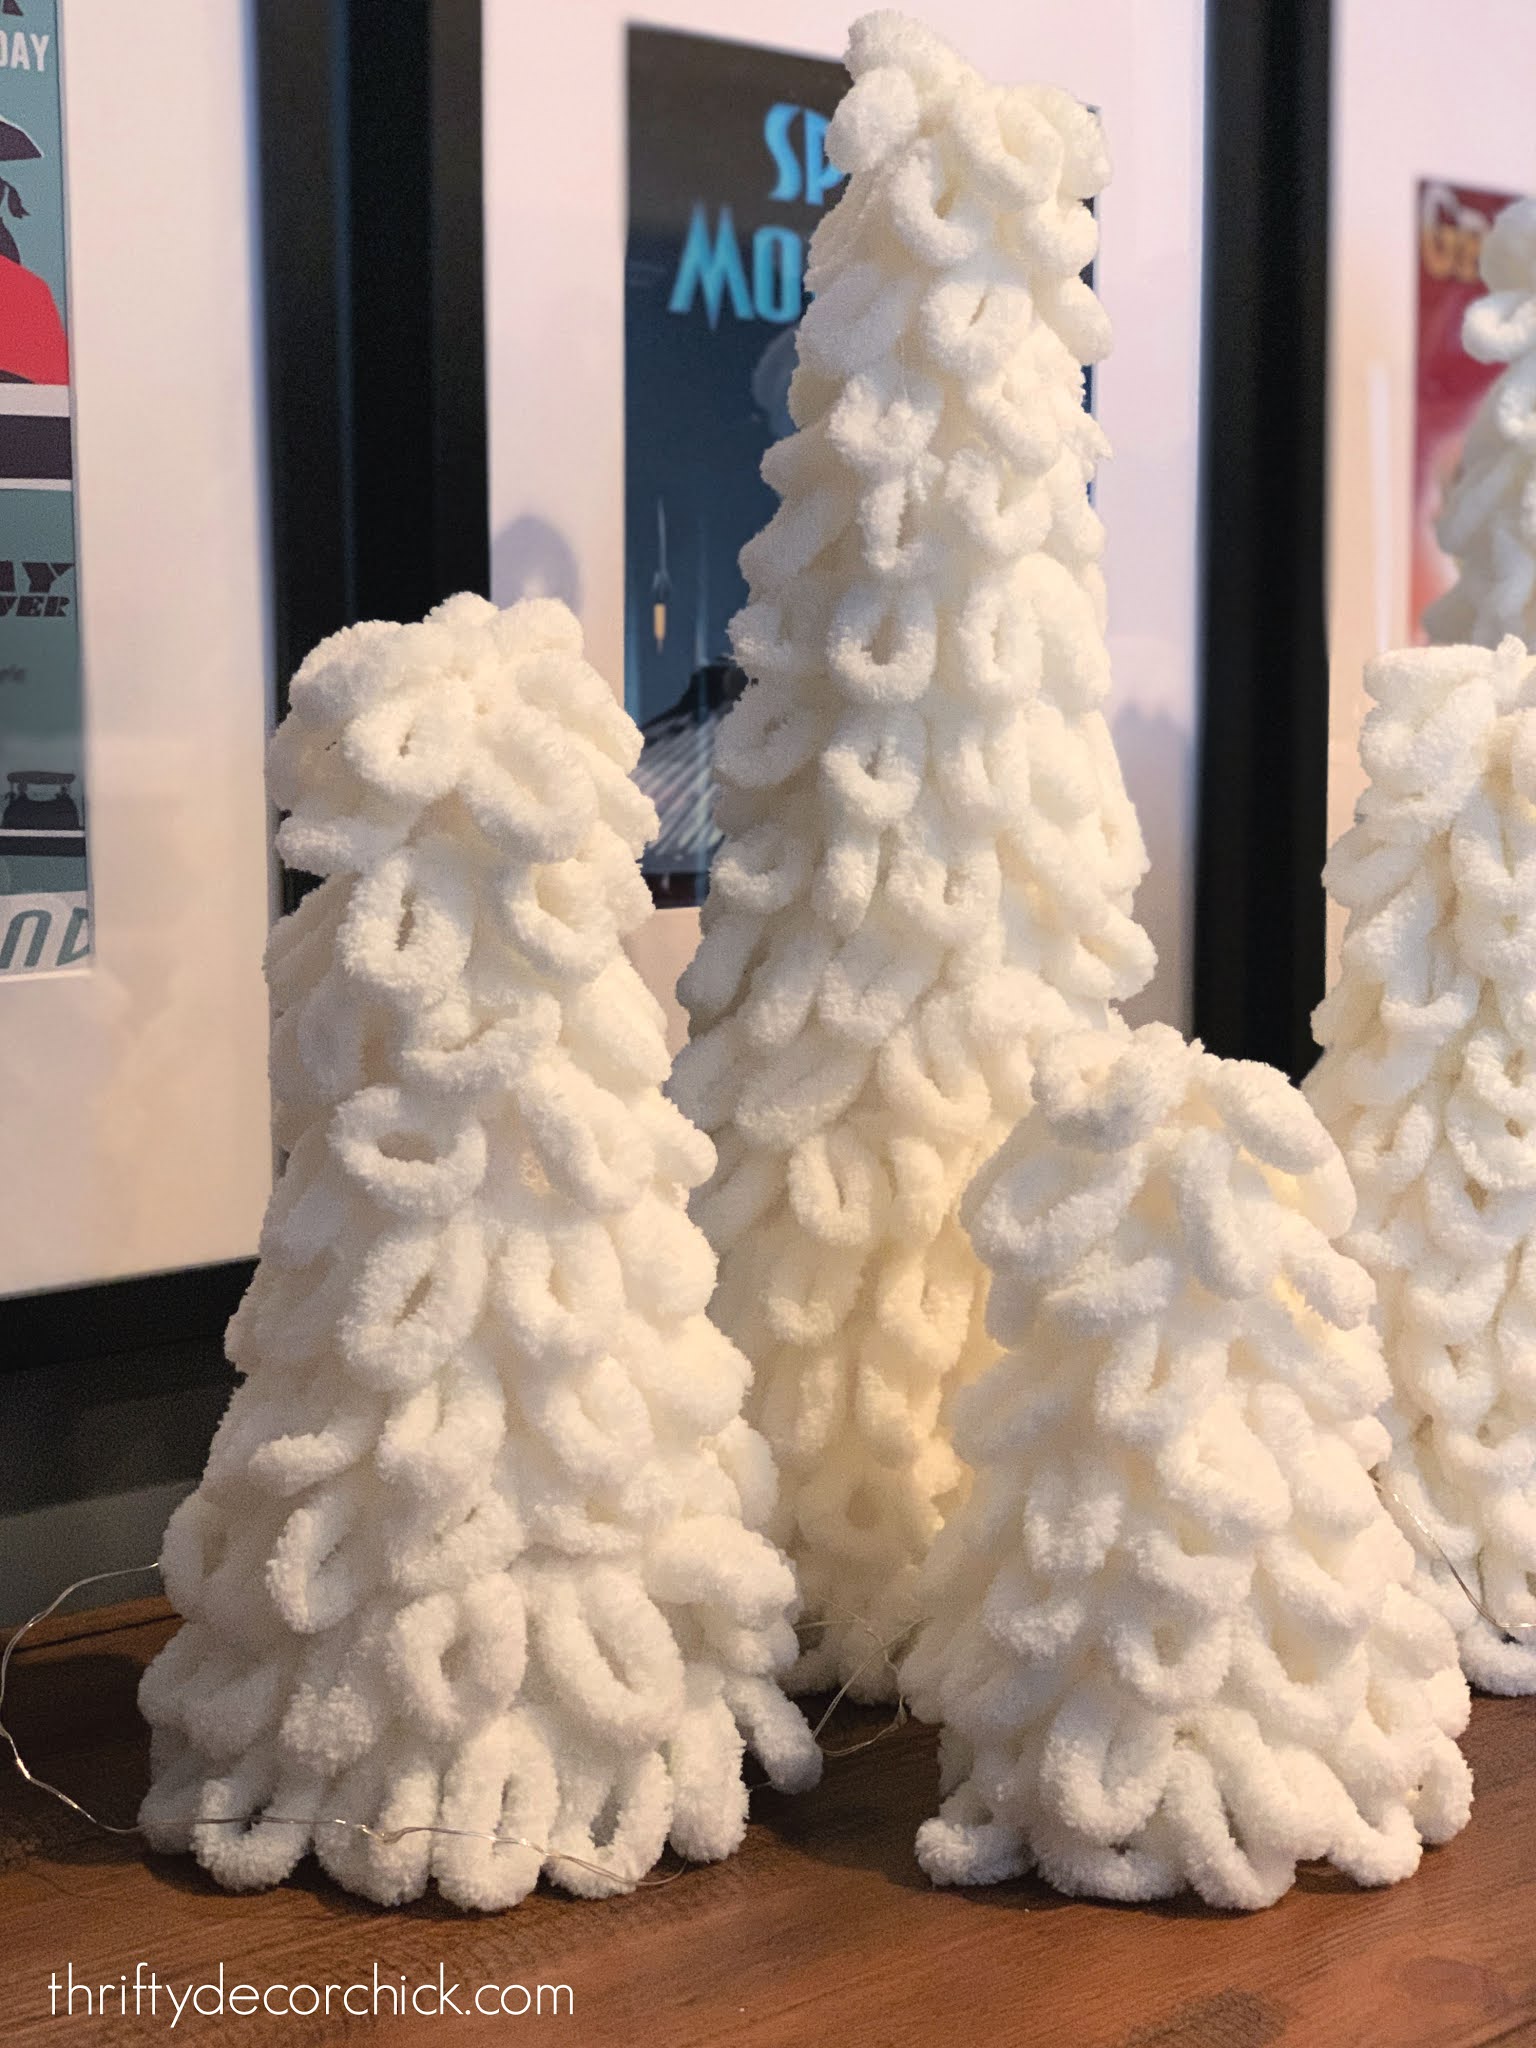
It's like a snowy, fluffy forest! :) I think they are the cutest.
You don't even have to do anything to cover the white foam -- it disappears behind the yarn:

I giggled every time I finished one. They are adorable and SO easy and inexpensive!
The foam products are often on sale, or you can use a coupon at one of the craft stores.
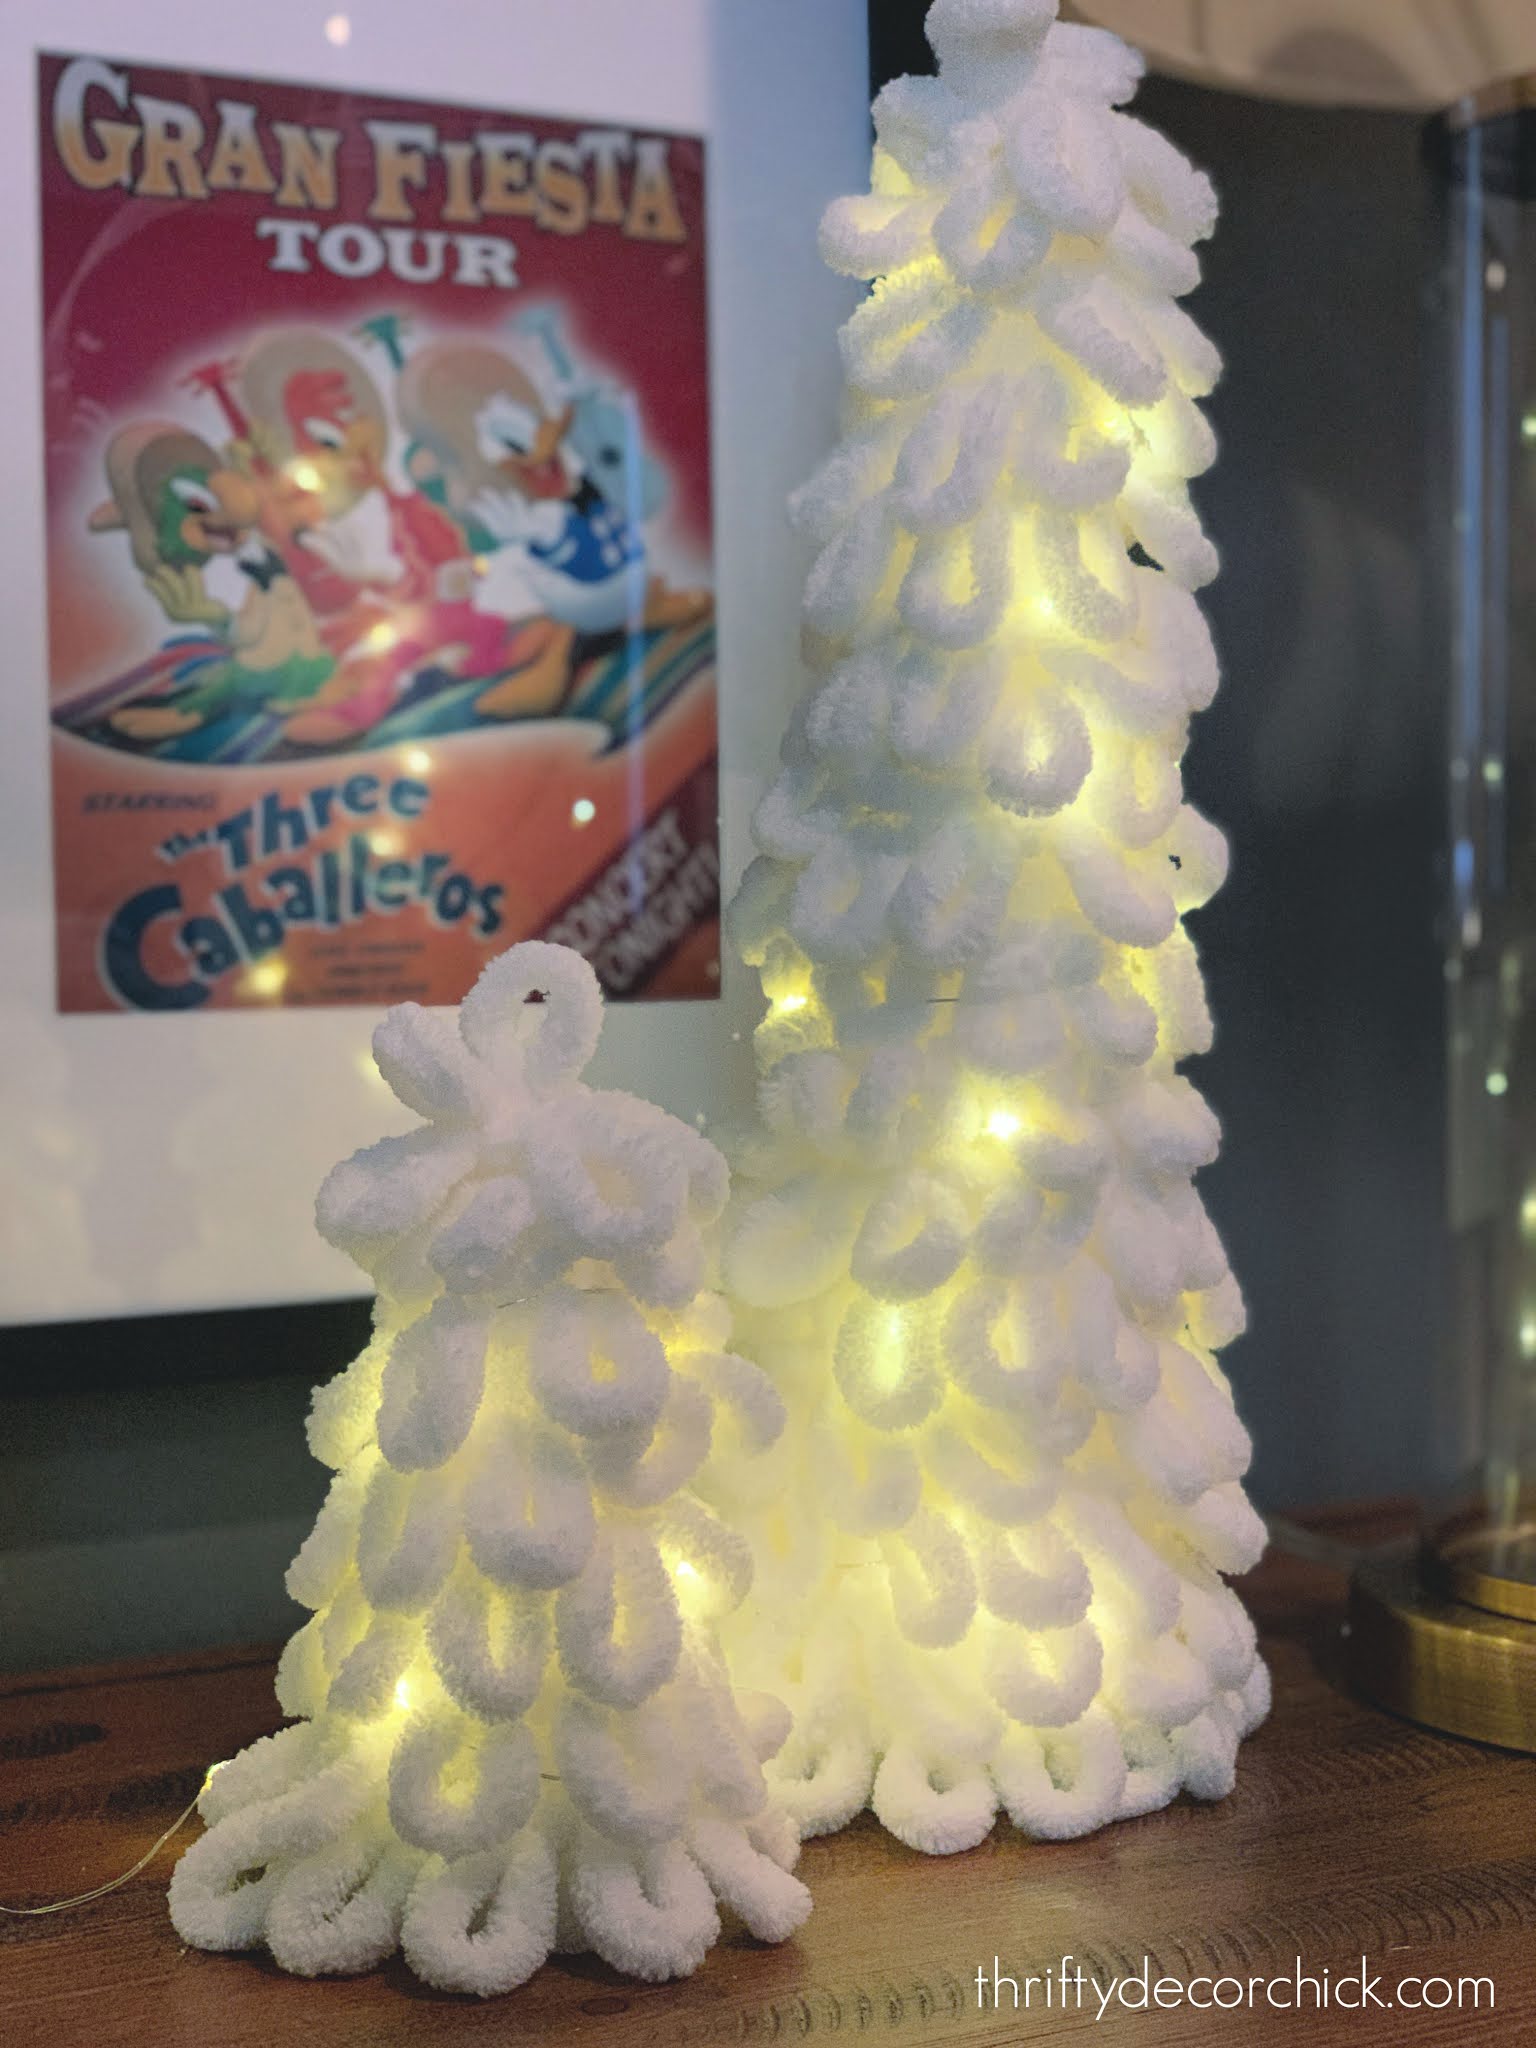
I added some of the fairy lights I showed you here for a bit of twinkle:
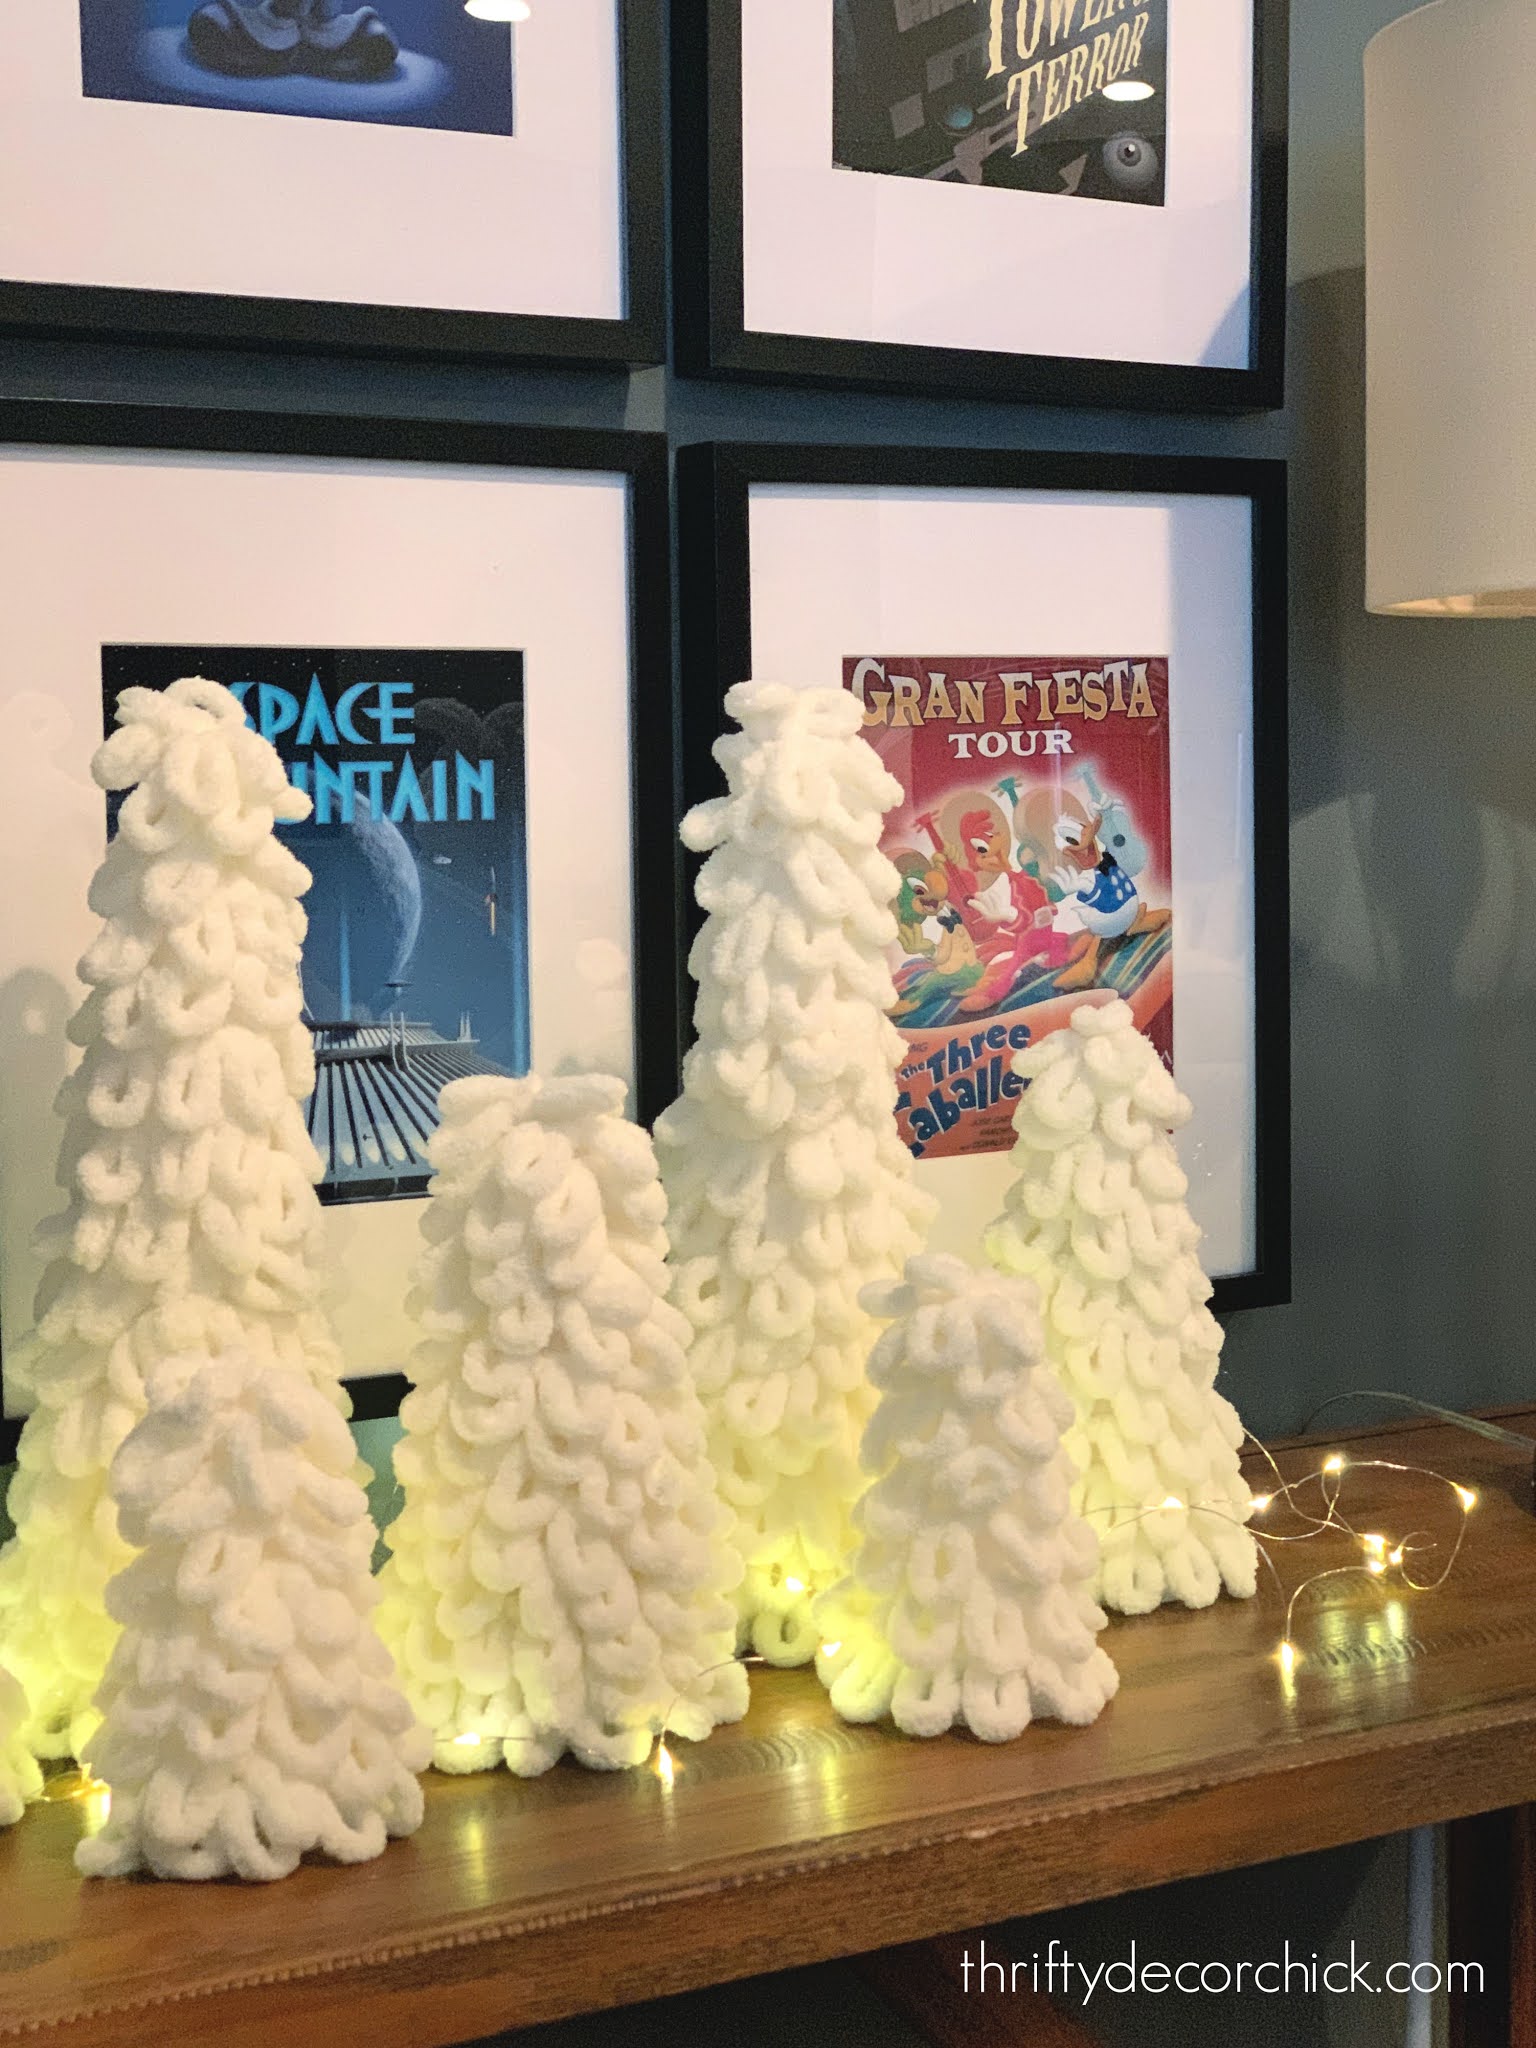
You can also have them glow from "inside" by running those tiny lights under the yarn around the tree:
You can dress this Christmas tree craft up in so many ways!
I wanted something simple but fun on this table in our basement and these were perfect!
I went super cozy and a bit rustic with the decor down there, so they fit right in:
I love our "snowy" fluffy trees! I think they may have to go on the mantel next year instead. :)
I used the Bernat brand finger knit yarn (here are all the colors they offer!) but the cream seems hard to find right now. This one looks identical, you just don't get as much.
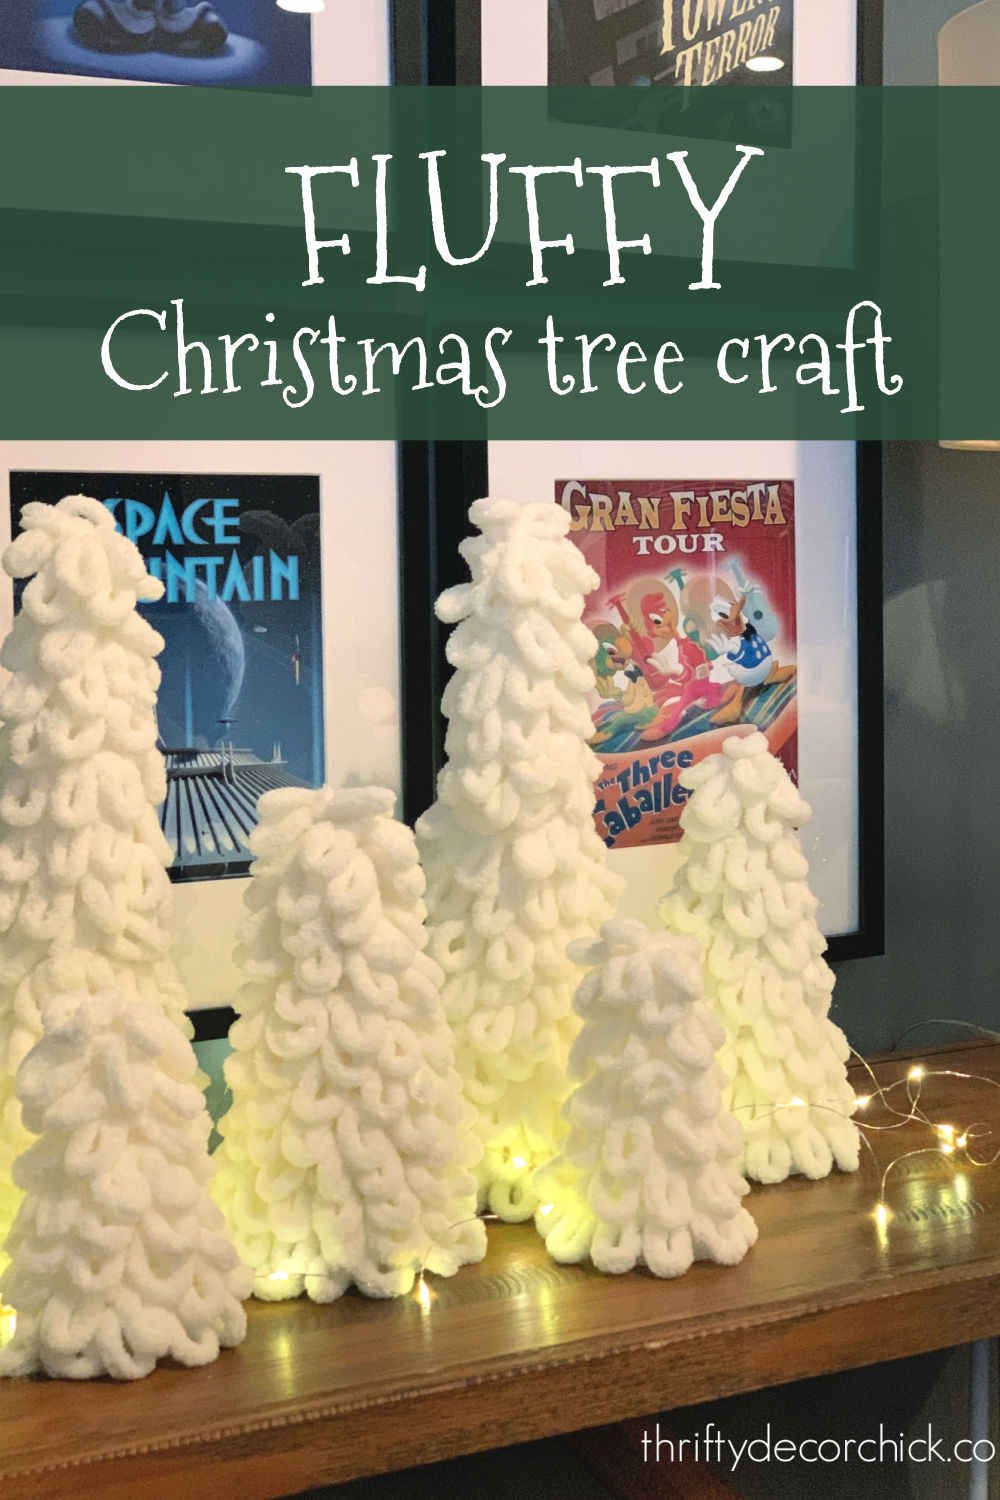
You can pin this craft for later using this image:
Now I'm off to make a scarf with the remaining yarn I have! ;)
If you have extra foam cones laying around when you're done, try my Santa hat cone craft:
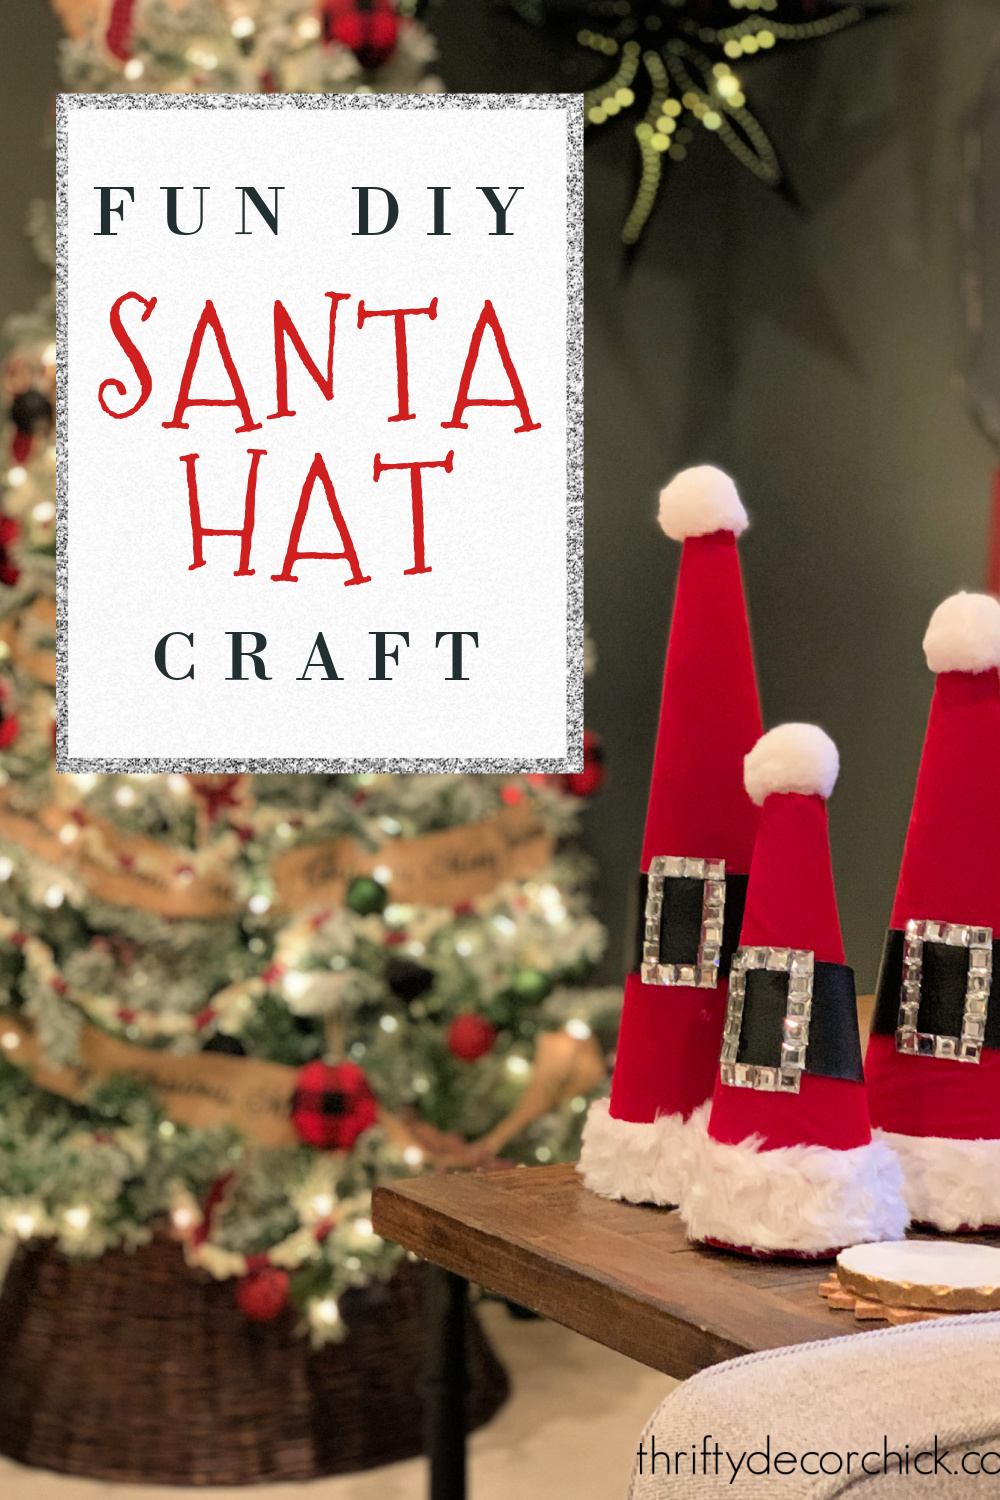
Check out a bunch of my favorite, easy Christmas crafts here!
Never miss a post by signing up to get posts via email.
Via https://www.thriftydecorchick.com/2020/12/fluffy-yarn-Christmas.html An adorable holiday gnome craft...made with a detergent container!
Welcome to the cutest holiday craft you'll ever see!! I giggle when I tell people about it, giggled while I created it and giggle every time I see it.
Just adorable! And SO easy! This is a super fast craft and doesn't take much as far as craft supplies or tools.
I saw this finished product on Facebook weeks ago, but didn't see the blogger who created this project. *If you know who first did this cute craft, please let me know so I can credit them here.*
The only "tool" you'll really need is hot glue. Even regular glue may work, but it will take longer to complete.
First up, you need a detergent pod container:
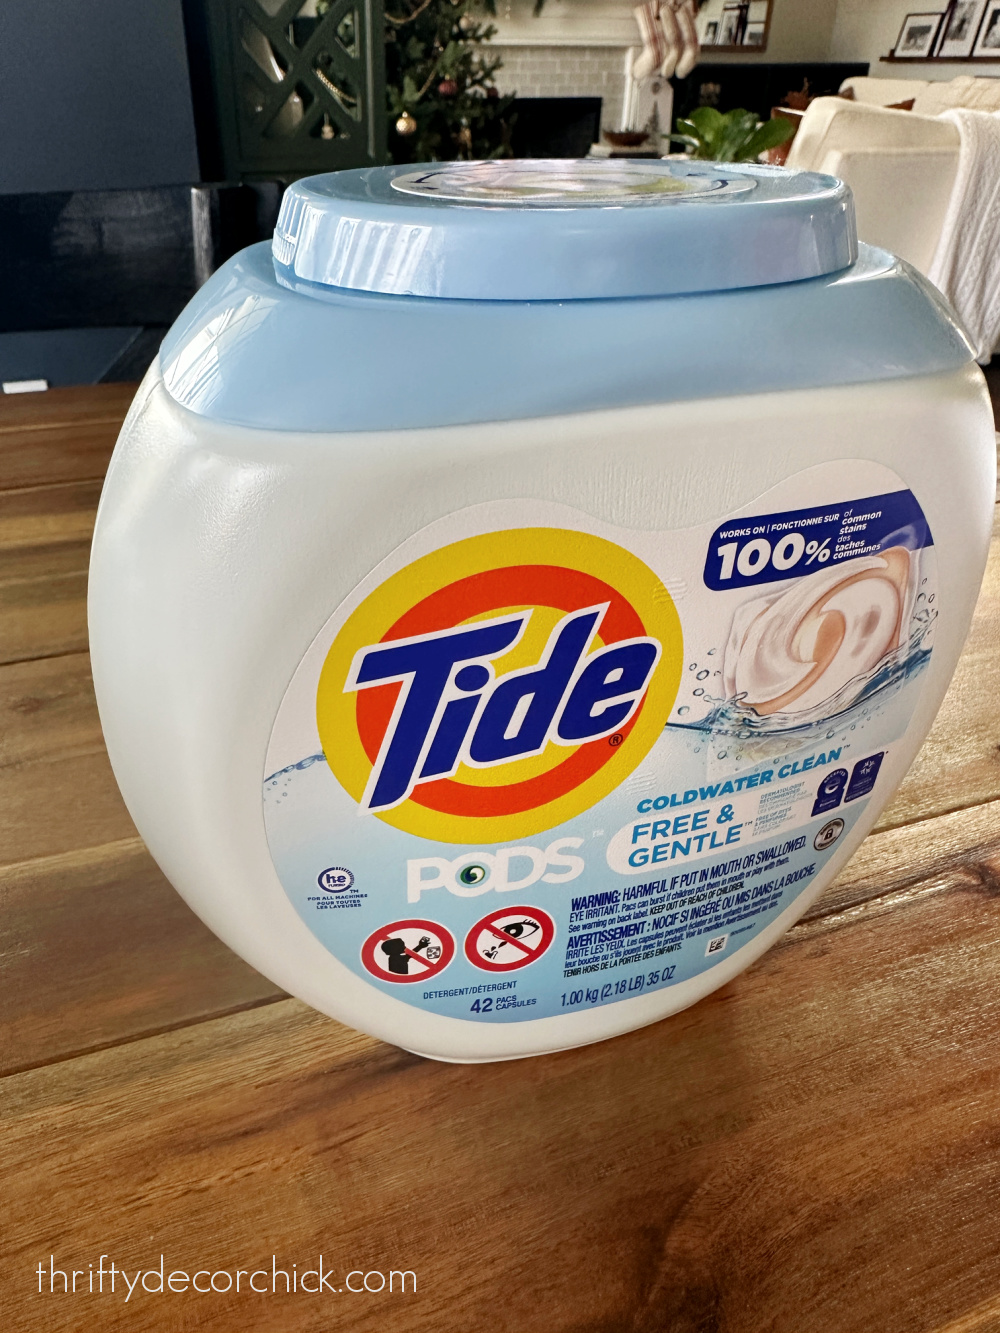
The brand doesn't matter obviously, it just needs to be this shape. I used the 42 count container and it was perfect.
Next, you'll need fluffy fabric or yarn to make beard for your little gnome.
Craft stores sometimes carry a wide "ribbon" with white curlicues, or you can find this soft white material in the fuzzy fabrics:

This post may contain affiliate links for your convenience.
I may earn a small commission when you make a purchase through links.
See my policies and disclosure page for more information.
I found mine at Hobby Lobby but I've seen similar options at Joann Fabrics as well.
The kind woman at the fabric cutting counter shared a great tip for cutting this fluffy fabric!
Snip the fabric at the end and then tear it on the grain. This eliminates little tufts of fluff flying everywhere.
You don't need much of this fabric -- the thickness will depend on how long you want the gnome's beard to be. :)
I hot glued the fabric all the way around the plastic container:

Now decide on your gnome nose! I had a few options and will share all of them so you can see how they look.
I used a small drill bit to put a hole into a wood bead and also into the plastic pod container:
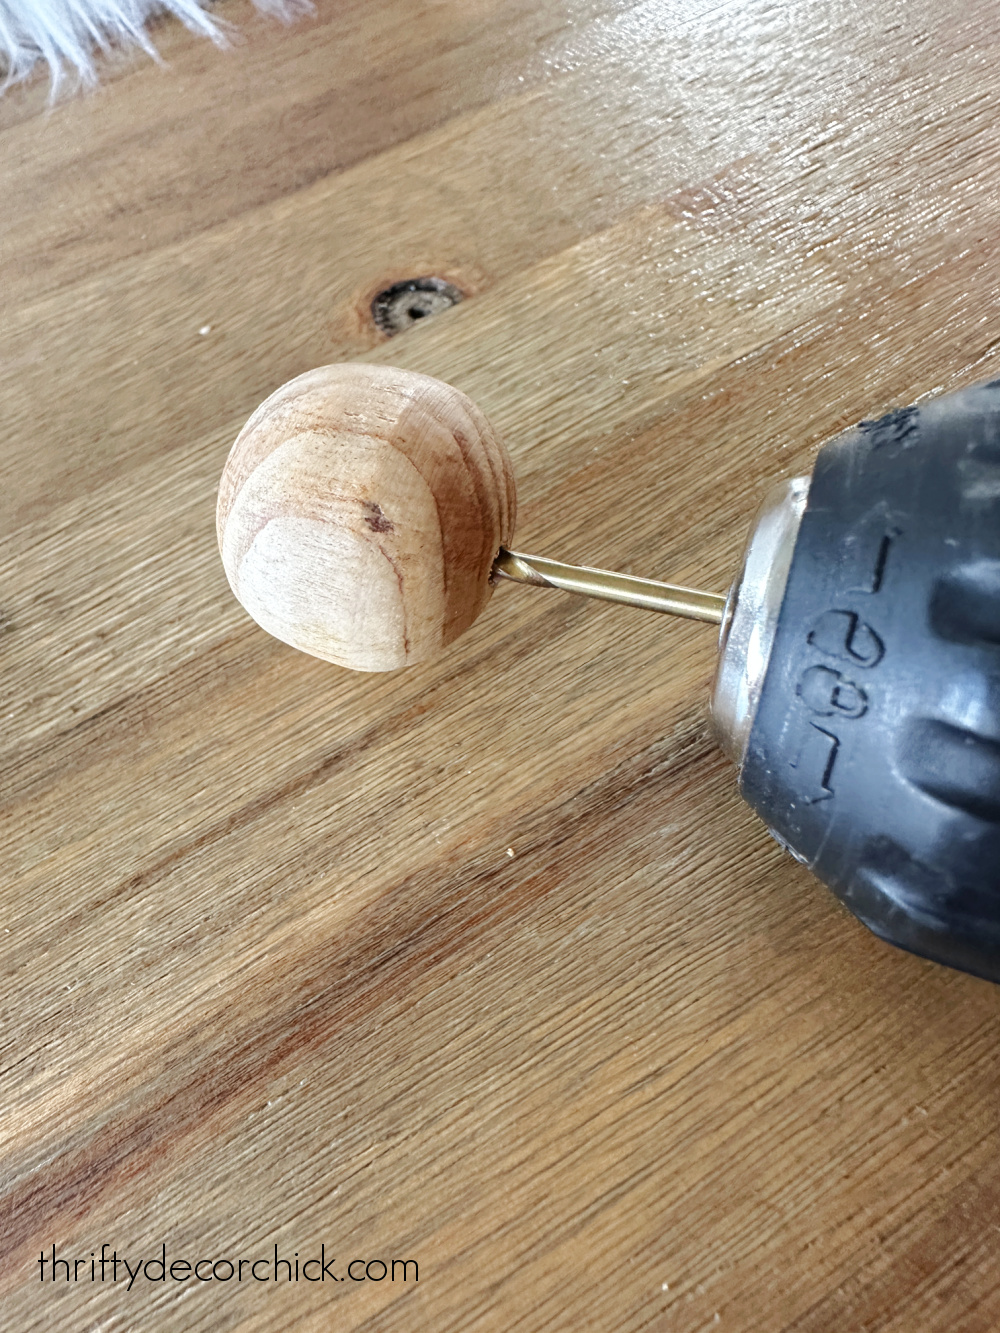
I put a small screw through the inside of the container to attach it to the front.
Hot glue or epoxy would also work if you don't want to mess with all of that. The screw just makes it more secure.
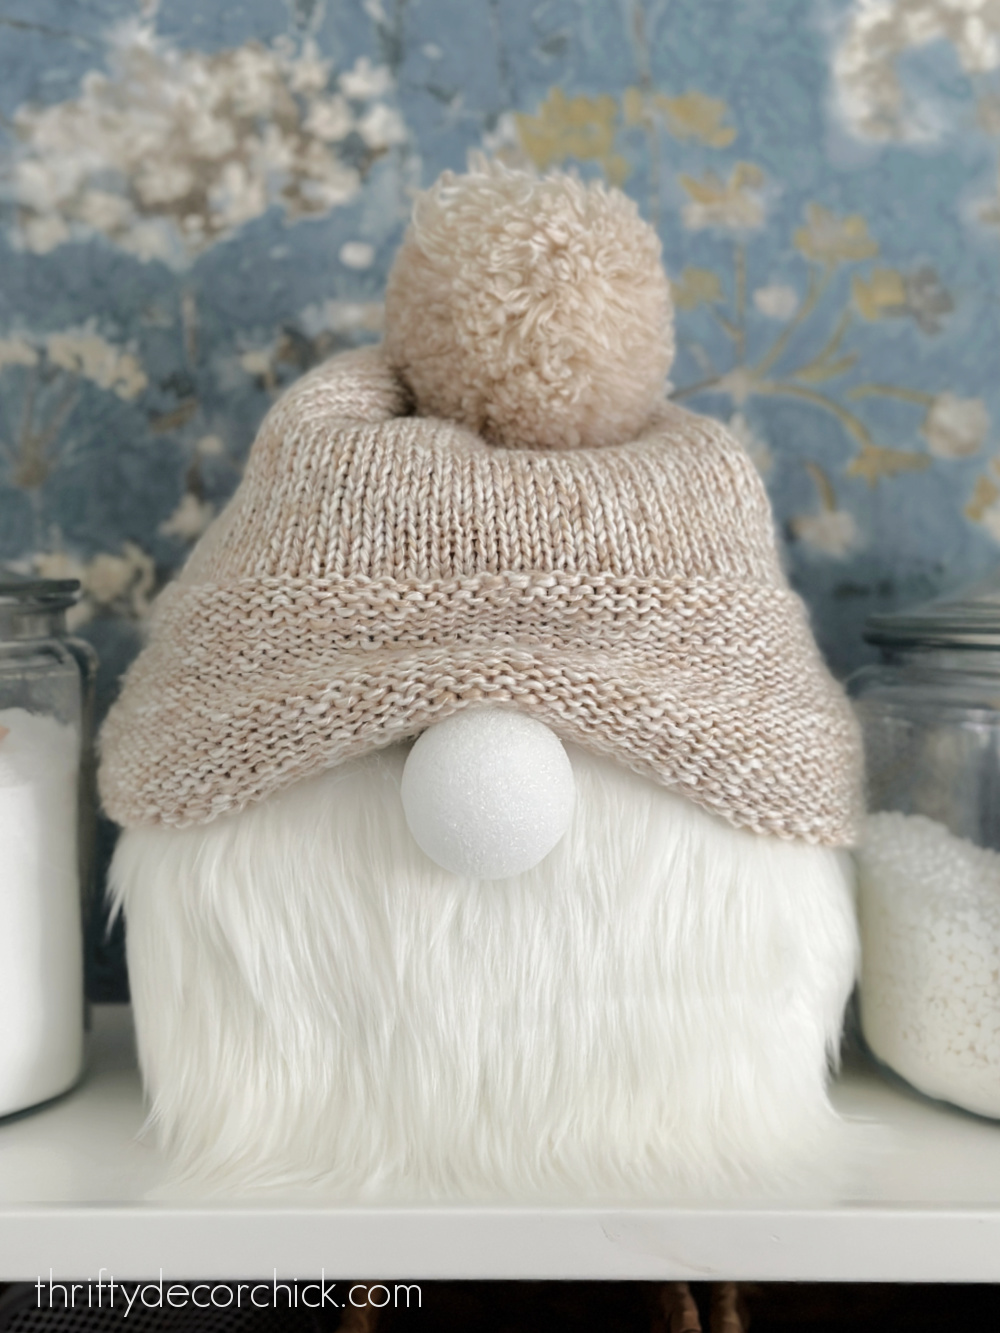
Then, the final step that completes your adorable holiday gnome...a knit hat or beanie on top! I just used one that I have:

Come ON! Is that not the cutest?? The pom on top makes it!
I'm not even that big of a gnome fan...but this little guy is just too fun.
By the way, you don't need to glue the hat on -- it will slide right on and you'll want to pull it down a bit so it slouches onto his nose.
There are so many options for the nose! I cut the back off of a styrofoam ball (to make it flat) and then hot glued it on:
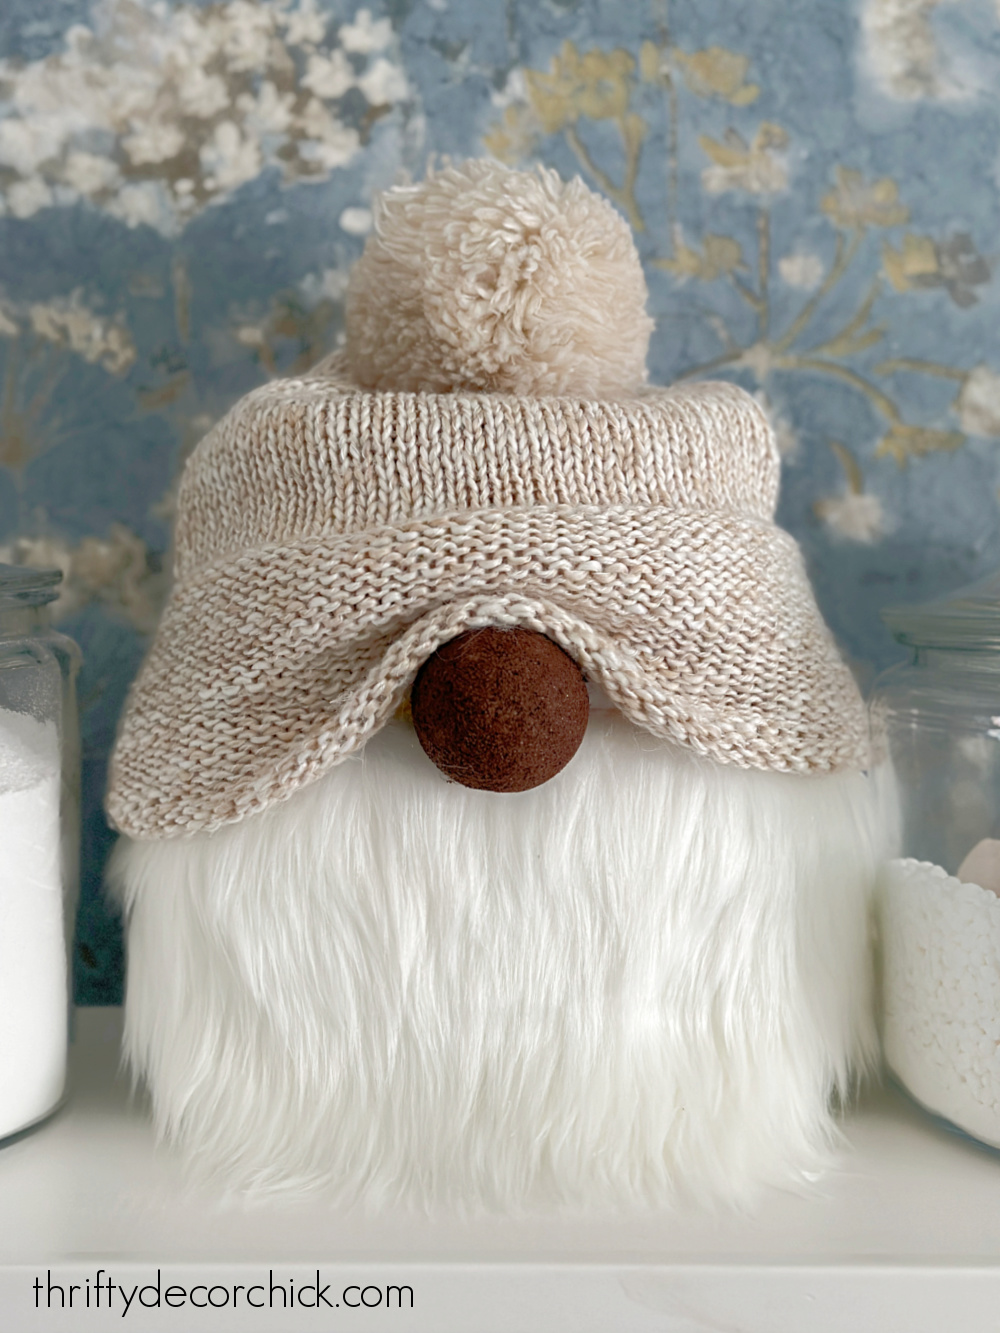
Then I used Burnt Umber craft paint to paint the styrofoam ball a darker color:

And that was just as cute! I mean...you can't go wrong:
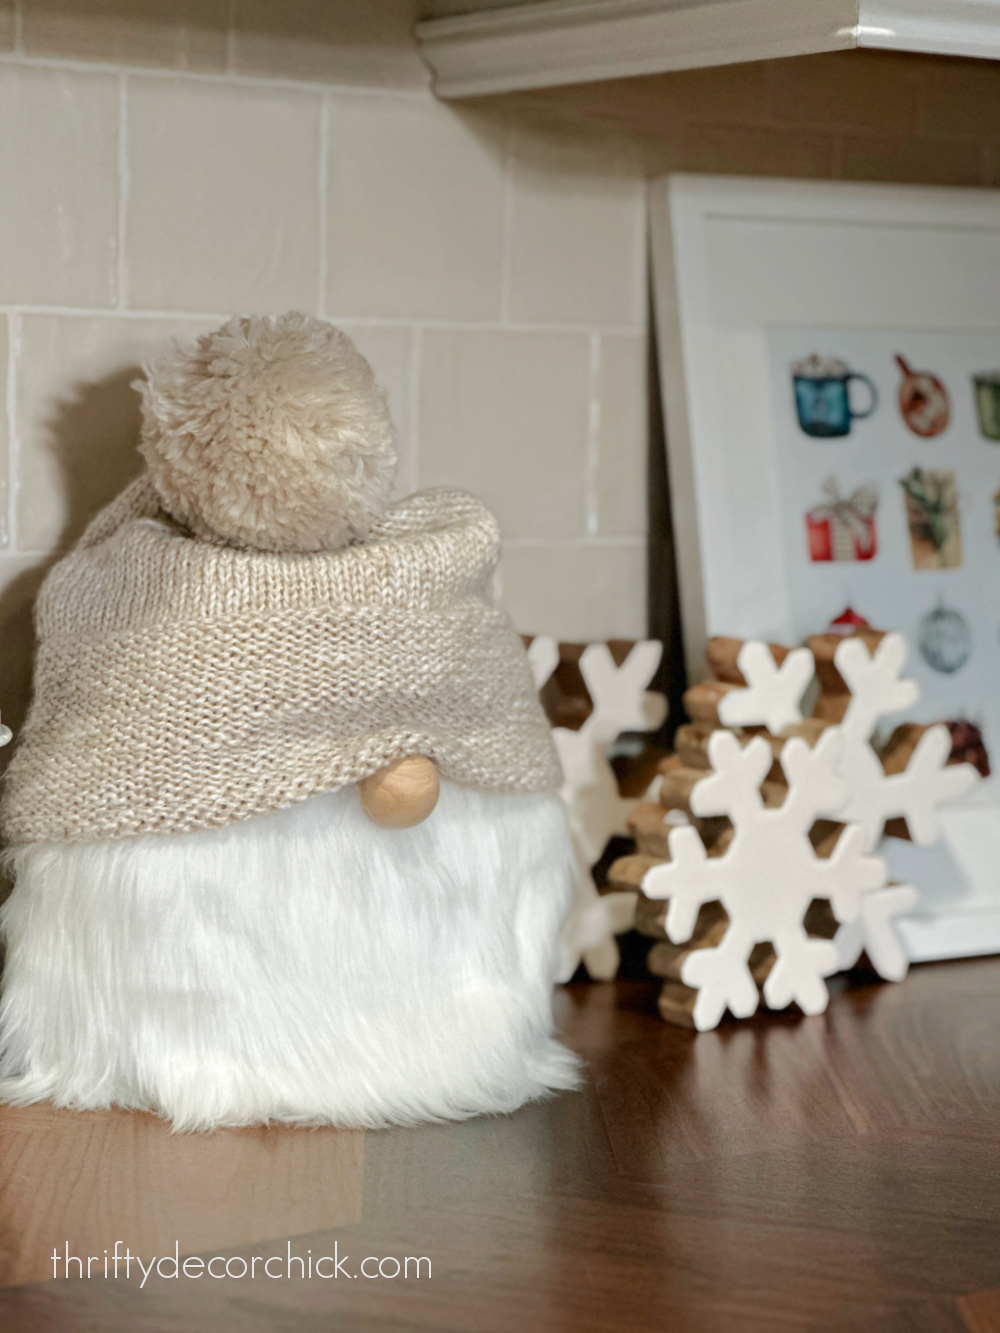
Or you can use a little yarn ball. This is one of my favorites:

I went for a more neutral look because my hat was this beige color, but you could make this detergent container gnome SO many ways!
I'm going to make a few as gifts, and have this bright red beanie in my cart to use as well. So cute!!
For ours, I ended up with a slightly larger wood bead for his nose. The smaller one was a little too tiny for me:

I put him on my DIY washer and dryer shelf for photos because he looks so cute in here. And because he's a detergent container, duh! ;)
When you think about it, this would be a really practical gift. I think when I make more I'll keep the pods in there (I had already poured ours into the glass container we use). This would also give it some weight.
So not only will the recipient get a household product they can use, they'll get a cute beanie for the winter and an adorable holiday decoration!
If you're looking to make one of these as a gift and are starting from scratch, you'll spend anywhere from $30 to $40.
But if it's for your home and you have most of the parts already, it will be next to nothing! I only spent $6 for this project and that was for a ton of the fluffy fabric.
Let me know if you try this sweet little holiday/winter craft out for yourself! ?
Never miss a post by signing up to get posts via email.
Via https://www.thriftydecorchick.com/2022/12/make-this-cute-winter-gnome-with.html |


