|
Hello hello! I'm back! I hope you've had a beautiful holiday season! In the past month we've traveled to Florida (Disney), Chicago (fun and work) and California (Disney again! to join my husband on a work trip). I slept for 12 hours last night and am ready to usher in the new year! :)
Usually by now I have every bit of Christmas down, some decluttering done and tons of cleaning started...but right now everything is still up and the house is an absolute pit. I'm just going with the flow. We'll start out the new year doing all of those things instead!
Today I'm excited to share my biggest and best DIY projects of the year! I was thinking of what to share and couldn't come up with a ton at first. And then I started looking through our house and realized I was quite productive. That's always a great feeling!
Here you go -- my top DIYs of the year! I hope you enjoy! (You can see my list from last year here!)
1. Office transformation with built ins
I finally tackled the back wall in my office this year! The room went from this:

To this with the wall of built in bookcases. See all of the steps at that link!:

There are a couple more projects I plan to tackle in here this coming year. Can't wait!
2. Small kitchen projects add up to a lot of character
I did a TON of little DIY projects in our kitchen this year. Individually they may not be much, but overall they made a big difference. Here's how the kitchen looked before:

And here it is now, after an island makeover, light rails added to the cabinets and built in storage next to the fridge:

Here's another look before:

I also added custom cabinets ends and furniture feet to the cabinets as well. You can see all of the updates and links to the how-to instructions here!
Here's another look at the after! (It's like Where's Waldo of little DIY projects!):

You can see all of the updates and links to the how-to instructions here!
3. Fireplace character with mdf trim One of my favorite projects of the year was one of the cheapest! I painted our big fireplace wall last year, but had always planned to add something to it: 
Enter about $40 of mdf to create a grid design and now it has tons of character!:

I also figured out how to make a large coffee table for way cheaper:

I have a new rug on the way for this space and I can't wait!! I think it's going to be lovely in here.
4. Toy and game storage that looks great
Our basement got some attention this year as well. I wanted to use this long wall for storage (but it had to look good!).

I added inexpensive bin storage and a wall of picture ledges. We love the dark gray color in here and I plan to continue it through the basement family room:

5. Pretty mud room makeover
I was gung ho on a mud/laundry room makeover earlier this year and only got half of it done. The side that's finished looks pretty great though! Here's how the room looked before:

And after I added a planked wood wall, painted and changed up the built ins with a no sew bench cushion:

I have big plans for this room that I will share with you soon!
6. Master bedroom makeover with wallpaper
Our master got some updates as well. We were able to get the hardwoods (that run through the rest of the main level) installed and we LOVE it! Here's how the room looked with the carpet:

And here's a peek at how it's changed with the flooring, wallpaper and trim so far:

I still need to paint everything under the trim -- it's a huge project so I've been putting it off for the new year.
7. Adding character to big wall with trim
Our morning/dining room underwent a big transformation last year. It's one of my favorite spots in our home!:

Earlier this year I added some simple trimwork to the wall to create more interest and character:

It was just what the room needed! Paint and molding make such a big difference!
8. Hanging wallpaper in small hallway
I tried out wallpaper for the first time in the little hallway off that room. Here it is before (after I changed the recessed light to a pendant):

And here it is with the wallpaper I love SO SO much:

You can see all of the details and how to install wallpaper here! I also painted the ceiling, changed out the door trim and changed out the shade on the pendant: 
9. New patio with fire pit
And last but not least -- the new patio in our backyard! I didn't do this one myself, but I did all of the finishing touches! I don't have a true before of our yard, but this is how it looked right after they finished the patio:

Here's how it looked after I added the finishing touches to it!:


You can see the full patio reveal and tour here.
I planted all of the plants (all found on clearance) and did the landscape lighting as well. We absolutely LOVE it out there and plan to add more landscaping in the next year:

There you go! I tried to round this up to ten projects but these nine were the biggest and best. ;) I'm thrilled with what I accomplished this year and can't wait to start on new projects! I'm always so ready to get my hands on something new this time of year.
I'll be back with my house plans for the new year soon! Have a safe and fun new year!
Via https://www.thriftydecorchick.com/2019/12/my-biggest-and-best-room-makeovers-of.html
0 Comments
I'm interrupting the Christmas decor posts for a quick DIY tip that I've used a few times over the years!
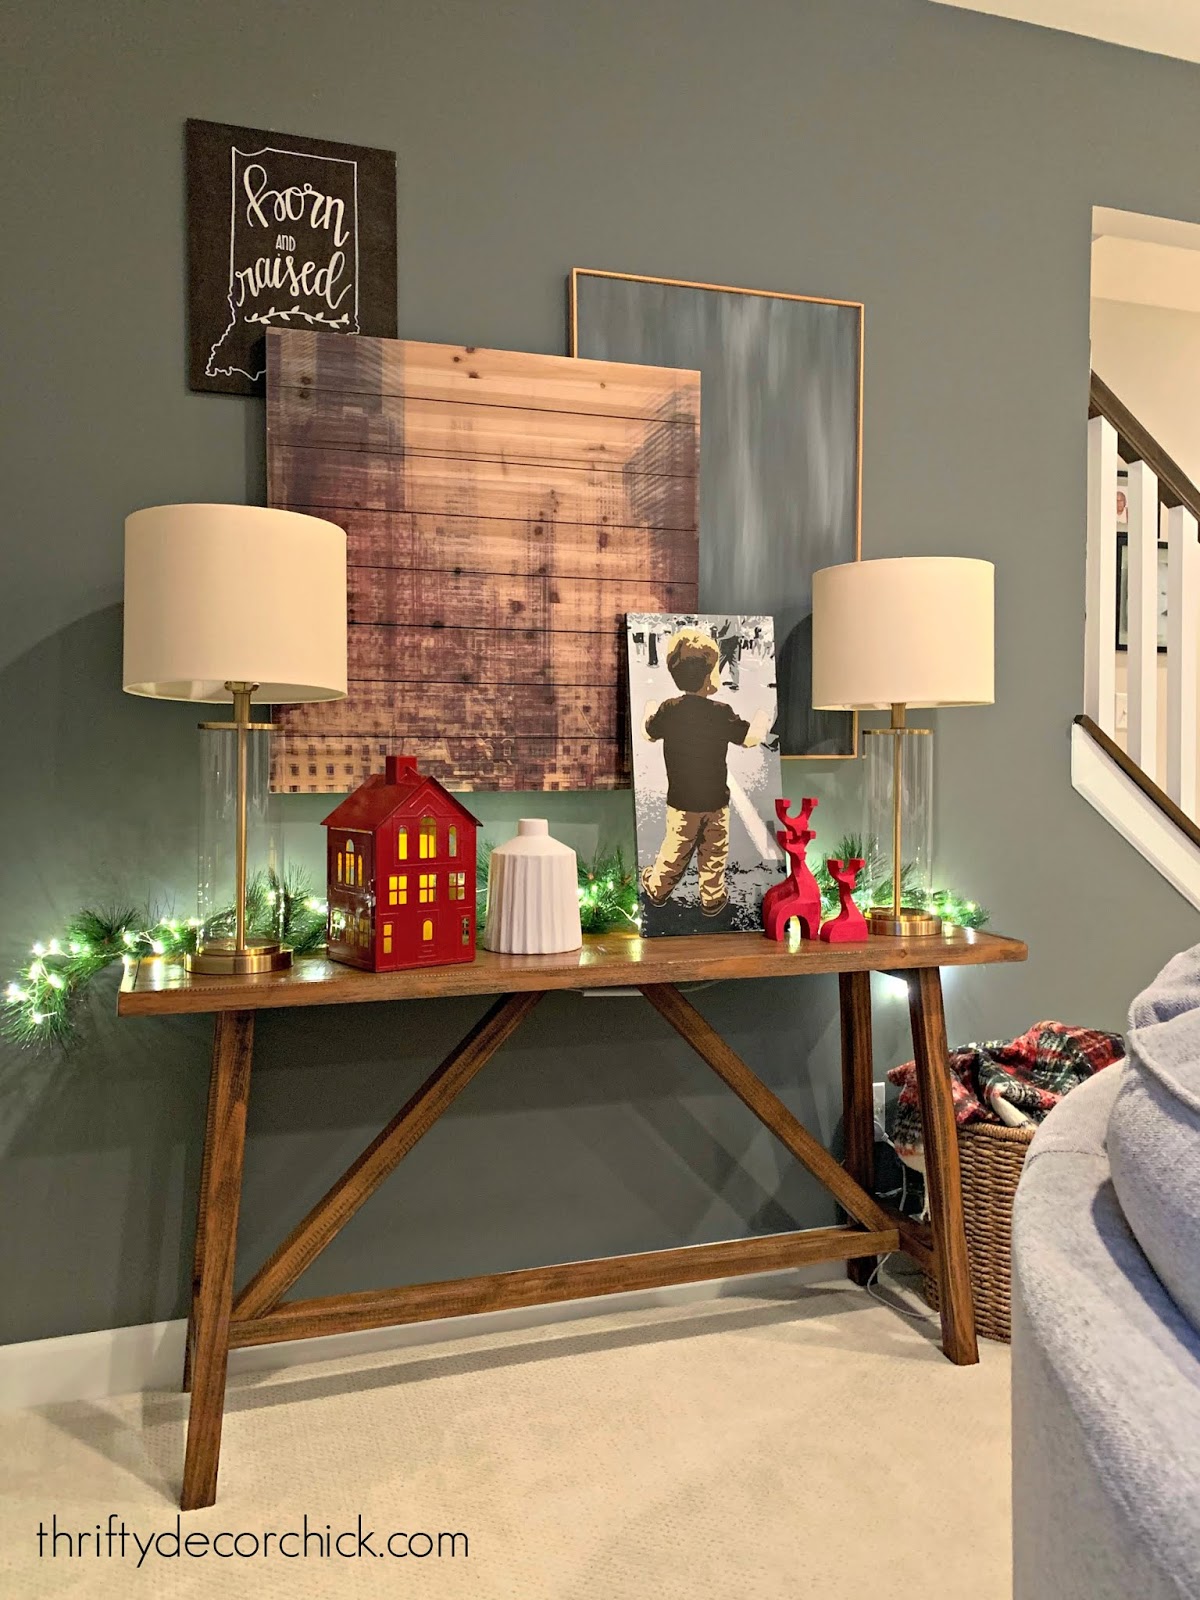
We have a table in our basement that I LOVE but haven't really decorated the way I want. I got the new table put together earlier this year and then rested some art against the wall:

This post may contain affiliate links for your convenience.
See my policies and disclosure page for more information.
Since then I've been planning to hang that art in a collage, but in a slightly different way. I got it done the other day, but took everything down so I could show you the steps! :)
(I shared that table in this post and loved it so much I got it for this spot!)
This is my almost clean slate:

I started with the longest art and hung it kind of high and to the side:

I painted that myself years ago (very similar to how I painted this art). It's just a basic canvas with a simple wood trim.
My next piece was large and square, and I wanted to layer it all a bit. To do this, I cut a small scrap piece of wood and hung it where the nail for the art would go:

I screwed it in and then put the nail in for the art. Using both keeps it from spinning around.
I hung that first so I could hang the second piece of art in front of the first:

You get where I'm going with this? :) The scrap wood brings the second piece to the same distance as the front of the first so you can layer them. I hope that makes sense!
If your art wobbles or doesn't hang straight you can slide another scrap of wood behind on the other side:

For my next piece I leaned one of our favorite art pieces (our son "conducting" the marching band) against the first two:

And then hung smaller art in the other corner. Here's the final result!:

I prefer things in threes and fives, so I tried adding one more art piece but we all agreed it was too busy.
Play around with it! I hear all the time that so many of you are afraid to hang art because of the holes in the walls. Regular nails will leave the smallest little hole that you'll never notice. I promise! There are plenty in this wall that you can't see. ;)
I was using art that we already had so I was able to do this pretty quick and for no money. I added some garland, lights and a few Christmas items before calling it done:
You may need to make your wood scraps thicker as you go. They allow you to keep building and layering the wall as much as you'd like. When you're creating a layered wall I recommend using a variety of sizes and placing them at varying heights. Have any of you tried this version of a gallery wall? I plan to be back before Christmas, but with family plans it may not happen. If I don't talk to you before then, have a very safe and MERRY CHRISTMAS!! :) P.S. See this post to read how I hide the lamp cords! I hate them. :) See more of our home here. To shop items in our home, click here! Never miss a post by signing up to get posts via email. Via https://www.thriftydecorchick.com/2019/12/how-to-create-layered-gallery-wall.html
Hello hello! The countdown is on! Are you ready? I didn't get all the decor out that I wanted, but at this point it may not happen. I'm so close to done with shopping and about half way done wrapping, so I'm feeling pretty stress-free at this point.
I probably shouldn't have said that out loud. ;) Today I'm sharing one of my favorite Christmas traditions -- our hot chocolate station that I LOVE putting together every year. It usually changes up a bit year to year but it's always so festive! This year I set it up on the buffet in our dining area: 
This post may contain affiliate links for your convenience.
See my policies and disclosure page for more information.
I keep all of the staples we love in our hot chocolate handy -- marshmallows of course! Red hots for a touch of cinnamon and the peppermint Hersheys so you get just hint of the peppermint with an extra shot of chocolate. ;) I also love the peppermint sticks for the flavor, plus they are great for stirring. I don't know anyone that uses straws for hot chocolate, but they are CUTE and I love them so they are always on on the tray. Ha! I found the softest Christmas table runner at Target that I placed over the buffet: 
The ends are the best part -- you can get a better look at the puff balls and fringe on the end here:

I always struggle with centerpieces, all year round. I just never feel like I get it just right because it's too little or too tall or whatever.
This year I went SIMPLE and just threw my eucalyptus garland down the middle:

This stuff works so well all throughout the year! You can also see it on our mantel here.
I added a few berry pics here and there (told you I use those everywhere!) and then some votives tucked in as well. Those are a mix of Goodwill votives and yogurt containers I save. :)

I love the moody blue in our dining room and family room! You can see the simple way I dressed up those walls with trim here.
Other than that I just hung some wreaths from the windows and added some pillows to the window seat:


Oh! And the garland wrapped around the light fixture. :) Greenery goes such a long way when it comes to making a room feel festive!:

We host quite a bit, especially around the holidays, so I didn't want a ton of stuff in here that would get in the way. I love how it all came together!
Our morning room isn't as fancy as a dedicated dining room. It's open to our great room and kitchen, so I try to keep the decor low key and cozy:


Do you go all out in your dining room or keep it simple? Have you ever put together a hot chocolate station? It's such a cute spot that serves us well even beyond the holidays!
Have a wonderful weekend my friends!
Via https://www.thriftydecorchick.com/2019/12/my-favorite-holiday-tradition-and-our.html
Hey there my friends! Hope your week has been great! I've been finishing up some shopping -- I just have a few more people to buy for and we're done. I'm feeling oddly ahead of the game this year and I love it. I even have about half of our gifts wrapped already.
This is not typical but it's a good feeling! :) The other day I was looking through my old Christmas craft posts and fell in love with so many of them all over again. I thought it would be fun to gather my top ten Christmas crafts/projects with you! These would all be fun to do with the kids, for a crafty girls night...or just by yourself because you want to! I love all of them so much. I made these pretty paper poinsettia leaves years ago and put them in a frame: 
They'd also be beautiful as a garland or used as gift tags! They were SUPER cheap to make too.
I've made a ton of advent calendars over the years, but this long knock off advent is still my favorite:

You could make it any color, but I LOVE the black chalkboard look I did. I bought simple paper bags to use for each day.
You know me and pillows. And holiday pillows. I love them! This is my favorite way to make seasonal pillows for WAY less:

You'll see these holiday pillows all over our house during the season. And in the fall, for Halloween...all of them. ;)
This DIY candle holder using dollar store supplies is so easy and such a classic look! You can dress them up so many different ways for the seasons:

I also love these DIY snowy candles I made years back. They are so SO pretty when lit up! I especially love them with floating candles and cranberries:

You probably have the secret ingredient for the "snow" already!
This Noel art knock off is another favorite -- super easy and inexpensive! I'm pretty sure I used an old Goodwill frame for this one:

I made this cute Christmas grapevine wreath a couple years ago and it's on my door again this season:

I found the skates at the dollar spot and added my own touch. I had everything else so this one was super cheap!
OK...this one is an all time favorite. I absolute LOVE these DIY Christmas globe frames I made last year:

I may have squealed a bit when I pulled them out of the bins this year. :) I don't think I ever shared the other version I made last year:

These are really inexpensive to make and there are SO many cute papers and cut outs at craft stores.
Alright, I keep saying each one is my favorite, but this one REALLY IS my favorite. I made these Santa hat cones forever ago and they've been a popular post since:

A couple of the buckle pieces have fallen off in storage, but once I get those glued back on these are going out again this year. They have held up remarkably well otherwise! SO cute.
And last but not least, my latest Christmas DIY, the large Christmas gift art I made last month:

They look great both inside or outside on the porch -- you can see the fun spot I found for them in our house in this post!
I have years of Christmas craft projects under my belt but these are some of my absolute favorites! To see all of my holiday content you can go here. Have you tried making any of these fun projects for your home?
See more of our home here. To shop items in our home, click here! Never miss a post by signing up to get posts via email. Via https://www.thriftydecorchick.com/2019/12/my-top-ten-must-do-christmas-crafts.html Easy and inexpensive holiday card display on doorHello all! I hope your week is getting better with each day!I wanted to share a super quick, easy way I display our holiday cards – I started doing it a couple years ago and have been meaning to blog about it every year since. All you need is some ribbon and a door. Told you, easy! OK, there are a few other minor things, but really, it’s simple. I change up my ribbon every year, but you could use the same year to year too: 
This post may contain affiliate links for your convenience.
See my policies and disclosure page for more information.
I just wrapped it around our coat closet door and secured it inside with upholstery tacks (cause that’s what I had handy):  Yes, it will put a small hole in your door, and no, no one will ever notice it. I just use the same holes year to year. Just wrap the ribbon around top to bottom and across the door. Then you’ll need something to hold the cards on. I found these little tiny clothespins years ago at a craft store but you can find them here online:  They aren’t super strong but hold a card just fine. It takes about five minutes to set up and no time at all to add new ones as the cards come in:  And I love having it out in the open where everyone can admire the pretty cards:  Last year I put a big puffy bow in the middle to make it look more present-like, but I lost a lot of card space with that bow, so it’s gone this year. :) By the way, I’m pretty darn proud of myself. That closet is still organized!:  I added a few more cards today that we received over the weekend and there’s still plenty of room for more:  You know, for those who send their cards out at the last possible minute. Like…uhh, someone I know. Someone who is typing this. How do you display your cards? Do you send them out every year? Are yours out already? It’s become one of those things that I’ve decided to be OK with not doing if I don’t have time. Most years something's got to give! :) See more of our home here. To shop items in our home, click here! Never miss a post by signing up to get posts via email. Via https://www.thriftydecorchick.com/2012/12/easy-quick-holiday-card-display.html
I'm back with a round up of some super cute and FREE holiday printables. I've shared my love of printables so many times because they are such an easy way to add seasonal decor around without spending any money.
I spend a dollar or two on pretty white cardstock every few months (wait till they are half off) so I have it on hand -- it just gives the prints a more substantial feel. They are so easy to change out every season! I shared the fall prints in our kitchen a few months ago, and here are those same frames with Christmas prints: 
I found the wreath printable in a free printable round up I shared a few years ago. The red wagon with tree is Lucy's art found here.

I've gathered a bunch of free printables with various uses to share. You can find the link to each blogger under the photos to get the full resolution. Free printables to use for Christmas art: This simple Joy to the World print in a tree shape would fit into any decor: 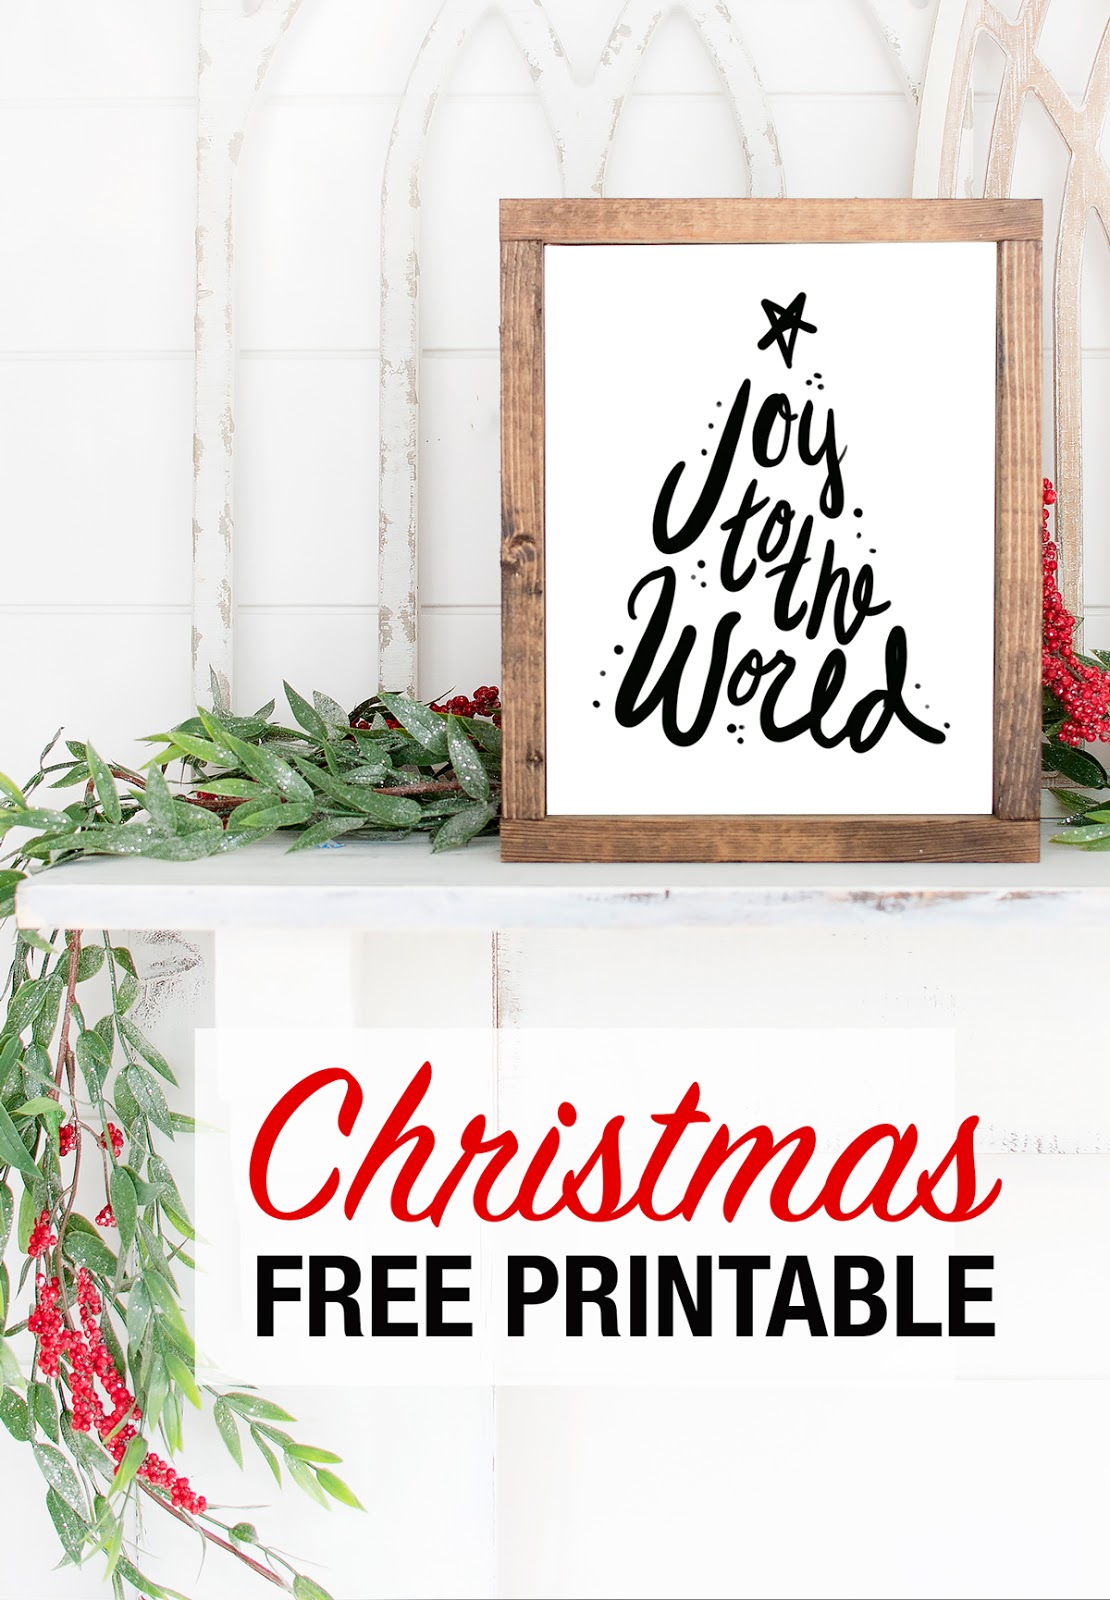
Julie created three gorgeous prints with very different designs: 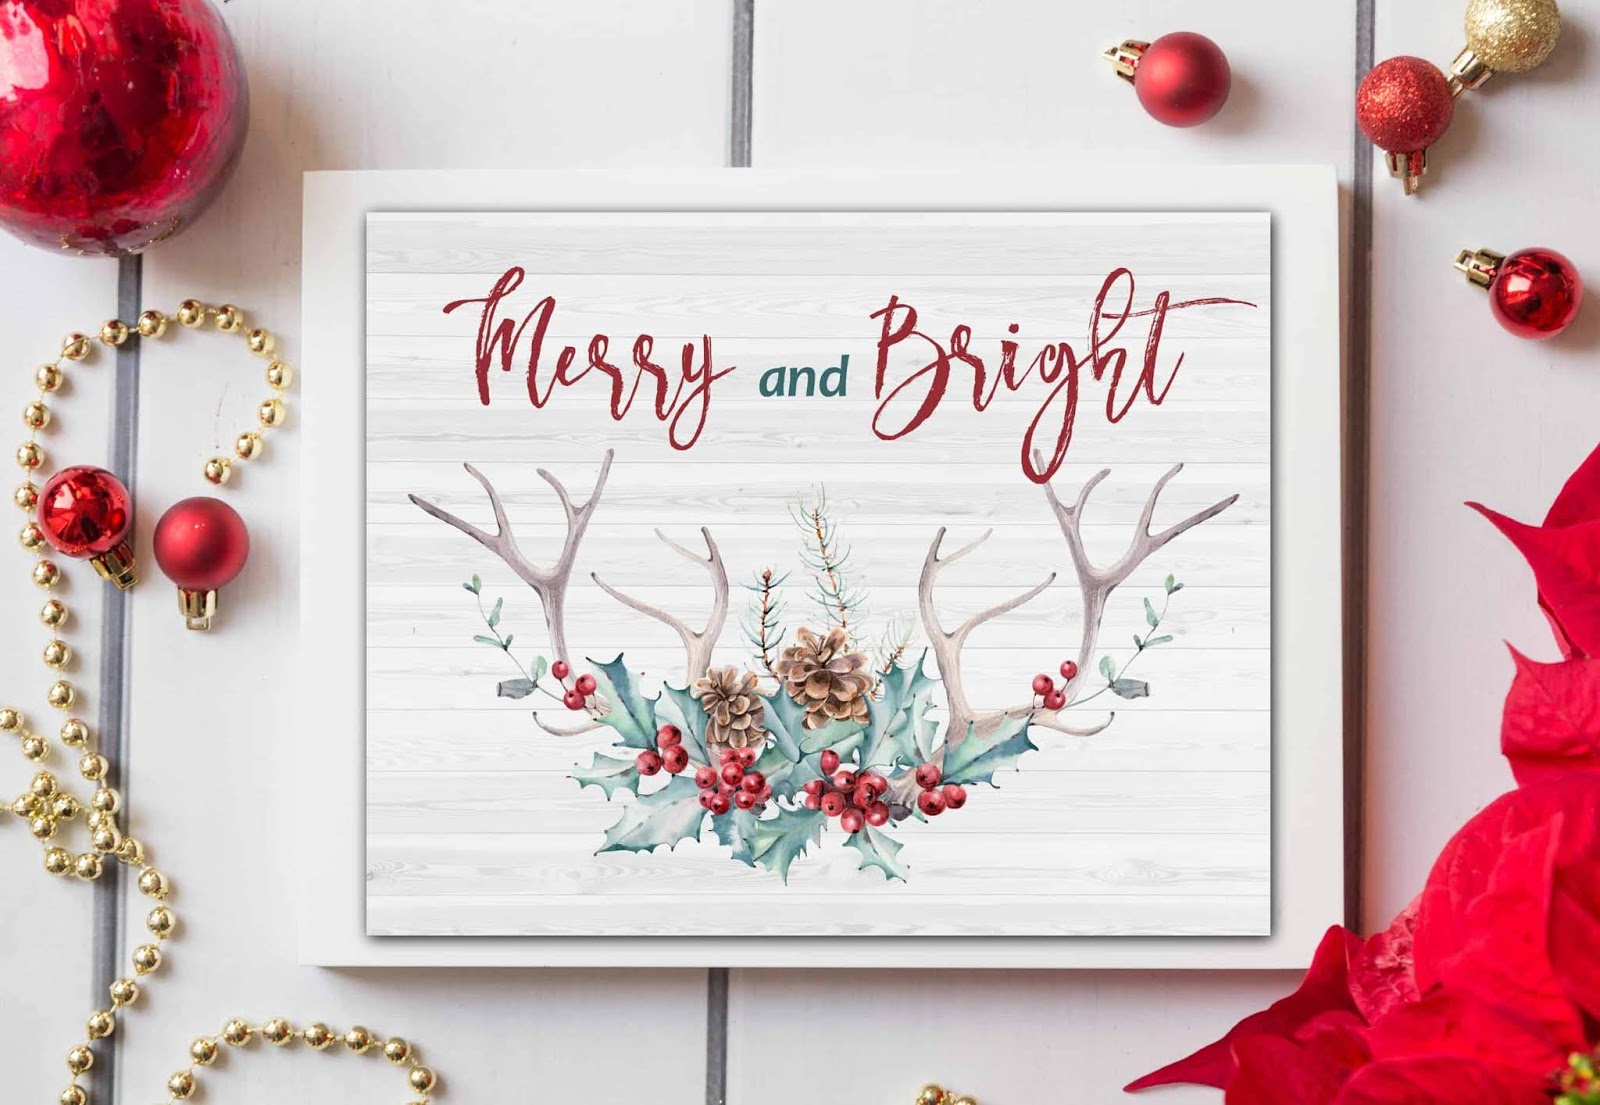
I tend to lean towards the simplest design and a pretty wreath always works!: 
This simple gingham deer print comes in three different colors: 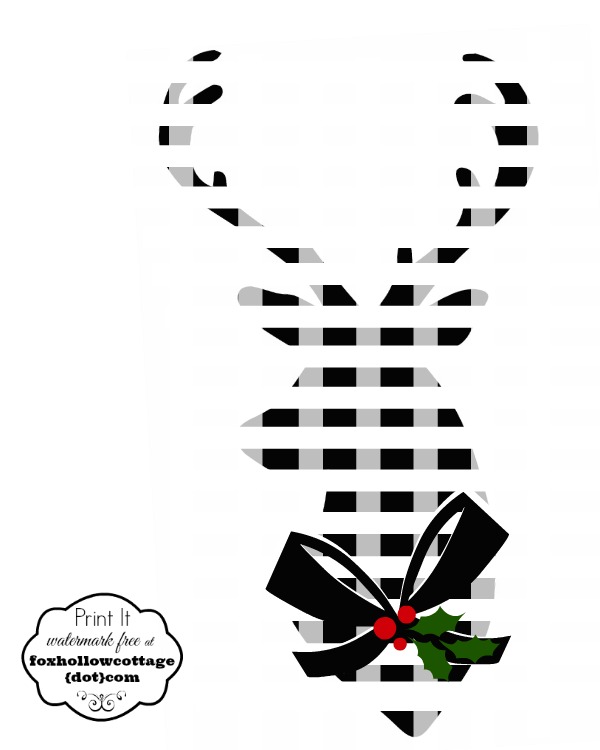
These Christmas vacation quote prints made my day! Laura shares four different options inspired by the movie:

Kelly's gorgeous chalkboard art is available to download -- isn't this awesome?

I'm definitely going to incorporate these somewhere next year. They are patent prints for different Christmas objects -- what a cool way to fill the walls during the holiday season!:

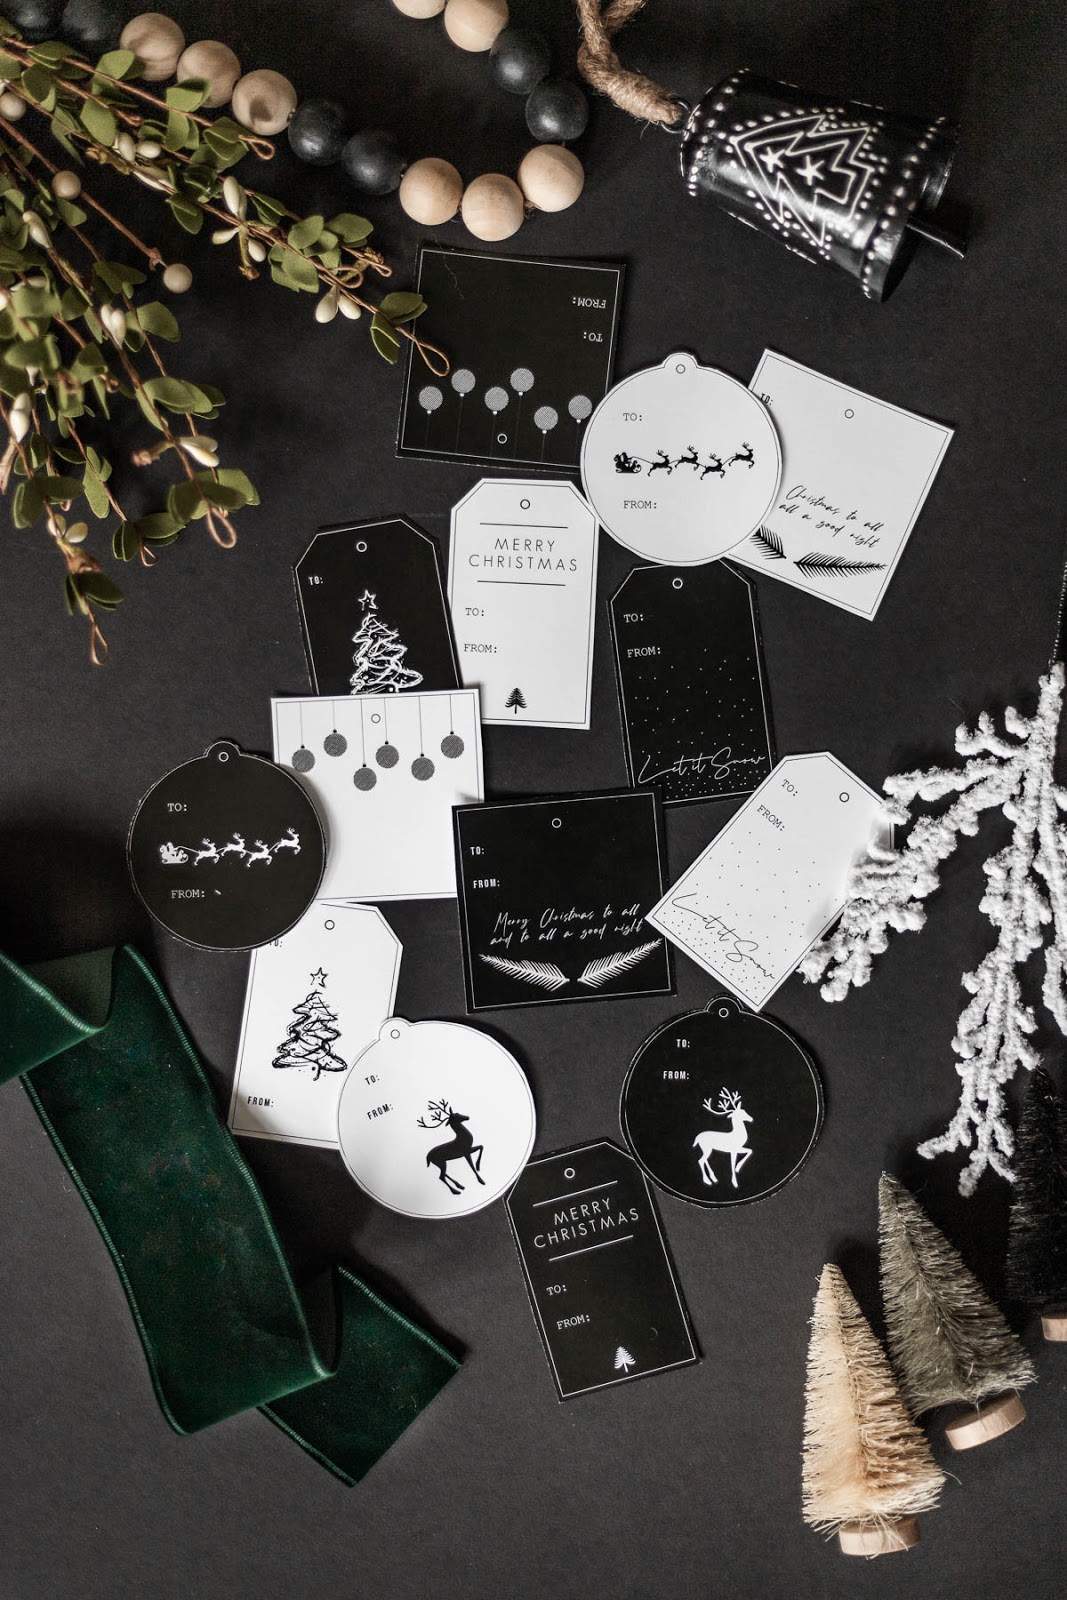
You can save some bucks by printing out your own gift tags and there are a TON available online. I picked a few of my favorites! I'm a sucker for the red truck print in Christmas decor: 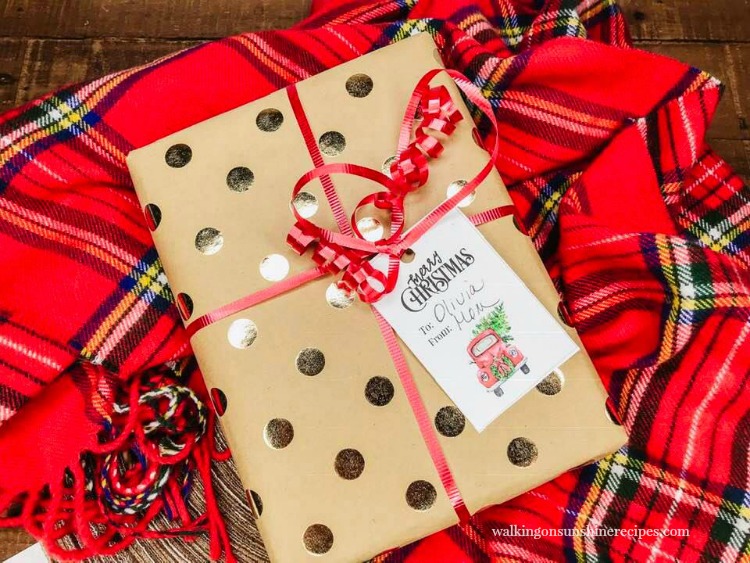
I like that these are all squared off so you can fill a whole page with them and cut them easily: 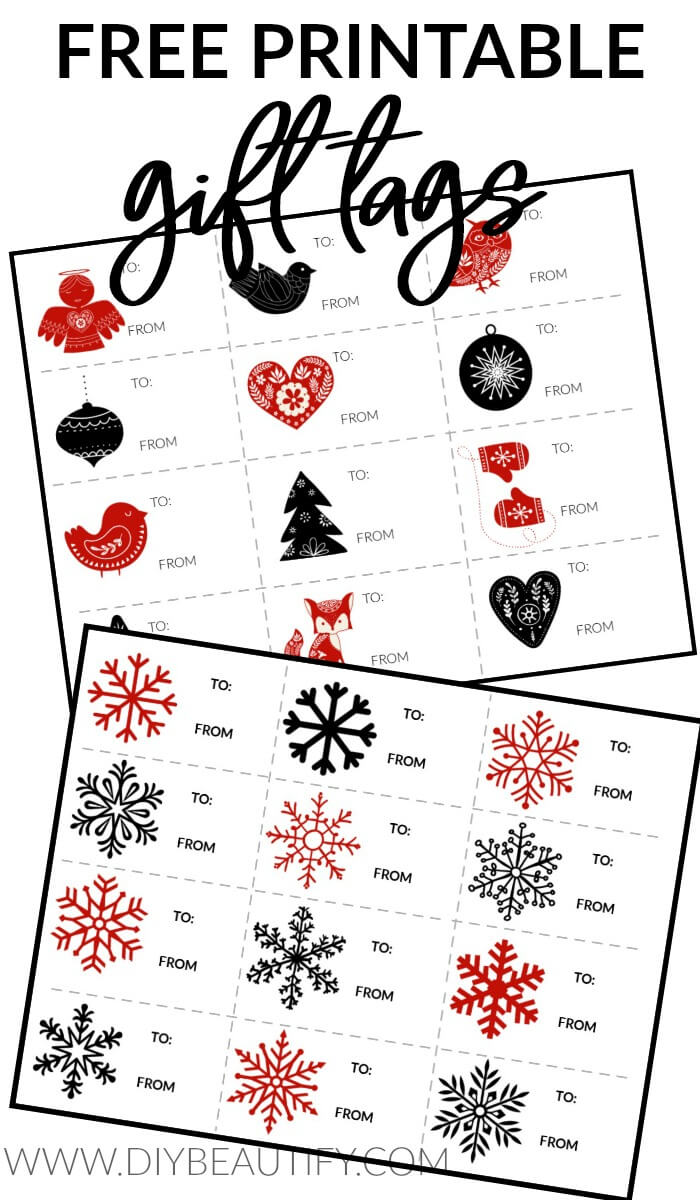
Looking for a homemade gift that doesn't break the bank? These free gift printable ideas are all SO cute! What a fun idea for kid's to gift to their friends! At least girls...my son and his friends may not be as impressed with this cutie: 
I loved this fun movie night gift idea! SO fun and I know we would enjoy this gift (the tag is available to print at the link below): 
These cute hot cocoa labels are adorable and come with the gift tag printable for the top: 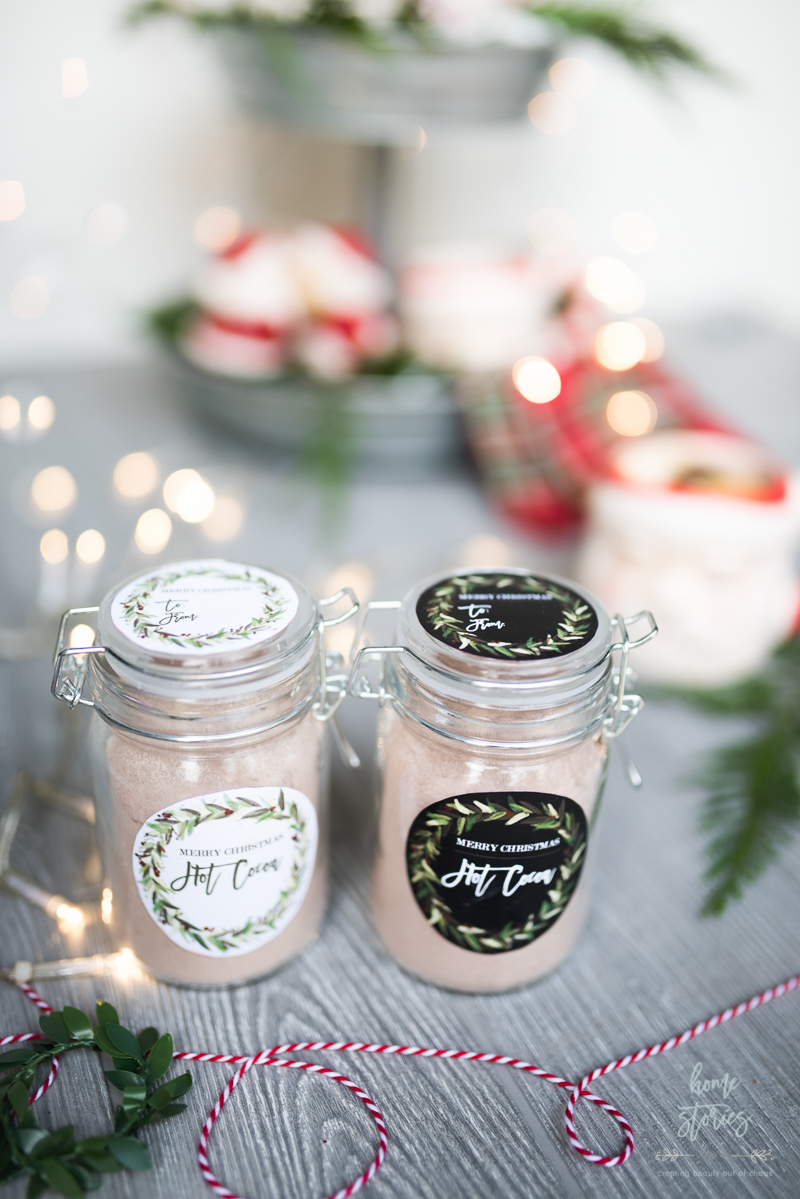
The mason jar cookie kit is always a hit -- and this one comes with everything ready to be printed out! I love this: 
And for the kiddos -- Kathy shared coloring sheets you can easily print out: 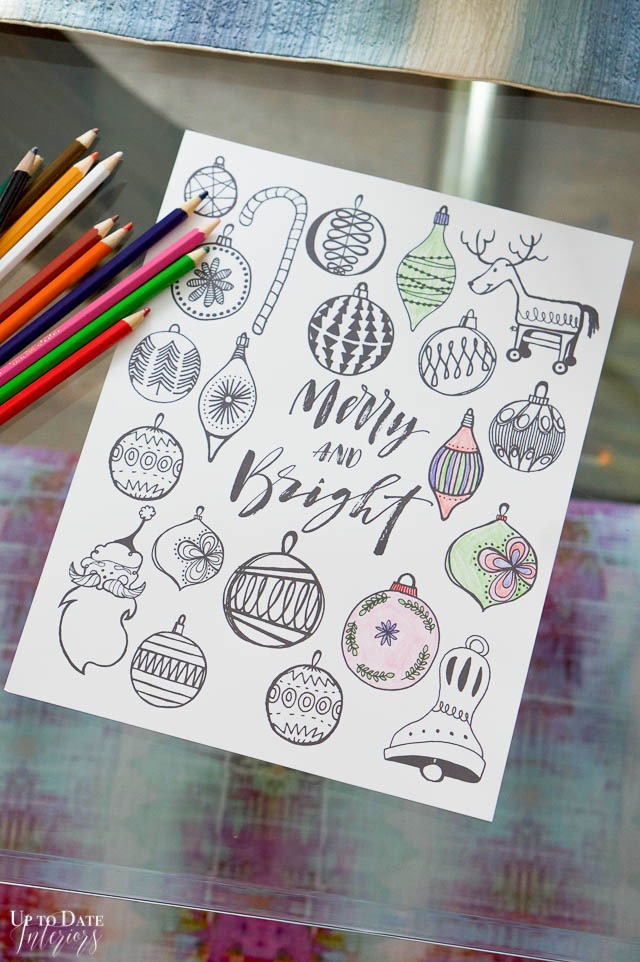
There you go! Fifteen fun and different FREE printables for this holiday season! Do you ever use printables in your seasonal decor? They are my go-to! Remember you can have the art printed in larger sizes if you send them off to a local printer. See more of our home here. To shop items in our home, click here! Never miss a post by signing up to get posts via email. Via https://www.thriftydecorchick.com/2019/12/fifteen-fun-and-free-christmas.html
Hello hello! I hope you had a wonderful Thanksgiving week! Ours was a perfect mix of having fun (Disney World and plenty of family and friend time) and relaxing (barely got off my butt a couple days).
In between sitting on my butt, I finished up our tree in the family room, so I thought I'd share this great room Christmas tour today! If you missed it, I shared the main staples I use when decorating for the holidays here. I stick to those pretty much everywhere!
This year, instead of stressing and trying to decorate every room to the hilt, I decided to focus on certain areas instead. Focal points I guess you could say, like the mantel and the stairs. And of course the tree! I'm learning over the years that a little bit of Christmas decor goes a long way.
It's taken a lot of the stress out of holiday decorating and I've enjoyed it quite a bit this year! (I always enjoy it...but when it's your job it can get a little more stressful than it should be.)
Take a look at our tour below!
This post may contain affiliate links for your convenience.
See my policies and disclosure page for more information.
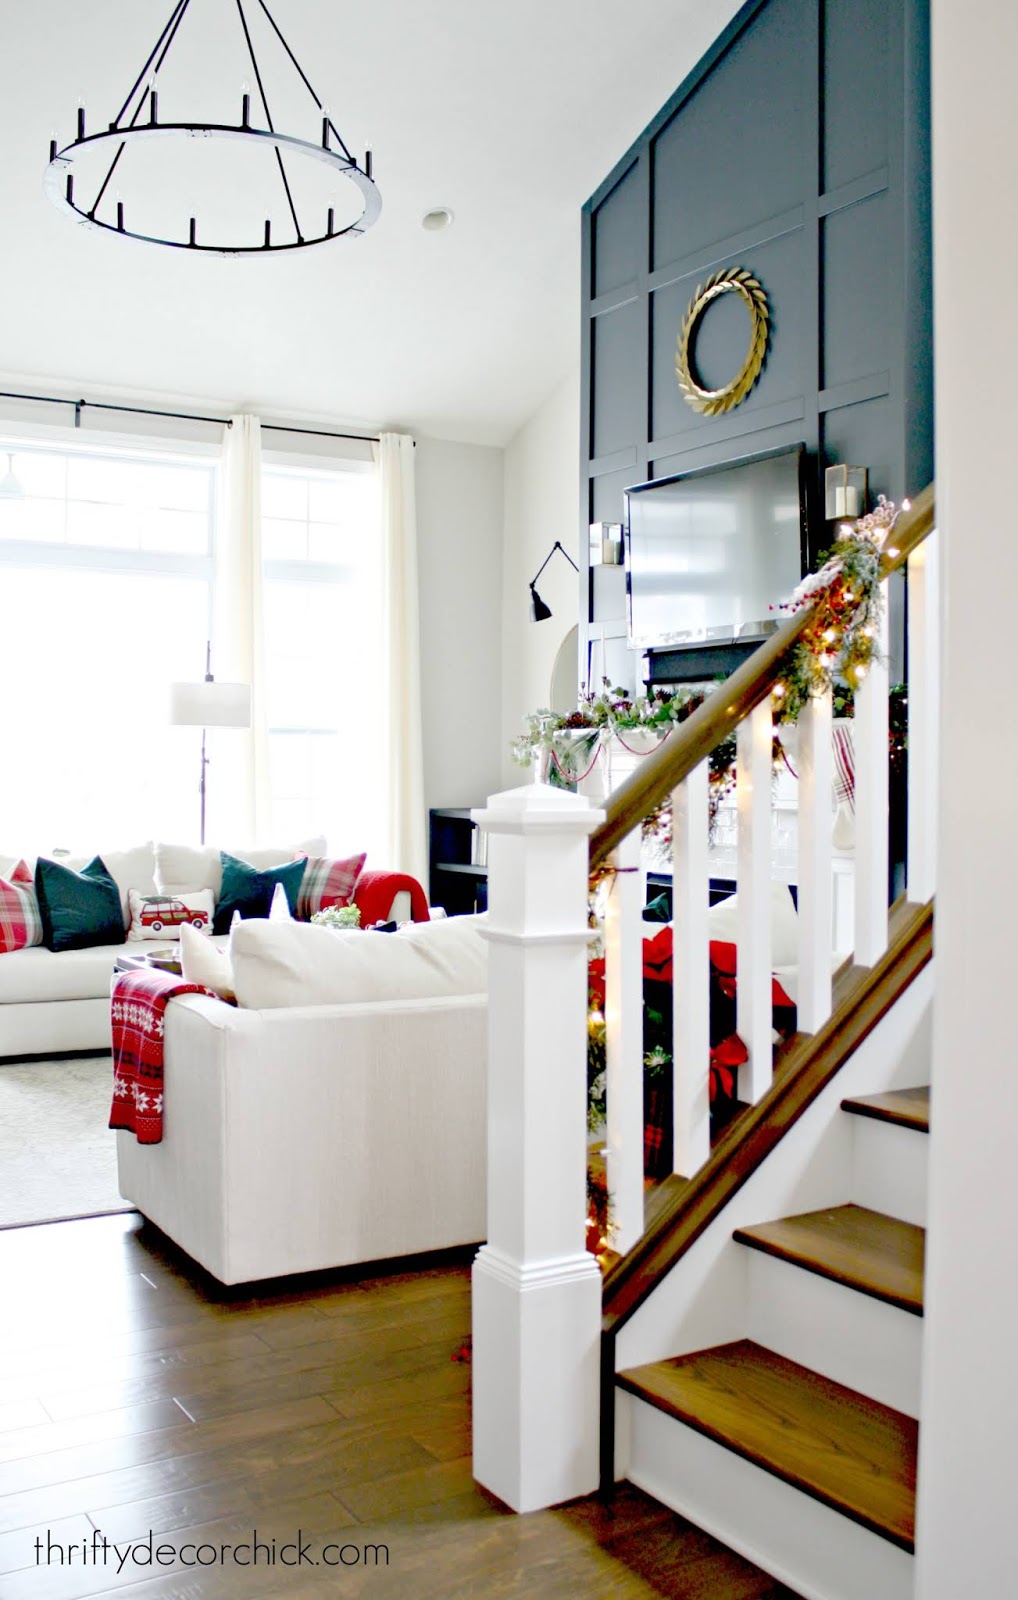
For the first year in a long time I used faux greenery on the stair railings. I love the real stuff but it gets messy at the end of the season. This faux cedar greenery is the best I've found for the price! (I'll link all of the items in this room at the bottom of the post. :)
I'm a lover of red at Christmas -- I don't use it anywhere else any other time of year! But now...it's my favorite. It looks great with the moody blues in this room:


Our tree is 12 feet tall and we got it from At Home a few years ago. It's prelit and lights up as you put it together -- that makes things so much easier!
I tell you every year I have a love/hate relationship with this tree. It's a BEAST to decorate and takes forever. But my husband loves it SO MUCH. And I always enjoy it when it's done...so I'll keep the beast alive:

I'm SO glad I decided to tackle that trim work on the fireplace wall this year! I've been wanting to do it since we moved in and I absolutely love it:
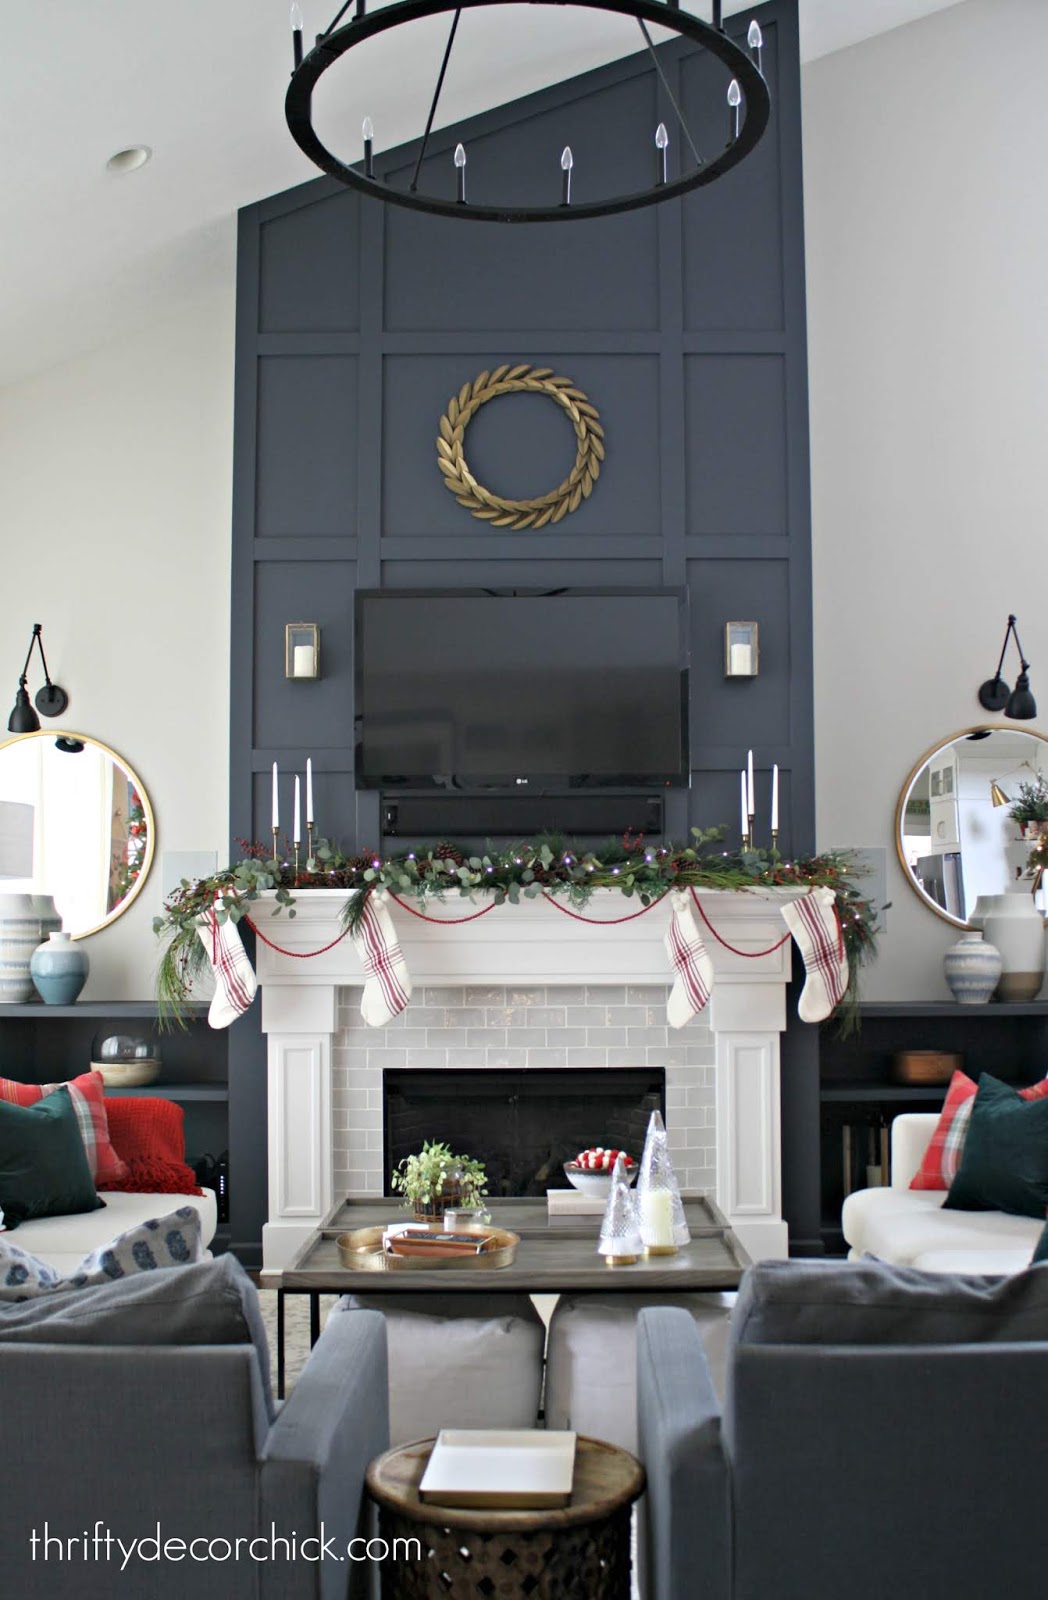
The materials for that project are SO inexpensive. You can make a big impact for so little!
The mantel decor this year is literally garland I piled on...I do this every year and love how it comes together:

I stick in bits and pieces to add fullness and some color. The vintage brass candlesticks are the perfect finishing touch.
The eucalyptus I use is from here and also IKEA. It's a faux plant that works ALL year round beautifully:


Remember my DIY Christmas boxes craft? I found the perfect spot for them on our wood picture ledges:

I think they are the cutest!
I saw that metal art online at Decor Steals months ago and grabbed it up. I was going to put it outside but liked it even more here:

You can see how I hung that beautiful greenery on the stairs here:

The lanterns on the stairs were IKEA finds years ago, and the little houses were from the Target dollar spot a year or two ago.
Here's one a look at our giant tree:

You can see how I find seasonal pillows for way less here -- and I'll link the green ones below.
There you go! It's been a long time since I've been done decorating this early. I only have a few more things to do and I'm done! I absolutely love our home at Christmas!
Do you do a lot of holiday decorating or just the minimum? I've known the joy of both! ;) You can see most of the items in our family room by clicking on the photos below:

See more of our home here. To shop items in our home, click here! Never miss a post by signing up to get posts via email. Via https://www.thriftydecorchick.com/2019/12/our-cozy-family-room-christmas-tour.html |

