This pasta dish with sausage and spinach is SO easy to make and has tons of flavor!
This one is a crowd pleaser and so easy to throw together!
Have you ever forgotten about a favorite dish and then rediscovered it? Maybe something from your childhood or a recipe that not only tastes good, but brings back good memories?
This absolutely DELICIOUS pasta recipe is one of those for me.
I found some recipes as I was sorting though all of our paper keepsakes recently. (See how I purged and organized all of the photos and memories here!)
One of them was a favorite of mine that I had completely forgotten about.
My friend Mandy is such a great cook and has shared some amazing recipes with me over the years. (This yummy strawberry dessert is another one I got from her.)
I remember sitting at her kitchen island eating this spinach sausage pasta and not being able to get enough of it...it's so flavorful and very easy to make!

It always surprised me, because I'm not a fan of spinach...but in this dish it is divine.
Cheesy Spinach and Sausage Pasta
1 pound sweet Italian sausage
1 pkg. frozen chopped spinach 1 box (1 lb.) bowtie pasta 2 cans fire roasted tomatoes 1 pkg. Italian shredded cheese 1/2 tbsp. minced garlic 1/2 tbsp. red pepper flakes olive oil
As with most of the recipes I share, there are a few variations that I'll include at the end of the post.
This is a beautiful dish to serve! Any pasta will do, but the bowtie/farfalle pasta looks great and makes it easy to eat:

This post may contain affiliate links for your convenience.
See my policies and disclosure page for more information.
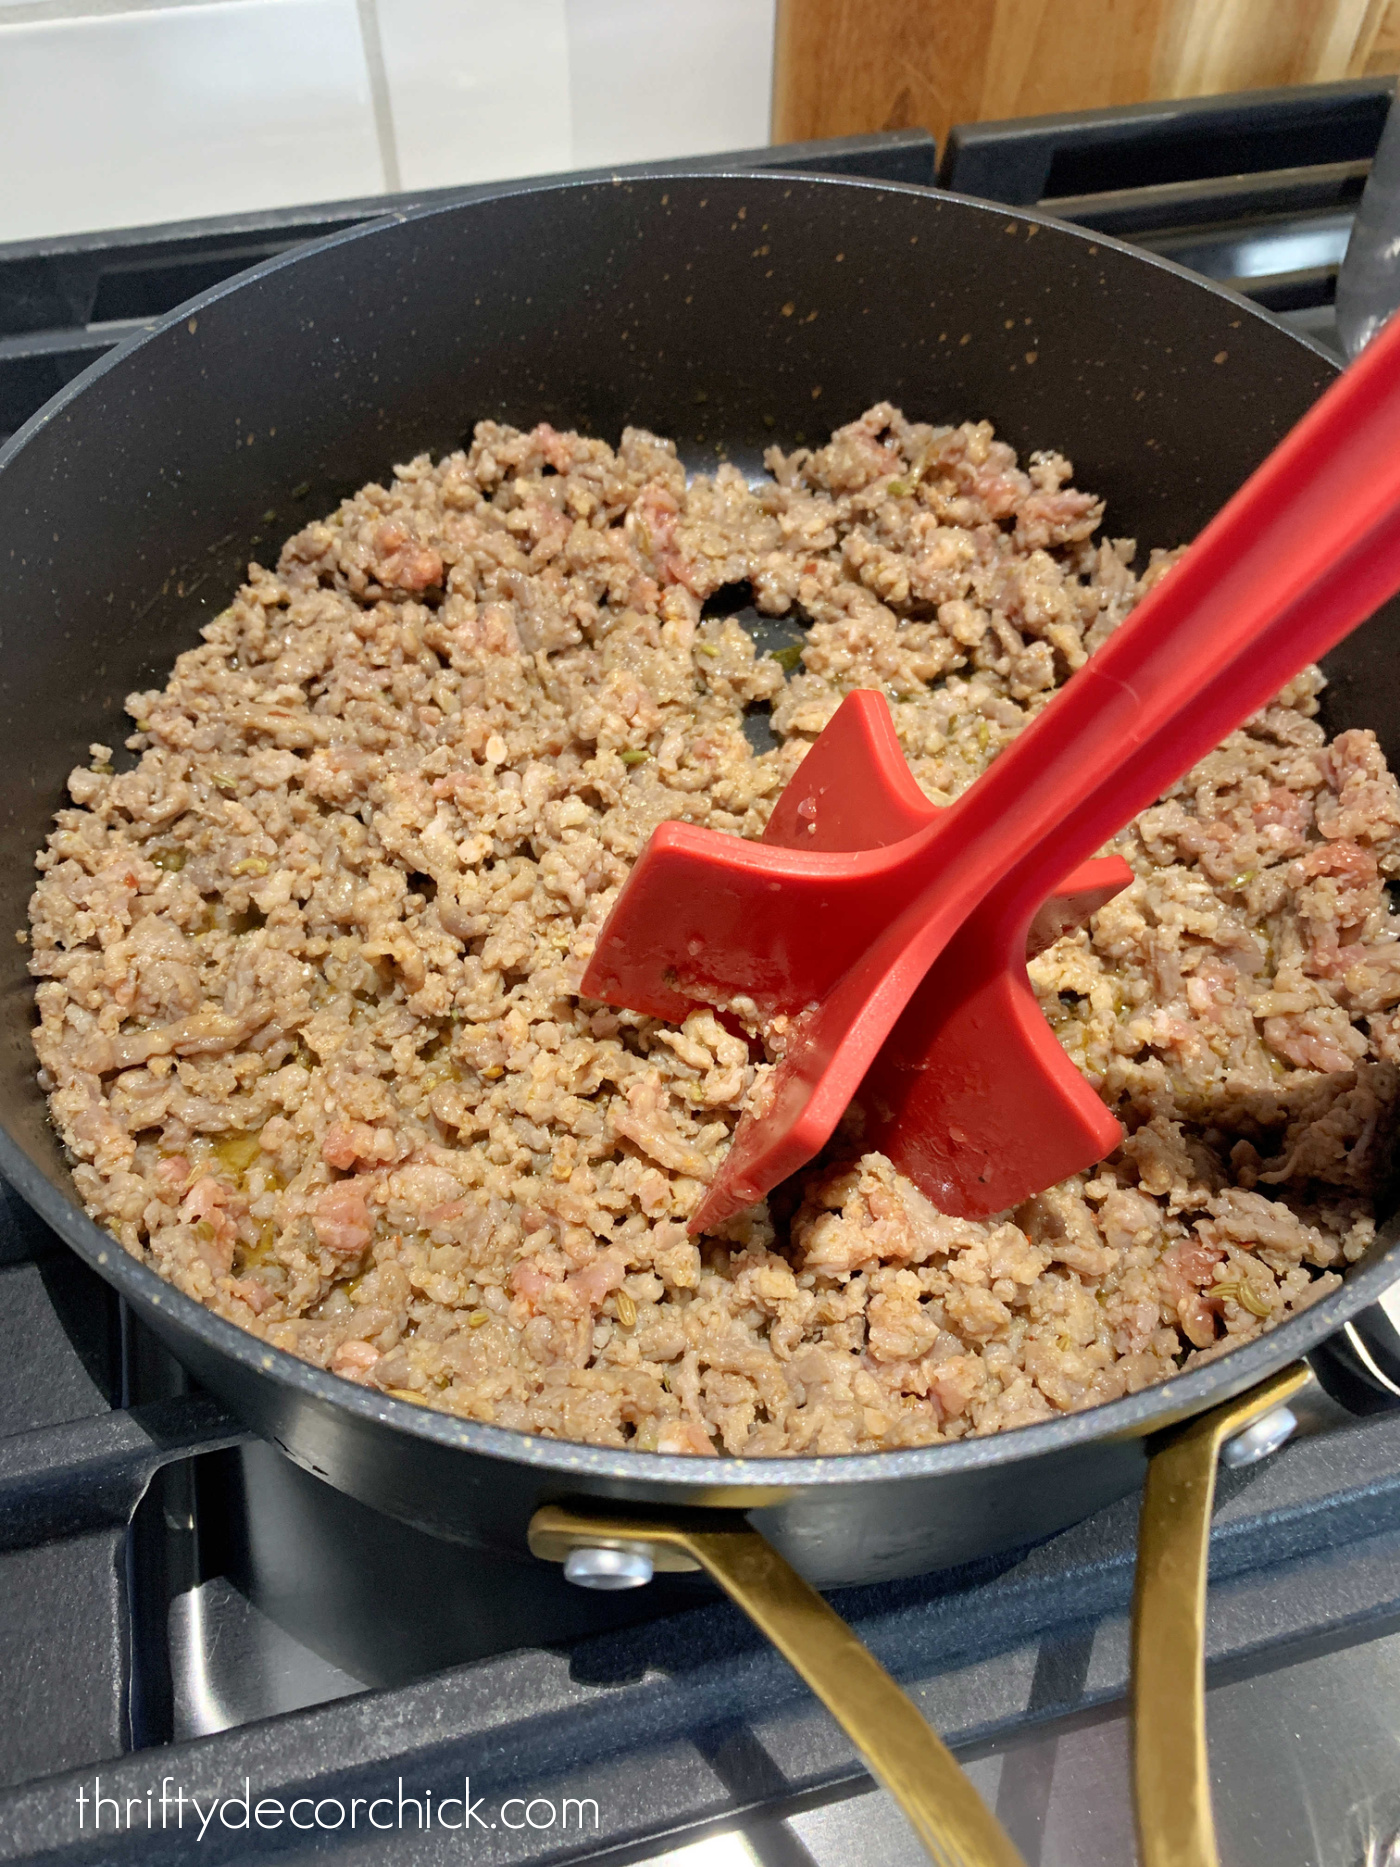
There's only a few steps to this recipe:
The colors in this dish are gorgeous! It really is a lovely meal:
Simmering this mixture for a bit also warms up the spinach -- it will take a few minutes.
This thick cut shredded cheese is delicious in this pasta:


You can see that this makes a TON of food! It is perfect for a get together or pot luck!
I love how simple it is -- after the pasta is ready it takes only 15-20 minutes tops.
This pasta recipe has a TON of flavor! I'm warning you -- it will be hard to stop eating after your first bite:
Even kids like it, and they'll get a healthy dose of spinach as well. ;)
Variations and suggestions for this pasta recipe:
I've considered leaving the shredded cheese and sausage out and trying this recipe with parmesan as a chilled pasta salad.
YUM. I'll let you know how that turns out!
If you're a pasta fan, I have a feeling this will become one of your favorites. I'm so glad I came across this again!
It will be on heavy rotation in our house:

If you've made this or a similar recipe, feel free to share any variations you make to it!
Here's an image to pin and save for later:
Never miss a post by signing up to get posts via email.
Via https://www.thriftydecorchick.com/2022/02/easy-cheesy-spinach-sausage-pasta-recipe.html
0 Comments
Tips for purging and storing photos, artwork and mementos.
Purging family keepsakes, photos and children's artwork can be SO overwhelming.
As with any major decluttering project I take on, the process of sorting through and organizing these mementos has taken a lot of time!
Though I had no idea it would take me this long. I started the process of going through all of our most treasured photos and memorabilia last summer and just finished, nine months later!
I've learned a lot through the process and wanted to share some tips with you. :)
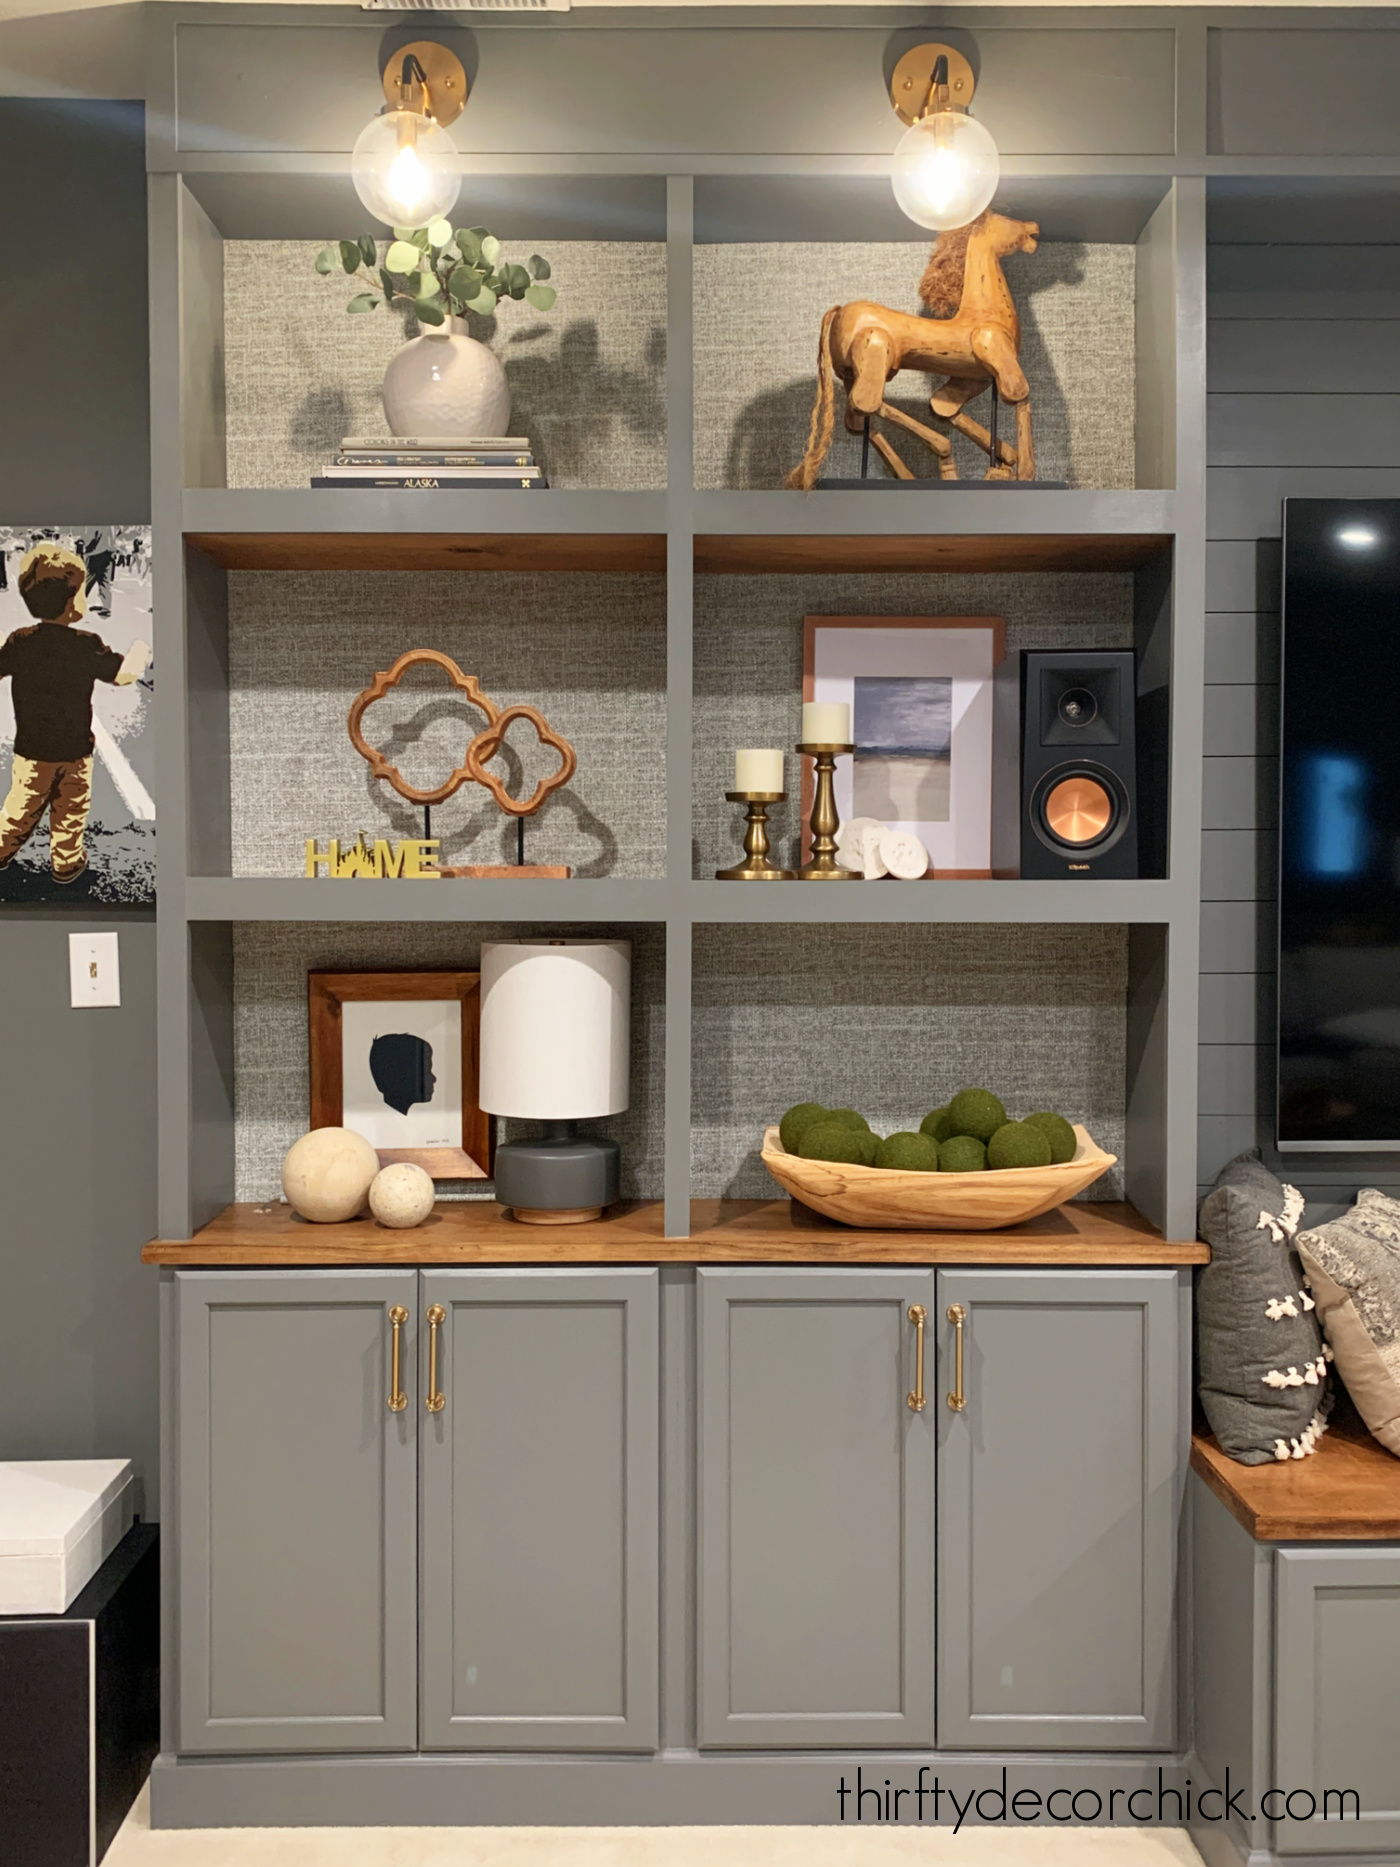
I decided I wanted to store everything all together when I was done. The bookcases I built in our basement have provided a ton of storage for us, and I knew this was the perfect spot!:
This post may contain affiliate links for your convenience.
See my policies and disclosure page for more information.
When we installed the awesome electric fireplace a few months ago, I moved all of our games and toys from that long wall to these cabinets.
I still had plenty of room, so one of those cabinets is now a storage spot all of our family photos and stuff from our kids' childhoods.
I had five main "paper" items to sort through and store:
My first step was to go through everything and decide what to keep.
The key word there is KEEP -- one of my favorite parts about the Konmari decluttering method I've used for years is that it teaches you to hold on to items you cherish, instead of trying to decide what you want to give up.
There is a difference, and I find this way SO much easier.
If I don't love something, I no longer feel guilty donating it. And if I LOVE it, I no longer feel guilty for keeping it, no matter how silly it may seem.
It really is freeing to purge the clutter this way!
My first part of this project was sorting through thousands of photos. It took me a loooong time to do this.
Family photos and a small box of items are the only things from my childhood that my Mom was able save from move to move...so I cherish those photographs.
Because of that, a few years ago I would have felt bad about tossing ANY photos. But I've learned if I don't know the person in a picture and the people in my life who do (say, my Dad), don't want the photos...I can toss them.
I can toss blurry photos I took from the bus windows on Girl Scout and school field trips. :)
I can also throw away doubles from all of the rolls of film I took in middle and high school. (I did text some to friends to see if they wanted them.)
It was SUCH a great feeling to toss a ton of the photos that were cluttering up the ones I wanted to enjoy. I whittled the photos down from eight boxes to five.
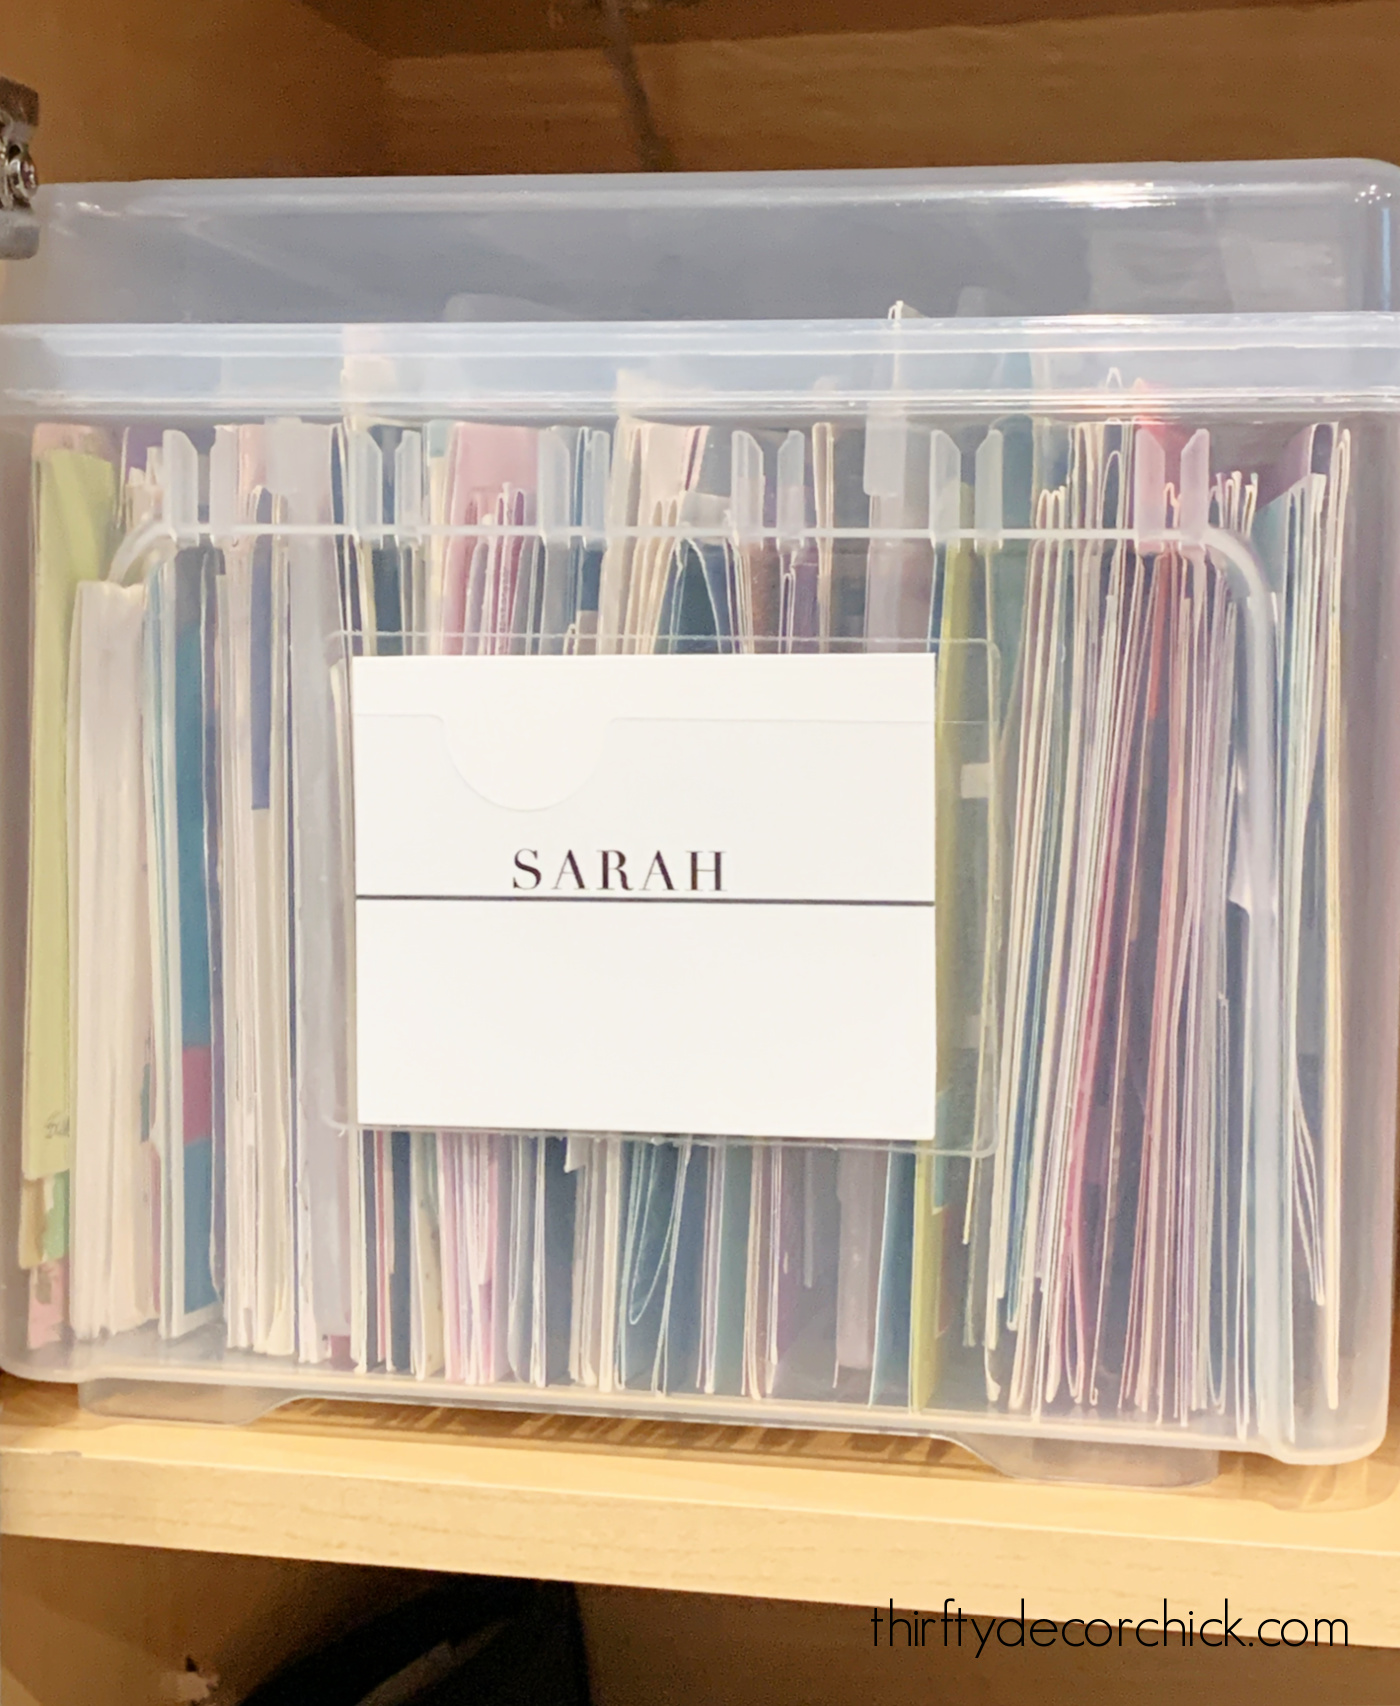
I use these simple cardboard photo boxes and my last set held up for ten years!:
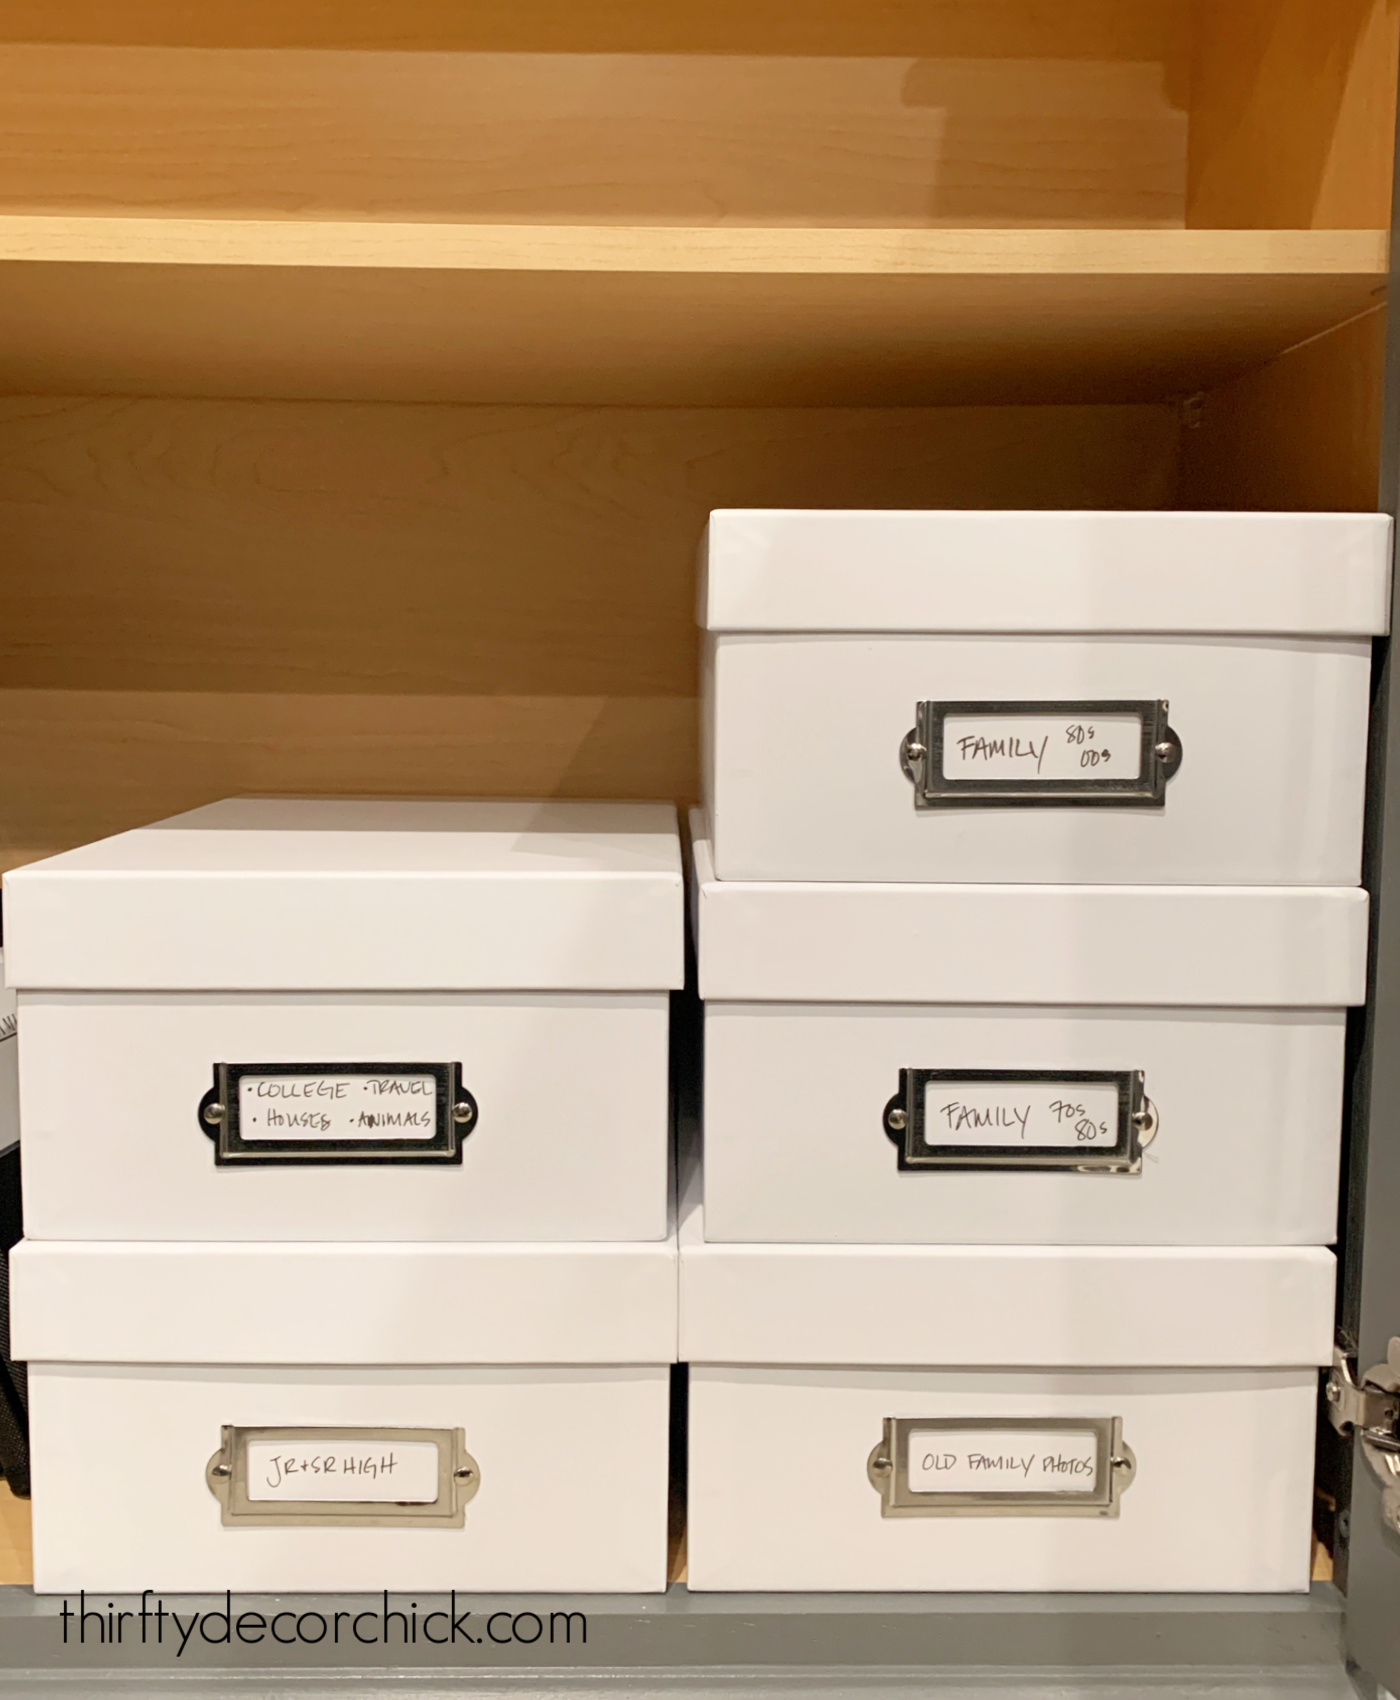
If you need a bunch, the pack of 12 is way less expensive per box.
We also had random large storage boxes and plastic portfolios with larger pictures that wouldn't fit in those small boxes. I shared what I found for this big stuff last year.
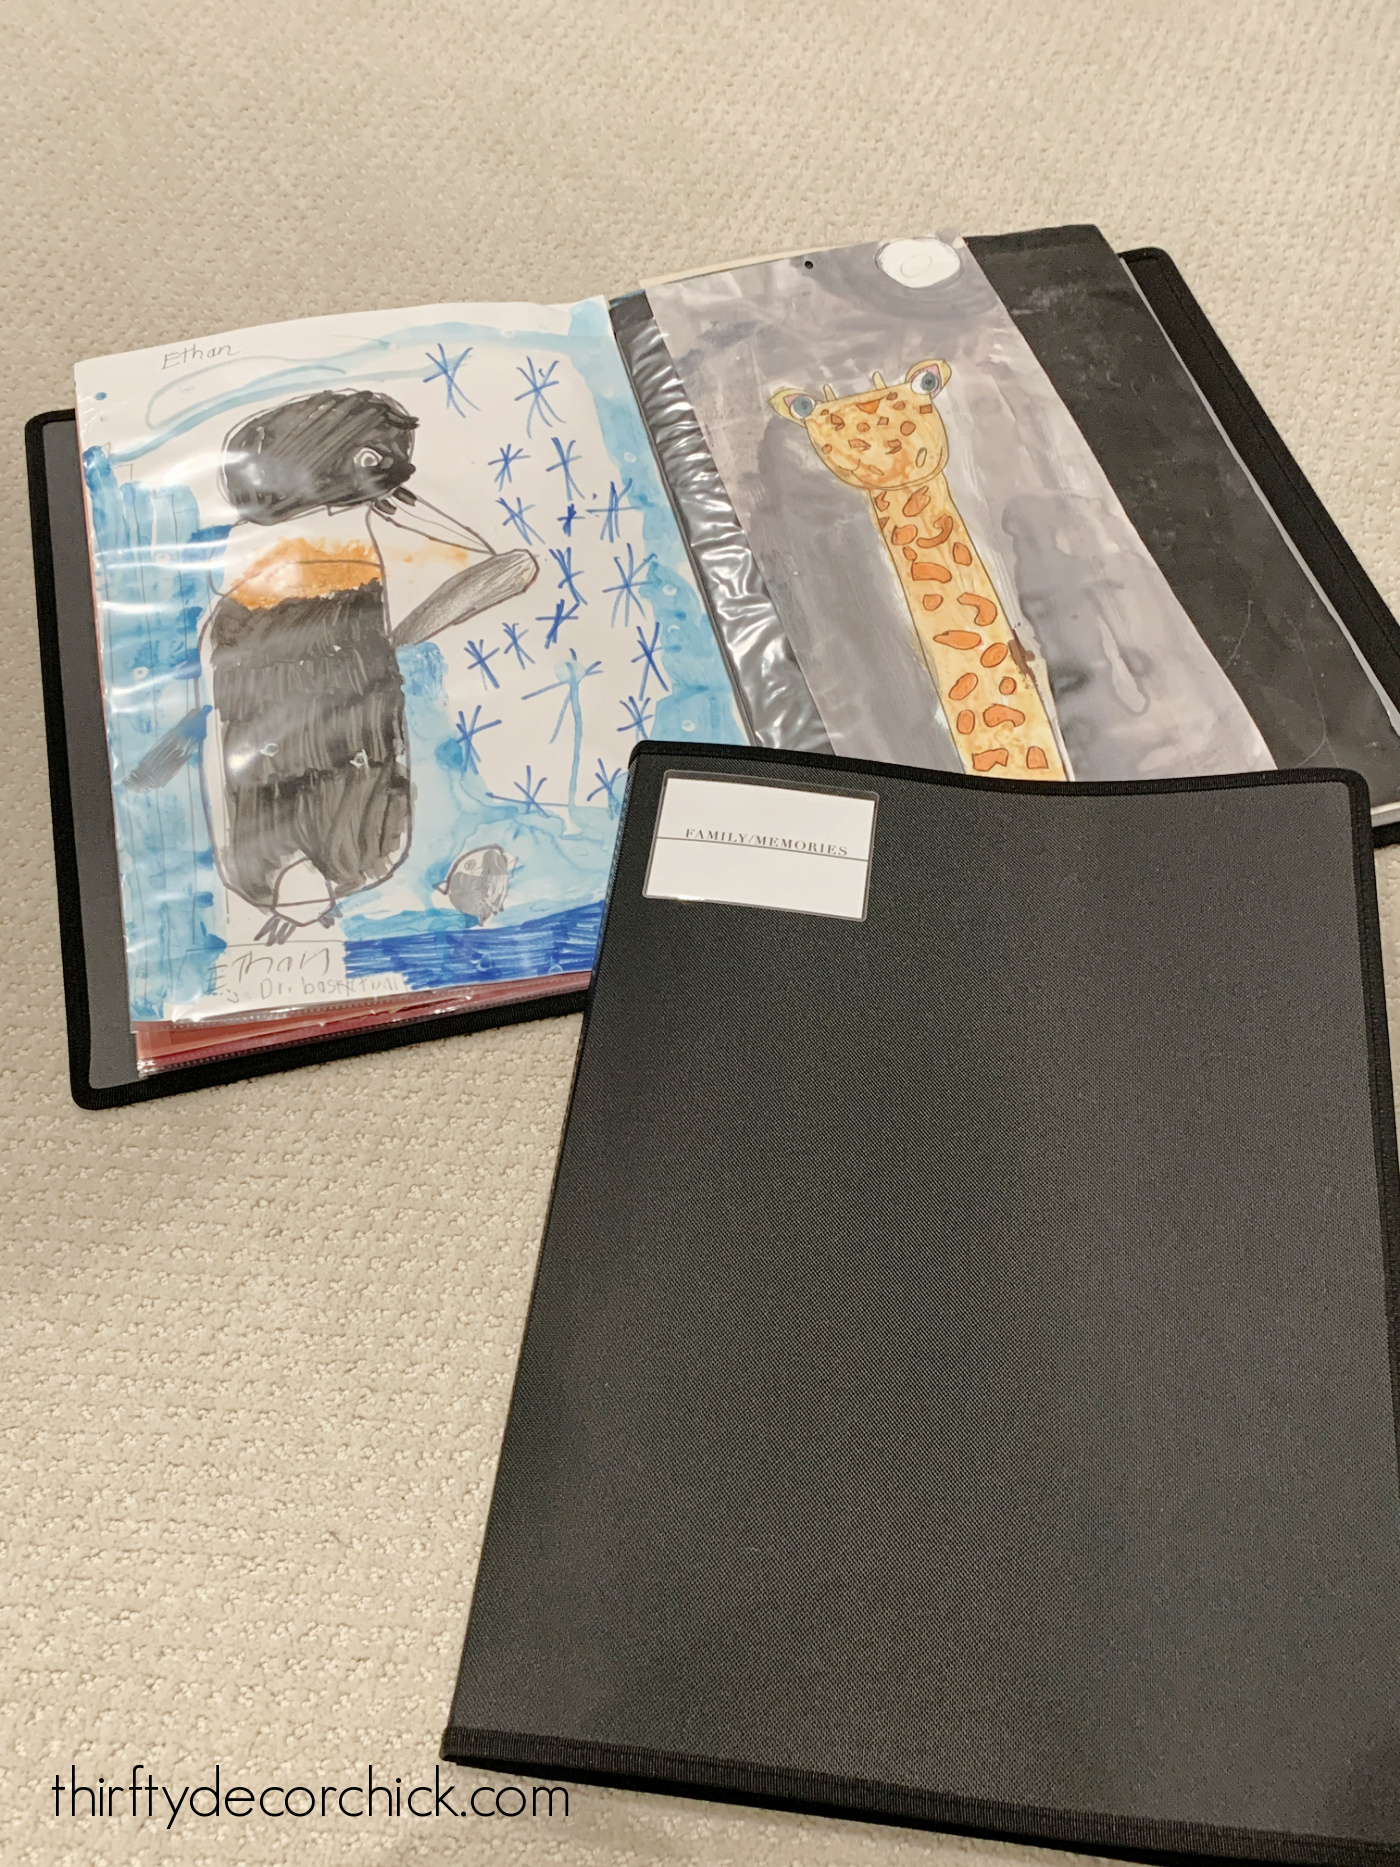
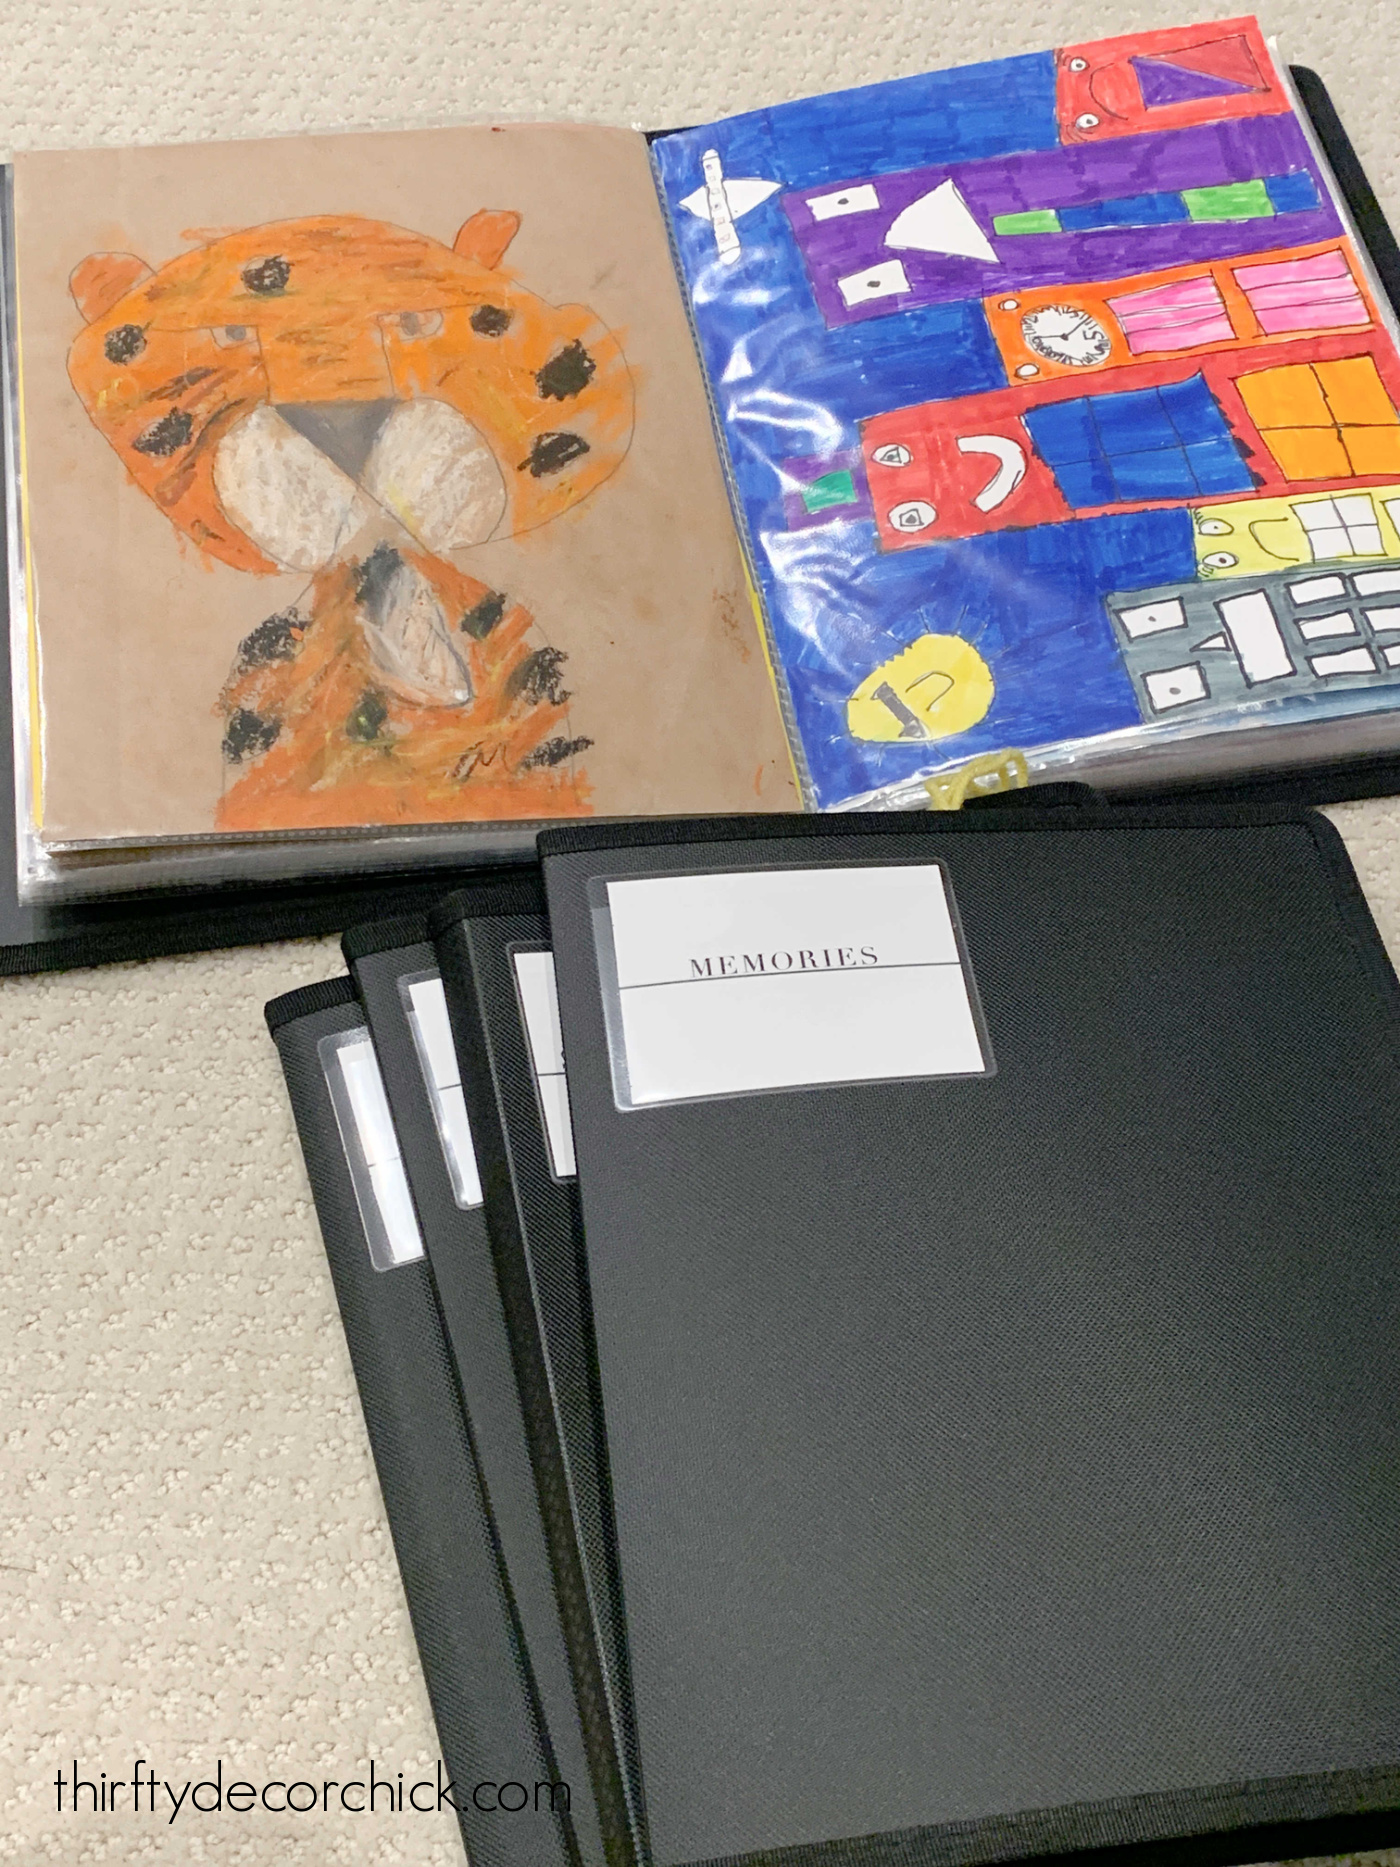
These portfolios with plastic sleeves inside are the perfect solution!:

I'm SO happy I found these -- they have solved so many storage issues. They come in six sizes, from 4x6 up to 11x17 inches, and are ideal for both photos and artwork.
I started the process when I talked about these last summer, but just finished everything this week!
Every single photo or paper keepsake bigger than the photo boxes has gone into these portfolios, from the large pieces of artwork and family photos:
To the medium sizes:
And even the smallest -- I put multiples of things like tickets and small programs in one.
I sorted them so we can easily find what we're looking for:

These binders are awesome!
I wanted an easy way to label the portfolios, so did some looking around and found these sticky plastic label pockets:

They're sticky enough to stay on the covers (so far!) and you can easily change out the paper label if you change the contents.
I made labels on my computer, and then found these printable business cards that are the perfect size. So for my next labeling spree (I'll share with you soon), I will print them out and tear them apart instead.
My final items to tackle were the greeting cards. I used to feel silly for keeping these, but I'm over that now. :)
Looking through old cards from my family and friends makes me happy, and over the past few years I've realized it's OK to keep stacks of them.
YOU get to choose what you cherish and want to keep!
Problem was, I had been throwing them in random boxes for years, so it was important to me to find a spot for all of them. It took FOREVER to go through them all...I only picked my absolute favorites...and my greeting card bin is already full:
I may have to go through them again before my next birthday. ;)
I don't think many people keep cards like I do, because it was hard to find a storage solution for these! I finally found these awesome plastic greeting card organizers:
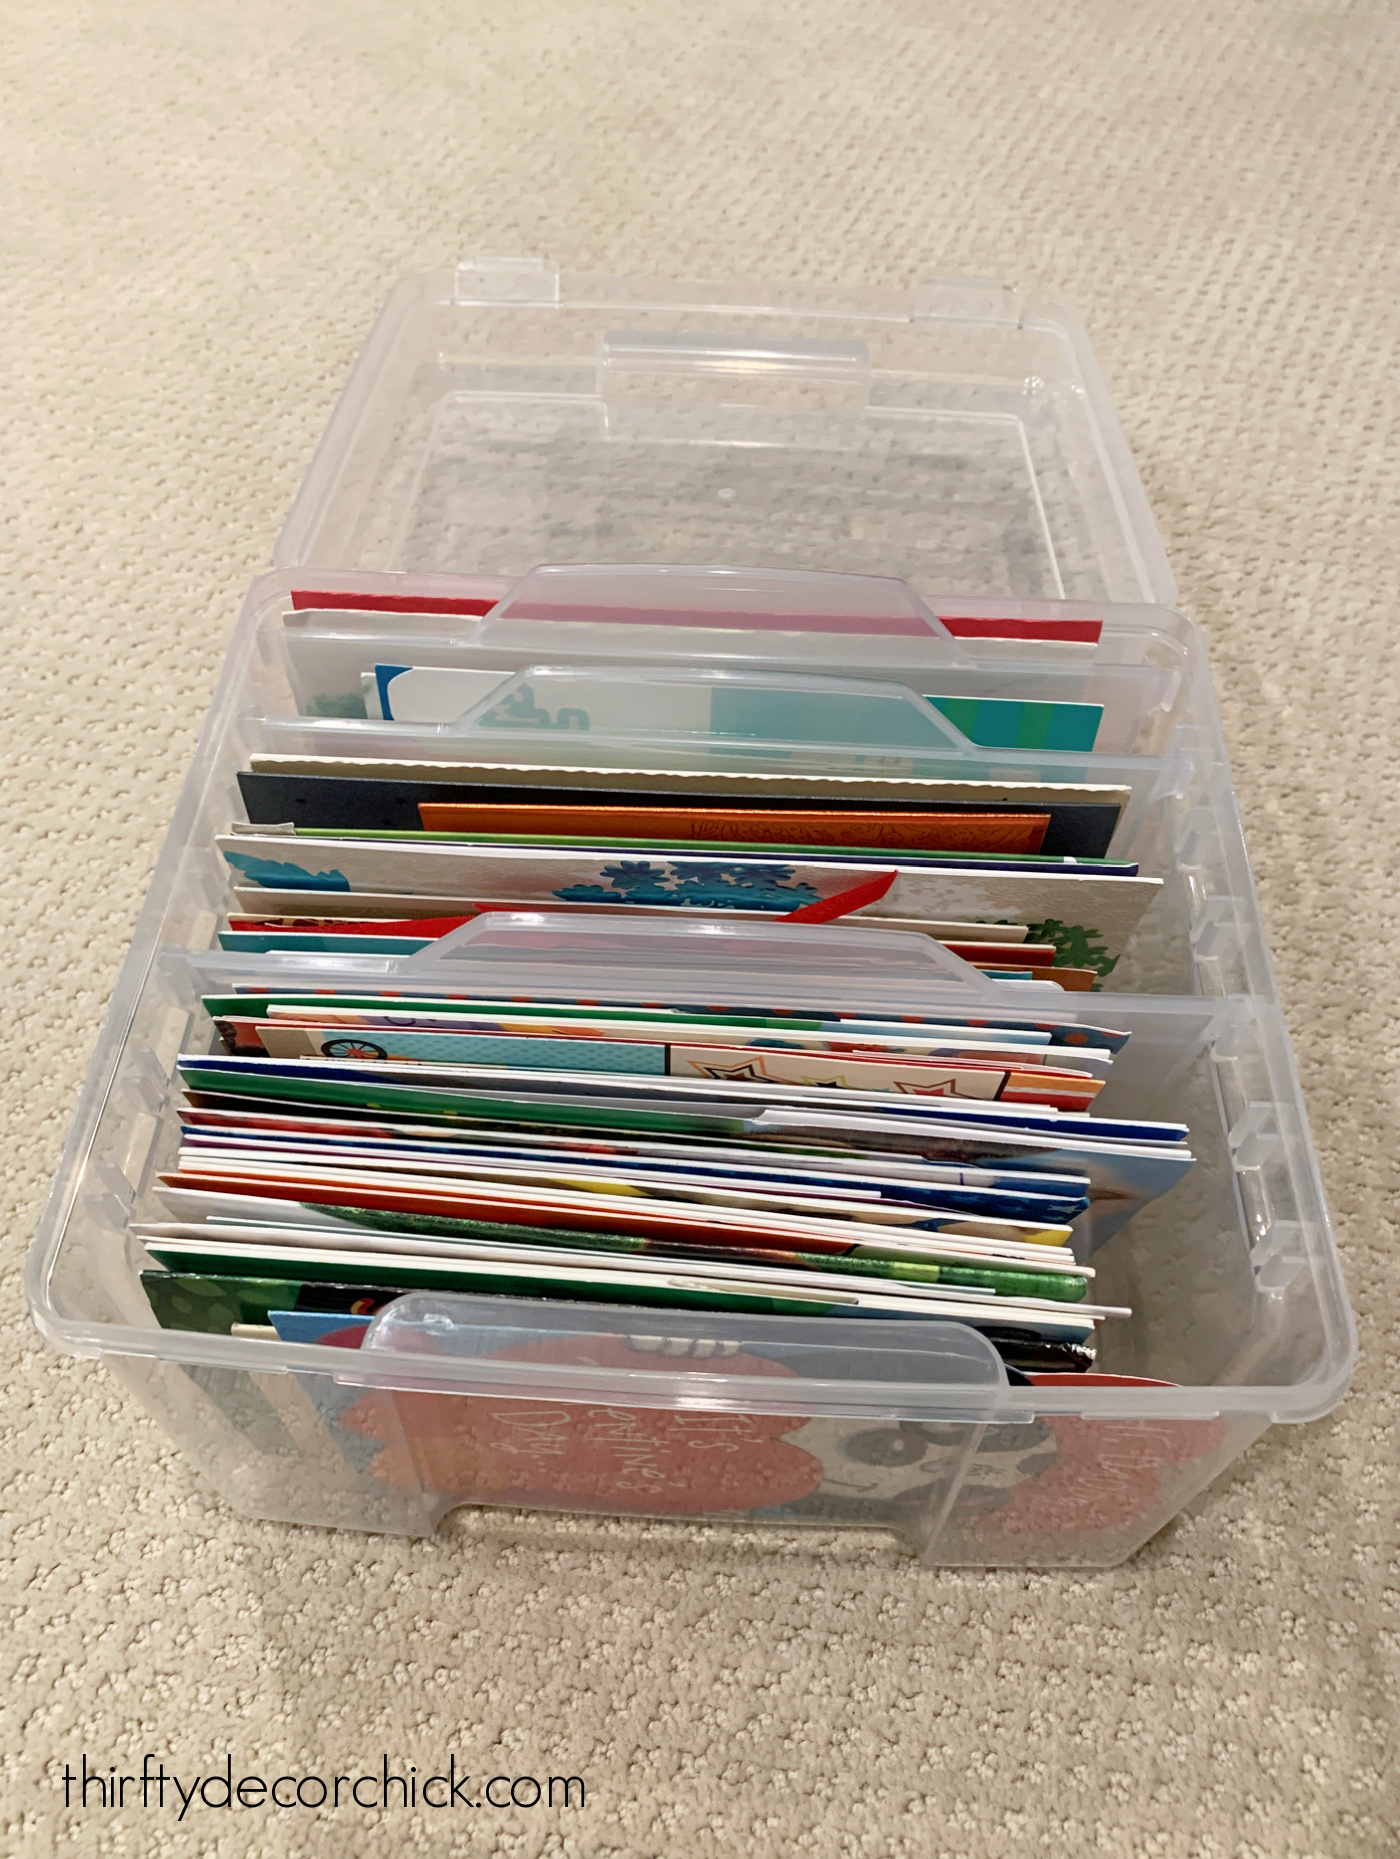
They come with a bunch of plastic dividers you can label as well, but I only used a couple per bin.
I got a box for each of us, and only kept what
Now this cabinet is home to all of our paper keepsakes and photos. I love that everything is organized:

It's so much easier to find specific things now!
I'm still trying to decide if I will try to put all of those photos into photo albums one day. I'd like to have them in a book and easier to look at, but man...that would be a huge job!
Maybe I'll tackle it in a few years when we're empty nesters. ? I'd love to create a series of those photo books you make online someday.
A few final thoughts on organizing keepsakes and memorabilia:
I purchased the storage items over the nine months, so it was nice to break the cost up a bit. I recommend starting with a few and seeing what you'll need as you go.
Have you figured out a solution for your keepsakes? It is overwhelming to you too? I took my time so it was a long process, but totally worth it!
Never miss a post by signing up to get posts via email.
Via https://www.thriftydecorchick.com/2022/02/keepsake-memento-organizing-and-storage-solutions.html This easy trick will give your wilting hydrangea blooms new life!
If you love hydrangeas as much as I do (and who doesn’t, for real) then you’ll love this tip.
Read the full post
I used to hate when I’d buy flowers (or cut them from the yard) and they’d droop within a day or two.
Did you know that hydrangeas are one of the only flowers to draw in moisture from their blooms? Cool huh?
Hydrangeas take in water from everywhere -- their stems, petals and leaves.
This little hack allows you to keep cut hydrangeas plump and beautiful for a couple weeks or more!
Here’s what I’m talking about -- see the sad bloom on the bottom left?: 
This post may contain affiliate links for your convenience.
See my policies and disclosure page for more information.
Before learning this trick that wilted flower would have been tossed in the trash. Sometimes it drooped within a day of bringing them home or cutting them.
(See some tips to avoid this from the start later in the post!)
Why are my hydrangea blooms wilting?Via https://www.thriftydecorchick.com/2015/05/quick-fix-plumping-up-flowers.html Quick fix for nicks or scratches in wood floors and furniture.
If you have scratches in your cabinets, wood floors or furniture, this easy solution will make them disappear!
These are especially helpful if you have animals that like to scratch your wood furniture. Cat scratches on wood or marks from dog claws on the floors will vanish with this trick. :)
Sometimes I hesitate to share these more basic "DIYs" or fixes, but then I do them in our home and am reminded that they are super helpful.
So I'm sharing! :)
This is a quick repair for anything wood in your home that has minor damage -- anywhere where the top finish or stain has nicked off.
I miss the gorgeous floors in our old house so much!:
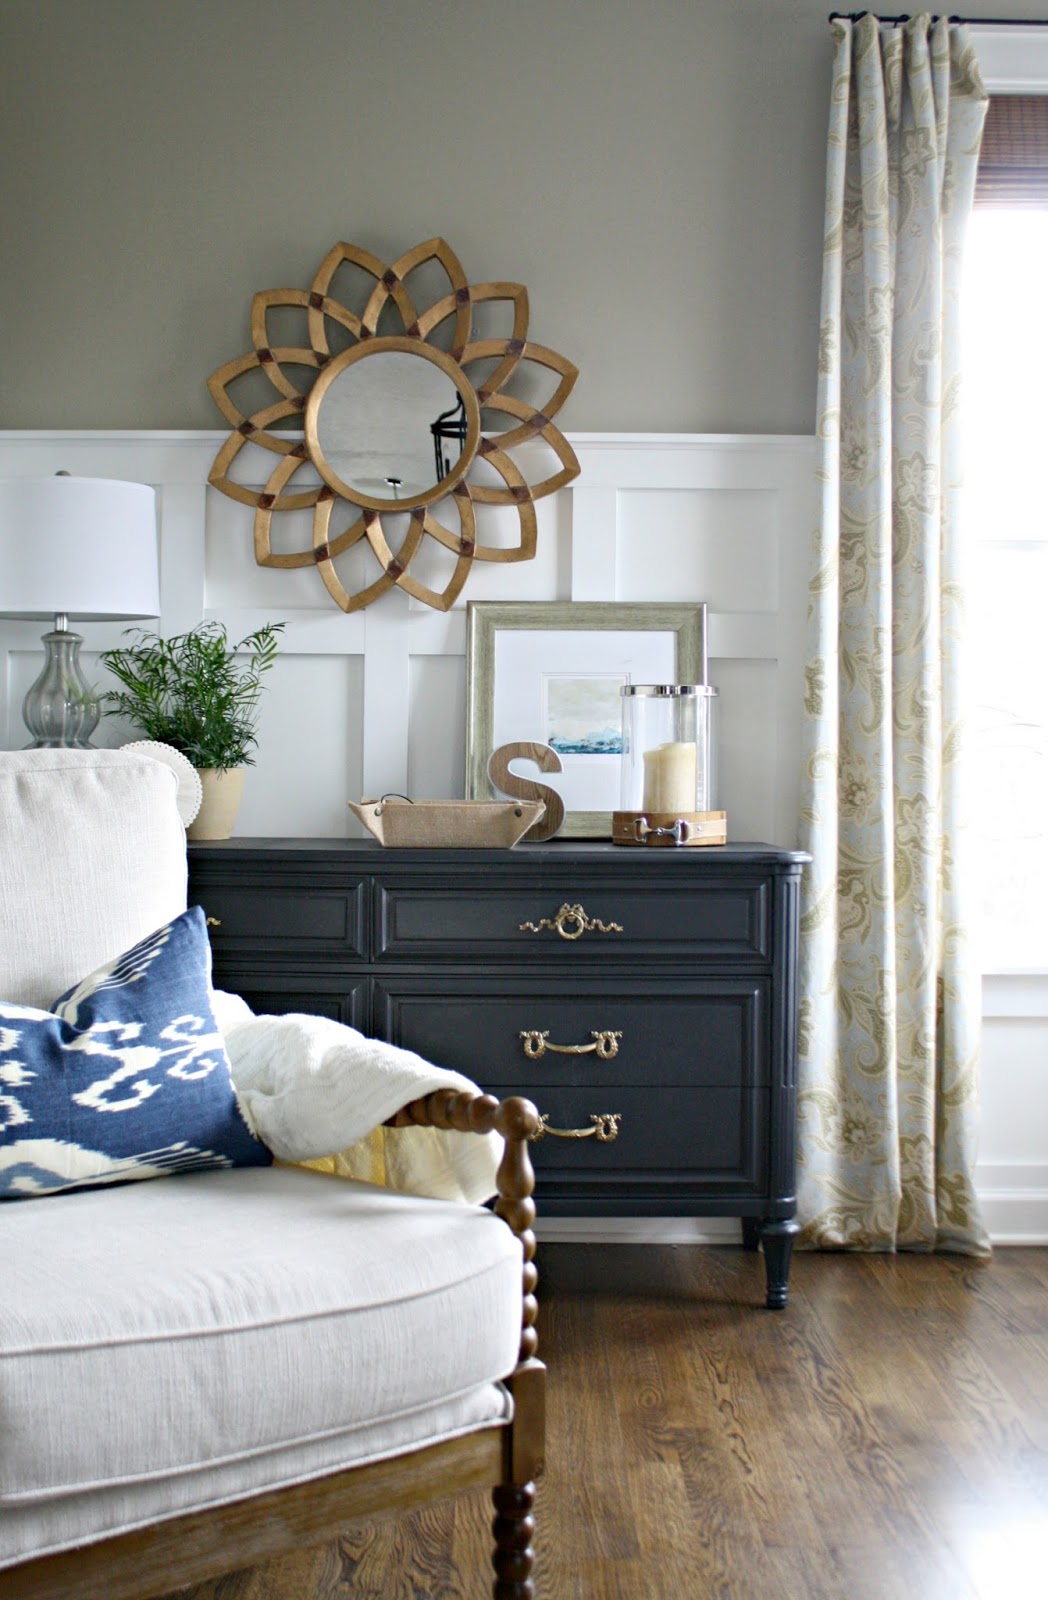
They are white oak, finished on site hardwoods and they are gorgeous (STILL!). (The stain color is Jacobean by Minwax.)
And they have held up beautifully. You pay for that quality -- they are labor intensive to install, but so worth it!
Compared to our current engineered flooring, those were pristine (and we lived with those for way longer).
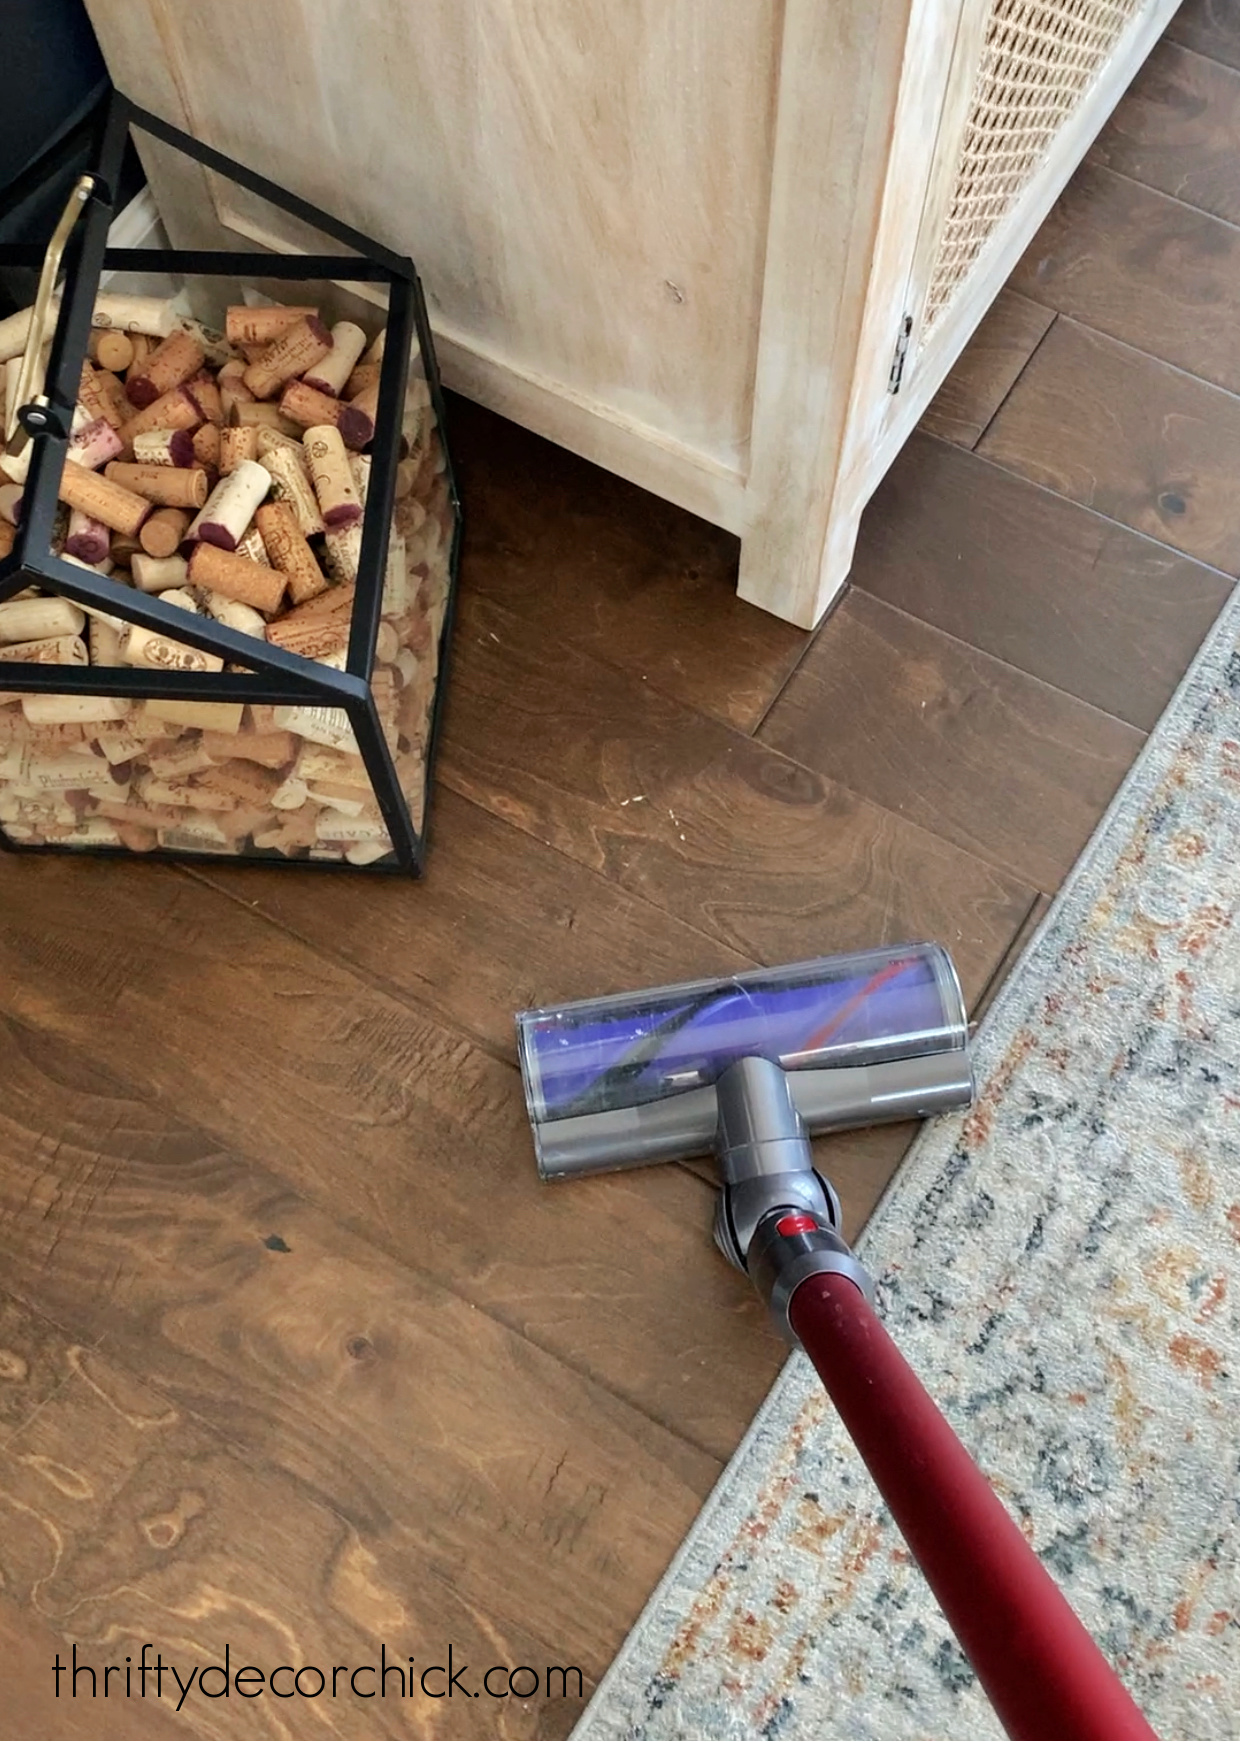
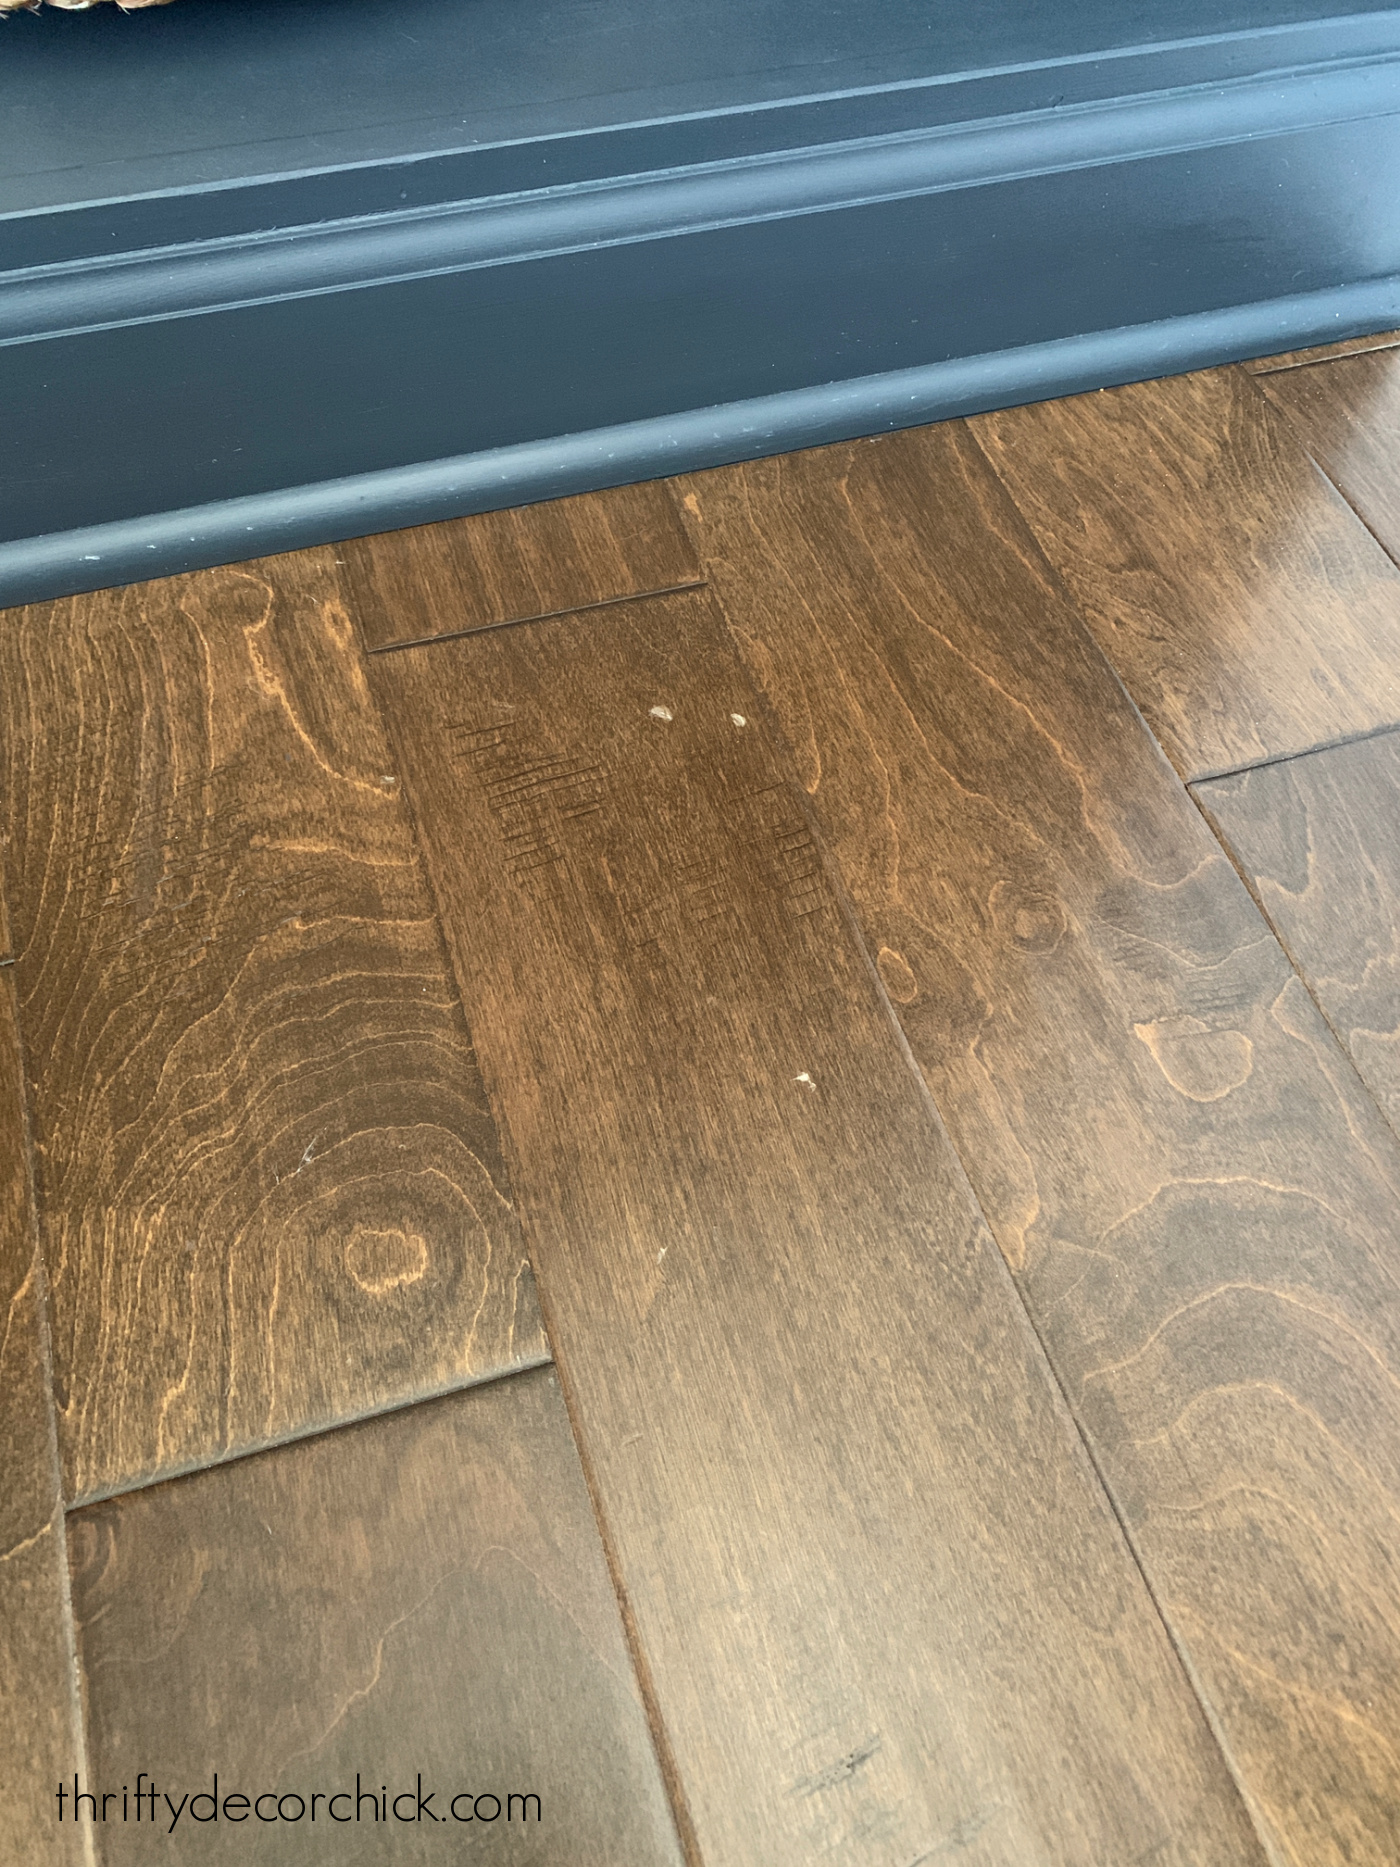
We find a new scratch or nick in our engineered hardwoods often. It's not too bad...usually we don't even notice them until we're cleaning.
It's when I'm vacuuming and trying to pick up what I think is dirt that I see them:
This post may contain affiliate links for your convenience.
See my policies and disclosure page for more information.
We have a bunch of little divots in our dining room floor where our cat likes to knock stuff off the console. Good times.
The other day I tried to vacuum up this floor damage for the 500th time, so I decided it was time to take care of these for good.
Fixing these little imperfections in your hardwood floors is super easy!
There are a few ways to do this, and the most surprising is using a walnut. Walnuts have a natural brown pigment that covers the bare wood and blends in well.
I find the nut method works best on lighter to medium colored hardwoods, so instead I use these stain markers on our darker floors:

They come in eight different wood finishes, from light to dark.
We have both the dark walnut color and ebony stain marker, but the walnut was dried up.
Because our floors have plenty of variation and darker spots, I knew the deeper ebony color would work great.
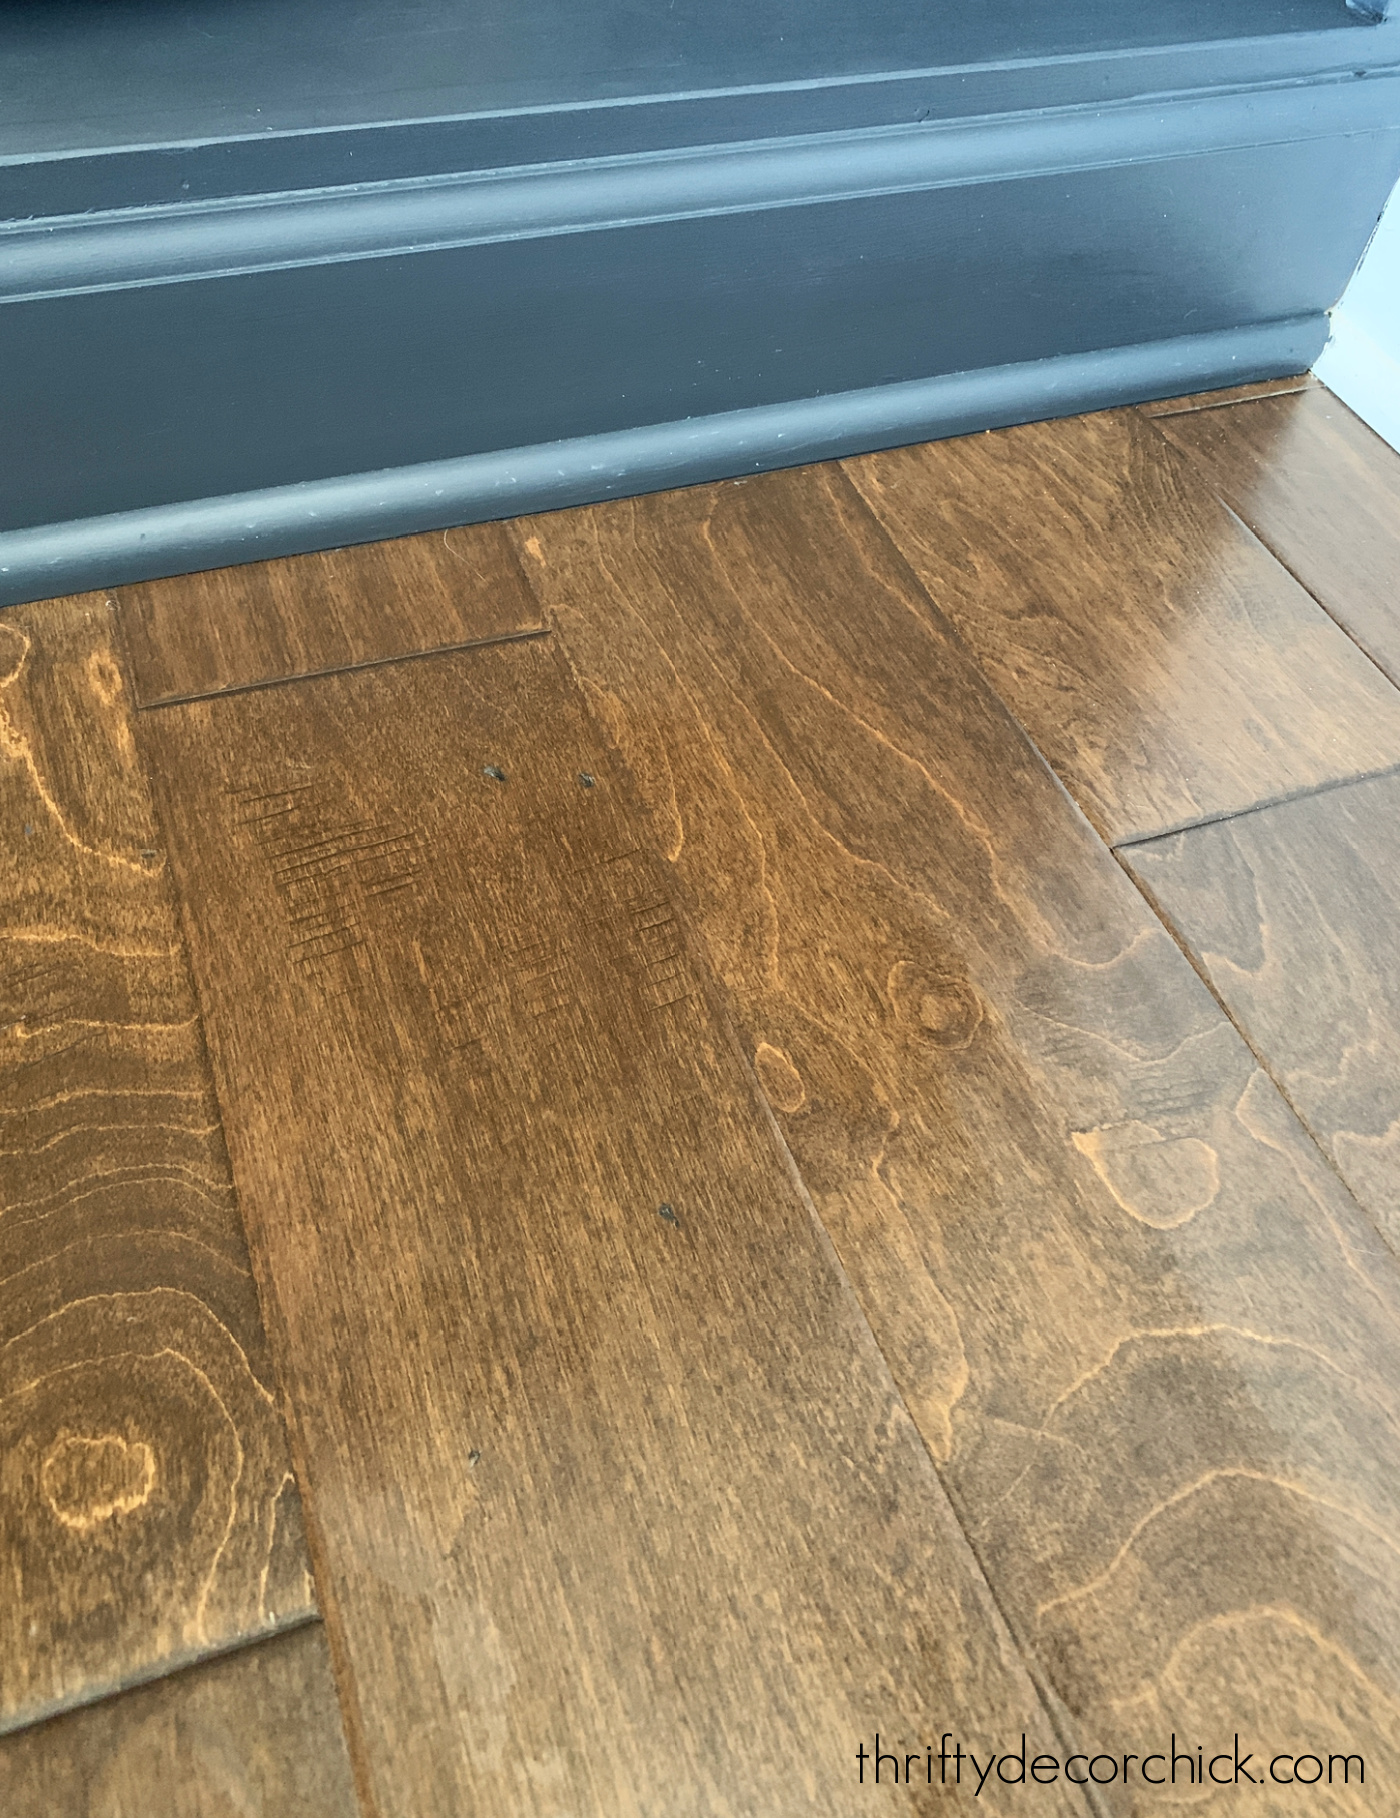
It's literally a marker with stain inside...all you do is color over the exposed wood scratches or nicks:
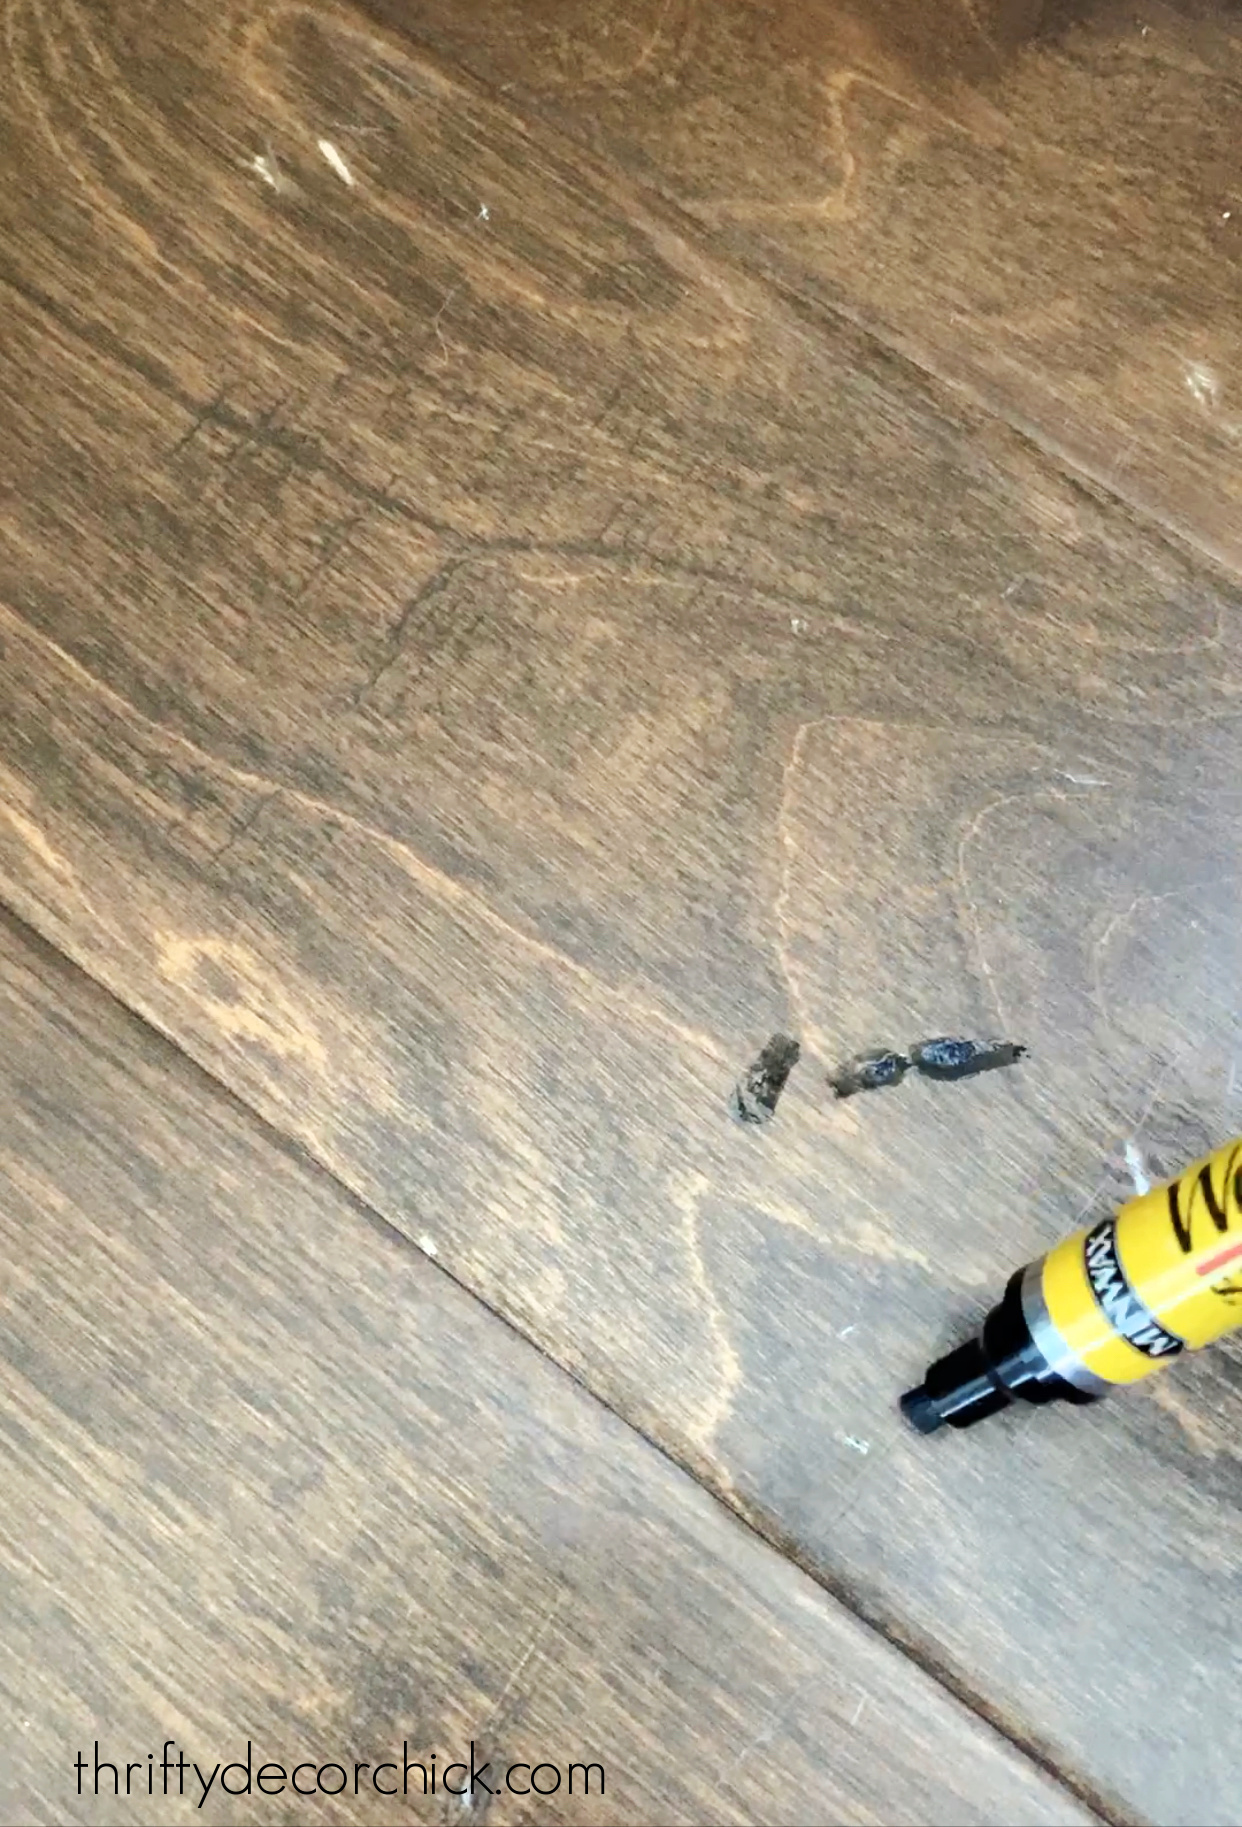
And then wipe it away with a rag or paper towel.
I like to use a damp rag to make sure I get all of the excess stain around the scratch.
I never took an after photo of that spot above, so I went back today to take it...but had a hard time finding where I filled in!:
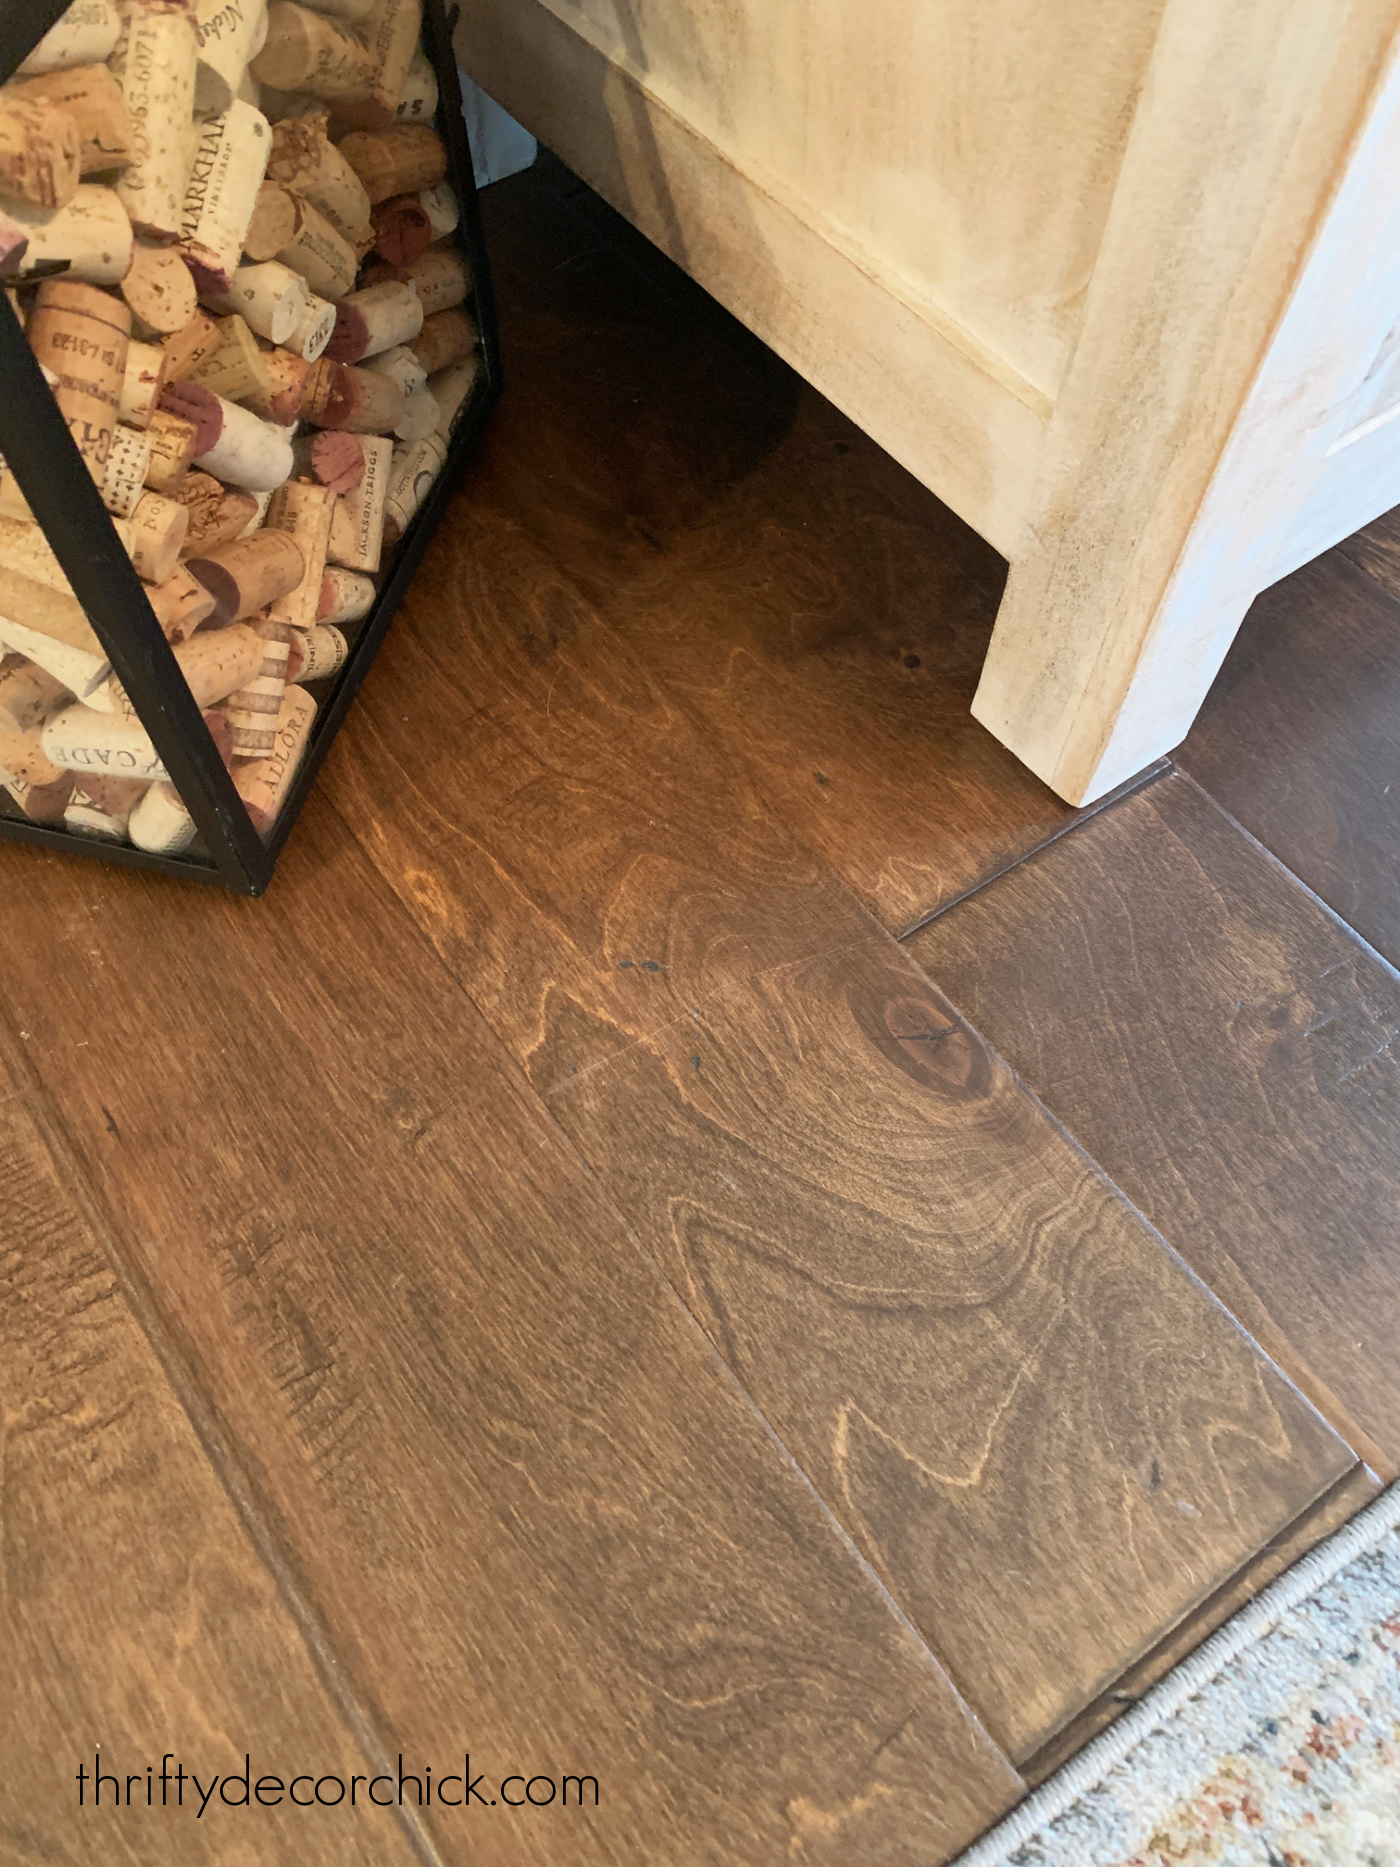
This repair worked so well, I spent an hour sliding across our hardwoods finding new spots to fill.
Funny how as I went from room to room I could see where our cat likes to act up. ?
Our floors are engineered hardwood by Diamond Living, but unfortunately have been discontinued.
This was especially great for the little scratches that occurred when some of our flooring was installed.
They had a few bare spots along the edges:

It only takes a few seconds to fill them in and wipe up!
Here's another gaggle of marks in the hardwoods before:
And after the stain filler/marker:
The darker stain worked great because it looks like a natural spot in the wood. I'd recommend going darker than lighter if your wood is in between.
Next up, I tackled furniture!
The vintage dresser in our bedroom was looking a little beat up.
I don't notice the wear and tear day to day, but there were a TON of little marks all over:

Because this wood finish has a lot of dark variation like our floors, I knew the dark stain would blend right in.
I couldn't believe the difference!:

I carried the marker around the house looking for spots to fill, but couldn't find anymore damage unfortunately. ;)
This stain marker will hide imperfections in your flooring, dressers, wood tabletops, cabinets, stairs and handrails. Anything with a wood finish!
If you have deeper scratches in your wood that you'd like to fill as well as cover, try these wood fill blending pencils that comes in the same stain colors.
This is such an easy fix and the stain touch ups will hold up for a long time.
I didn't think the little spots on the floor bothered me much...until I covered them. Now it's so nice to not see those little spots that looked like crumbs on the floor!
Have you used these stain markers on your hardwoods or furniture?
Never miss a post by signing up to get posts via email.
Via https://www.thriftydecorchick.com/2022/02/easily-fix-scratches-in-hardwood-and-furniture.html Custom DIY wood TV frame tutorial for ANY television.
This easy DIY frame for the TV is another one of those DIY projects that I've wanted to tackle for quite some time!
I know, I know...a frame for the TV? But I think you'll be surprised at the difference it makes.
This works for most recent flat screen TVs, but there are a few things to consider that I'll cover in this post.

I finally worked on this because my husband purchased a bigger television for our family room. Our old one was a dinosaur and he and my son had been talking about a larger size for years.
My only request was that it be a "Frame" TV -- I've admired them forever and knew one would look amazing in our family room!
The Frame TVs are made with a more matte screen and a much thinner frame around the edge.
The best part is you can load your own digital art and photos or purchase options online (I'll talk more about that in a moment).
The Frame television also comes with a mount that allows the TV to sit right against the wall so it truly looks like real art. (Although for now we're using our old mount, we were trying to get this thing up before the Super Bowl.) ?
This Samsung Frame TV goes on sale all of the time, so watch for that if you're interested!
Overall this thing is a decorator's dream come true. :)
It comes with a simple black frame, but there are a TON of decorative frame options online for this TV that dress it up and really make it look like a piece of art.
But WHOA...the prices for those are caaarazy. I was looking into this modern wood-looking frame for our TV, and even though it's probably the thinnest and least ornate, it was still priced at nearly $200!
I knew I could make something for a fraction of that price.
Gather your materials
I gathered my wood trim first.
This part is completely up to the look you want -- I wanted my DIY frame to cover a couple things specifically.
I used this corner trim from Lowe's for my project because it overlapped the front of the frame on the TV:
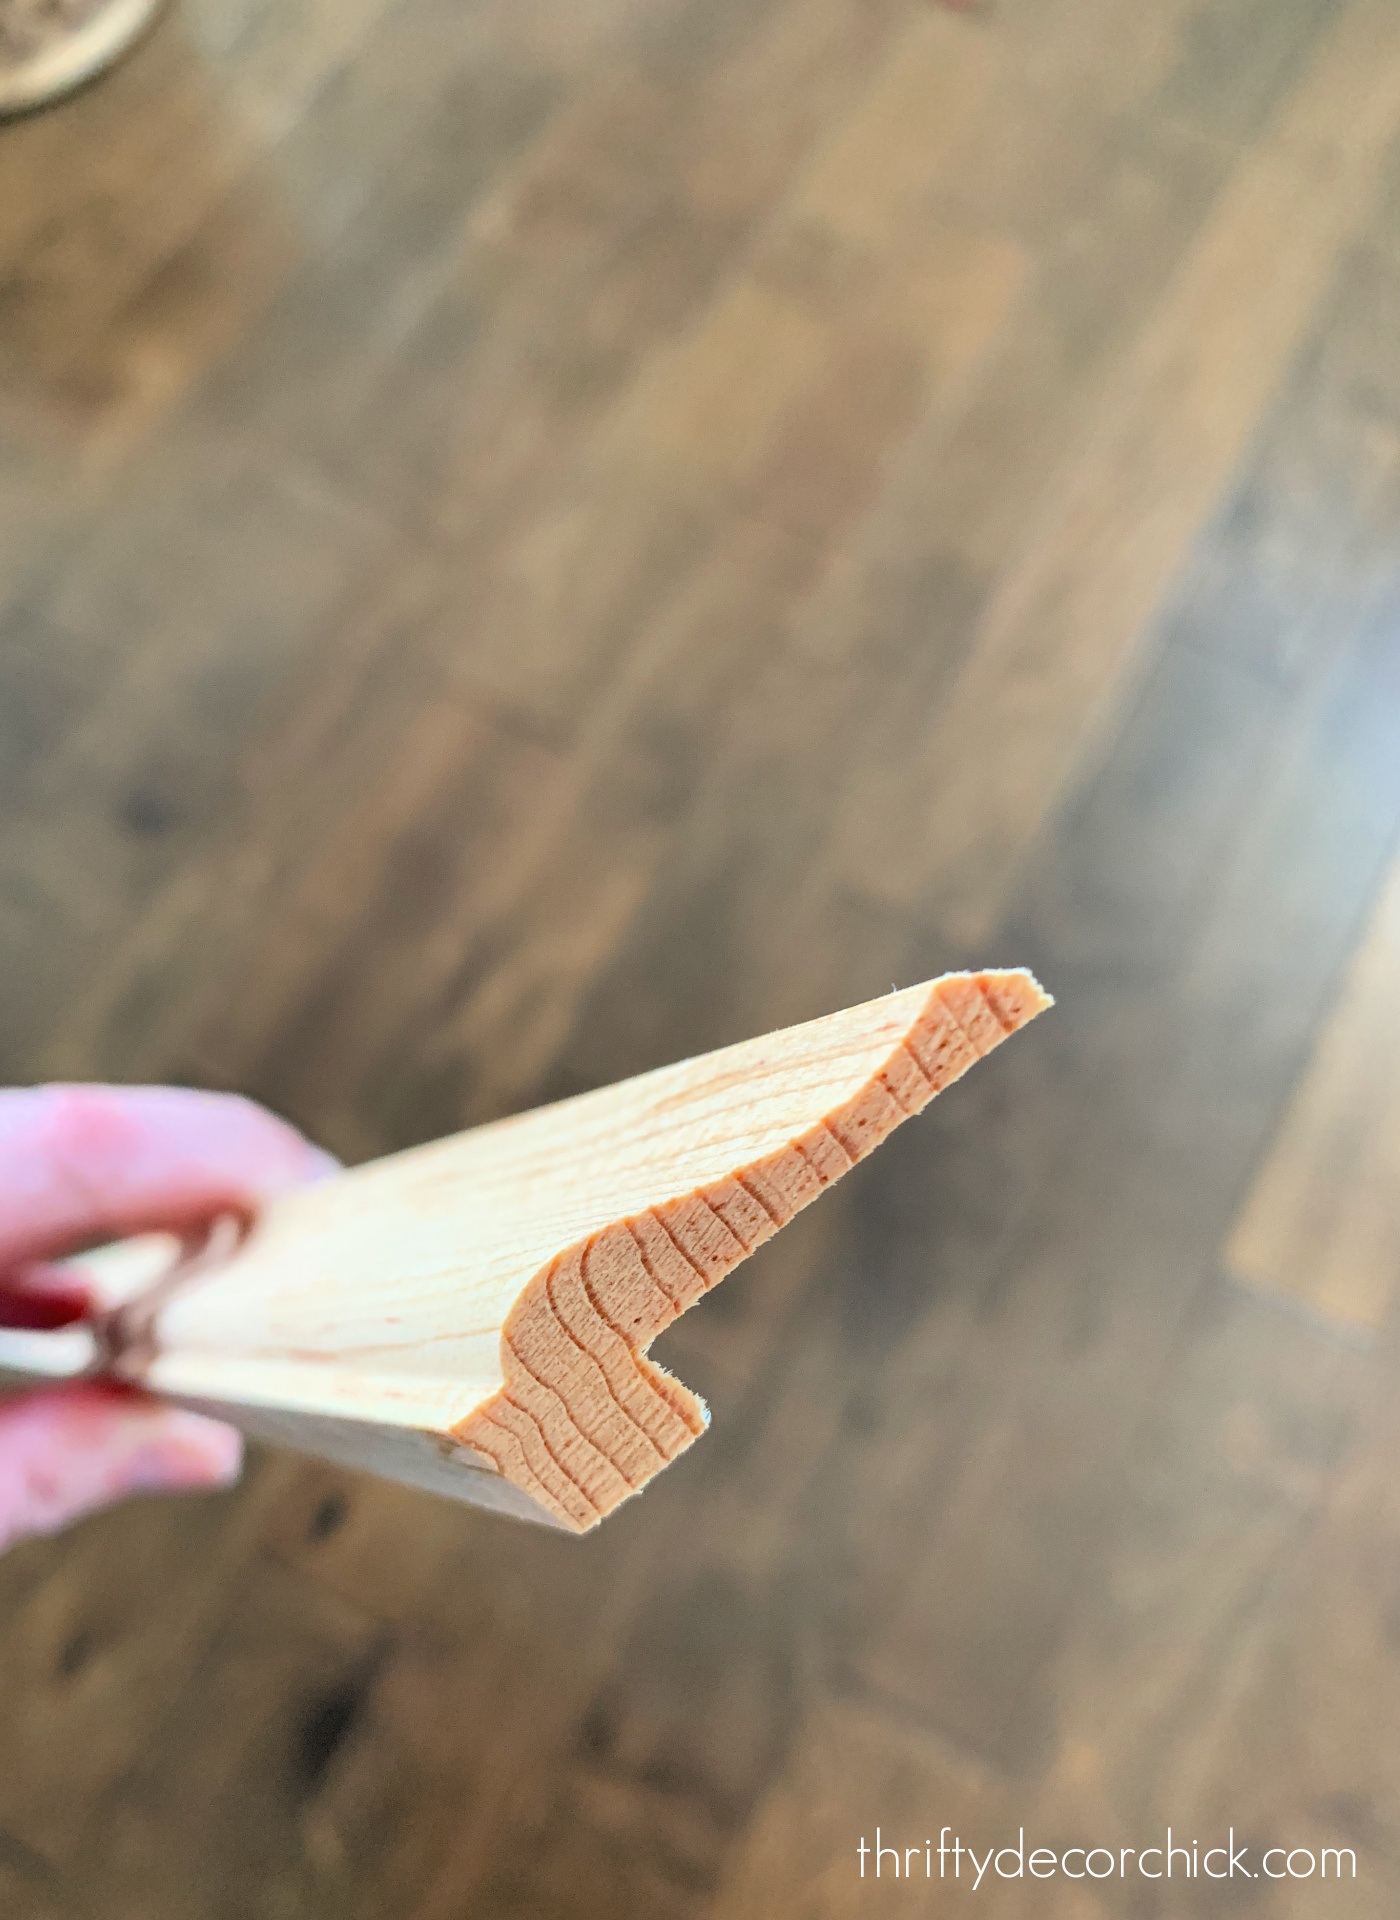
Seeing that black along the edges at all took away from the framed art effect, in my opinion.
Read the full post
Via https://www.thriftydecorchick.com/2022/02/how-to-build-DIY-frame-for-TV.html Creating a more functional pantry with cabinets and pull out drawers.
I'm so excited about this small room redo! I love making rooms function better for us as a family, and this pantry makeover has made such a difference.
It's been months since I've updated you on this project. I've made so much progress, but then the holidays hit and I paused the DIY projects in here.
We now use every bit of our pantry (in a smarter way) and it's just prettier to look at. I'm always a function over form person, but pretty never hurts! ;)
I shared my plan for transforming our pantry from the open melamine shelves to a butler's pantry design a few months back.
The open shelving just didn't function well for us.
This is how the pantry looked every time I cleaned and organized it:

This post may contain affiliate links for your convenience.
See my policies and disclosure page for more information.
I absolutely love having such a large pantry, but it rarely looked like that. It was always a mess -- the shelves just weren't working.
We had plenty of them, but they were shallow. Even though it was all out in the open, we would lose track of what we had because we'd pile things in front or on top.
Shelves are GREAT when they're at eye level. When you have to sit on the ground to see what's on them, not so much.
It stressed me out every time I walked into this space.
I prefer to have things organized behind cabinet doors anyway, so I came up with a new pantry plan that I started implementing last fall.
I'm reusing those melamine shelves to create custom shelves in our son's closet!
The pantry has been fully functional for months now, but I still have a lot of little projects finish up.
I installed the cabinets the day they arrived -- we had our food piled high all over the mud room and I wanted to get them into cabinets as soon as possible.
I shared the peel and stick tile installation on the backsplash, but didn't show more than this view:
So let's catch up on everything I've done in this small space!
I installed the light gray cabinets and hardware first:

I used two tall Courtland Shaker pantry cabinets from Home Depot and two sets of drawers -- a 24 inch base and an 18 inch drawer base.
See how to add your own soft close dampers to cabinet doors here -- those were a must with those big pantry doors!
I wanted to have a small counter in the pantry for prepping or using appliances:

Overall I prefer drawers to cabinets so it gave me the perfect spot for this little countertop!
I find drawers are a better use of space and SO much easier to organize.
I made those tall pantries work hard for us! (I'll show you that below.)
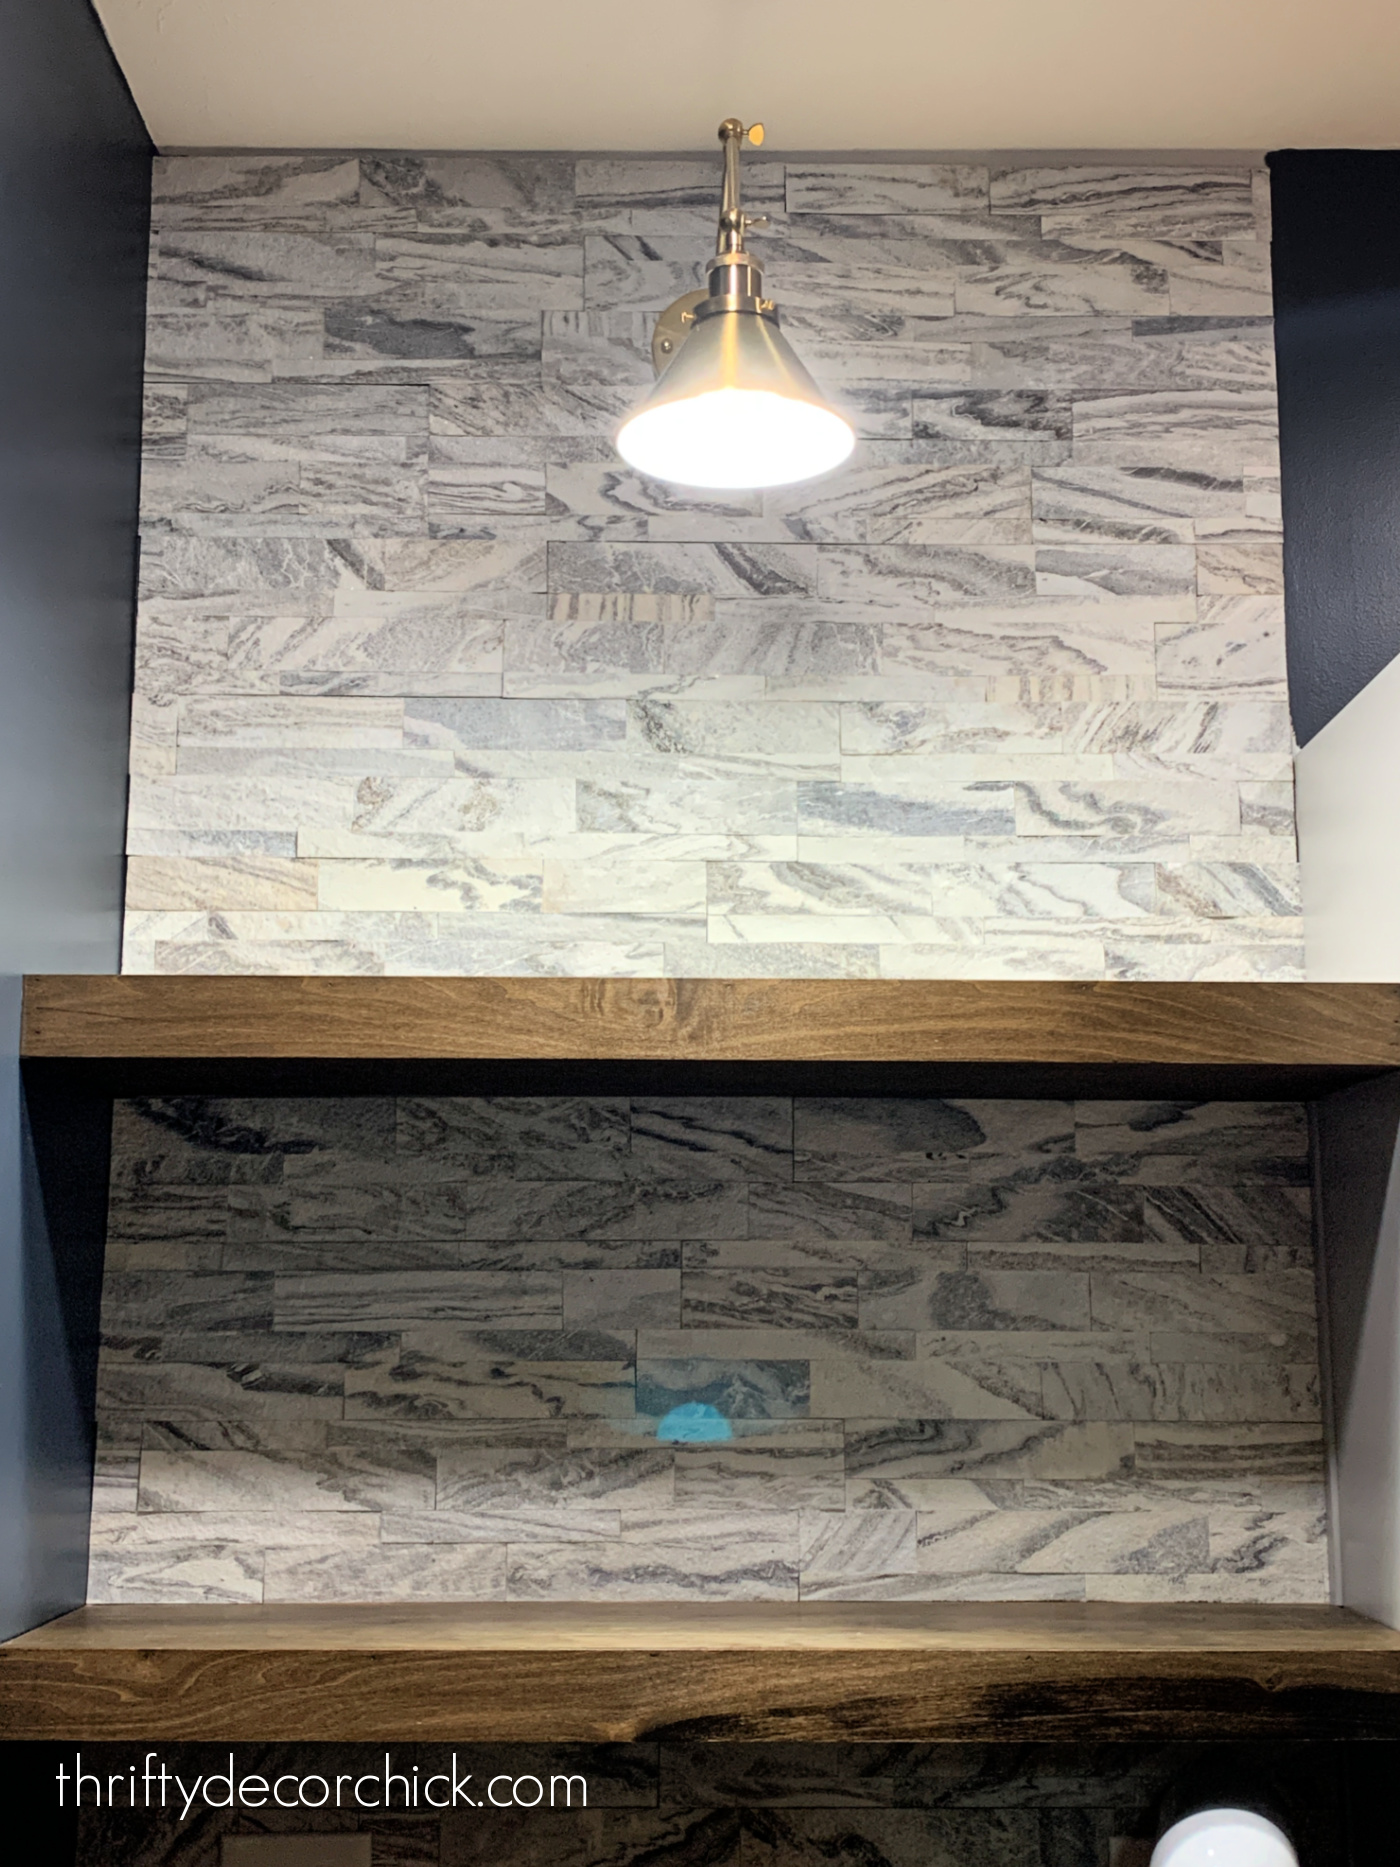
After the cabinets were in place, I installed that backsplash tile and the floating wood shelves:
I used inexpensive butcher block from Home Depot for the countertop.
It's very rare that cabinets will fit a space perfectly -- usually there's some empty space in between that you can fill with cabinet spacers.
But we still would have had an awkward amount of space left even with those, so I wanted to make use of that space.
I designed this room with an opening between the two tall pantry cabinets:

This skinny bookshelf holds cook books and baskets -- I found these skinny baskets that fit perfectly in there.
It's the perfect spot for small appliances and books we reach for most often.
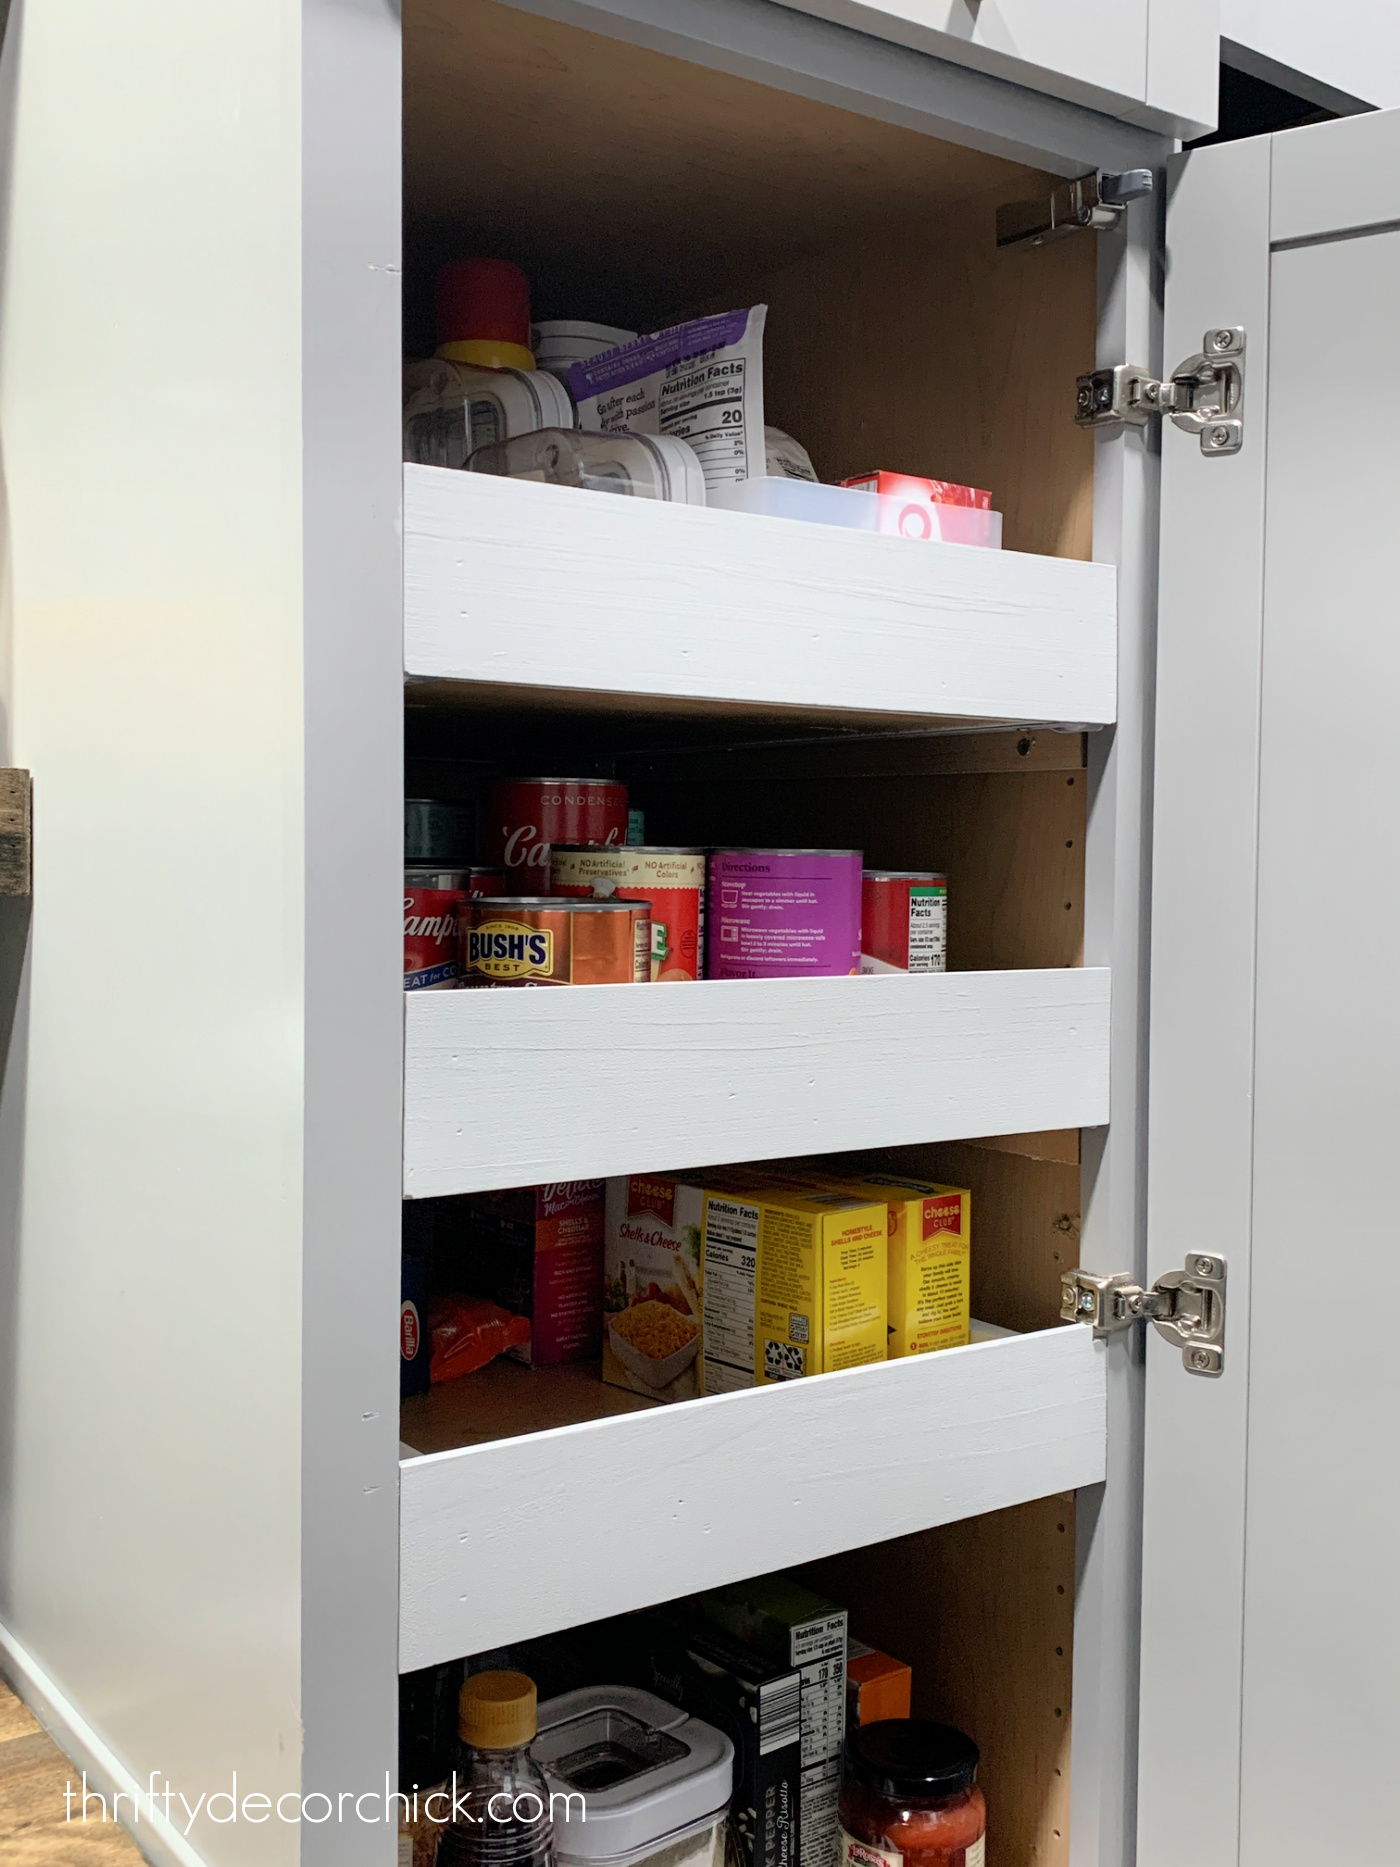
I've done a TON of work inside the tall cabinets to create a bunch of useful storage. They come with adjustable shelves, but I wanted to create pull out storage instead.
Food gets lost at the back of deep cabinets!
I'll be sharing more about these awesome pull out shelves soon:
I still have so much to do -- mostly little details.
The biggest project on my list will be building an upper unit that will go to the ceiling above the pantry cabinets. It will give us some display/storage space for larger serving dishes.
And going up the ceiling with your cabinets makes them look so much more custom!
This room has functioned SO much better for us. You'll be shocked at how much we have in these four cabinets!
I always say you have to live with a space for awhile to get a feel for how you want to decorate it, but that goes double when it comes to functionality or organization.
Figuring out your family routine is key in a space like this!
I'll share a full tour soon -- I'm determined to get this room finished up this month. :)
Never miss a post by signing up to get posts via email.
Via https://www.thriftydecorchick.com/2022/02/convert-pantry-to-butlers-pantry.html Pretty spring decor and art finds to brighten your home!
This is such a calming time of the year for me...the busyness of the holidays has passed, the house has been cleaned up and I make small changes to "lighten" up our home.
I love the process of refreshing our spaces every new year!
I've had the pleasure of working with Big Lots over the past few months and sharing some of their beautiful decor and storage items.
They've been one of my go-to home decor sources for a couple decades now -- I always find pretty pieces there that I don't see anywhere else.
I loved so many of their new spring decor items when I walked through the store last month.
Do you decorate for winter? I don't -- after the holidays I'm done with evergreens and anything snow related (even though it's just starting around here!)
Instead I prefer fresh touches that feel light and brighten up our wintery days.
These finds do just that! I think you'll love these pretty decor items as much as I do. :)
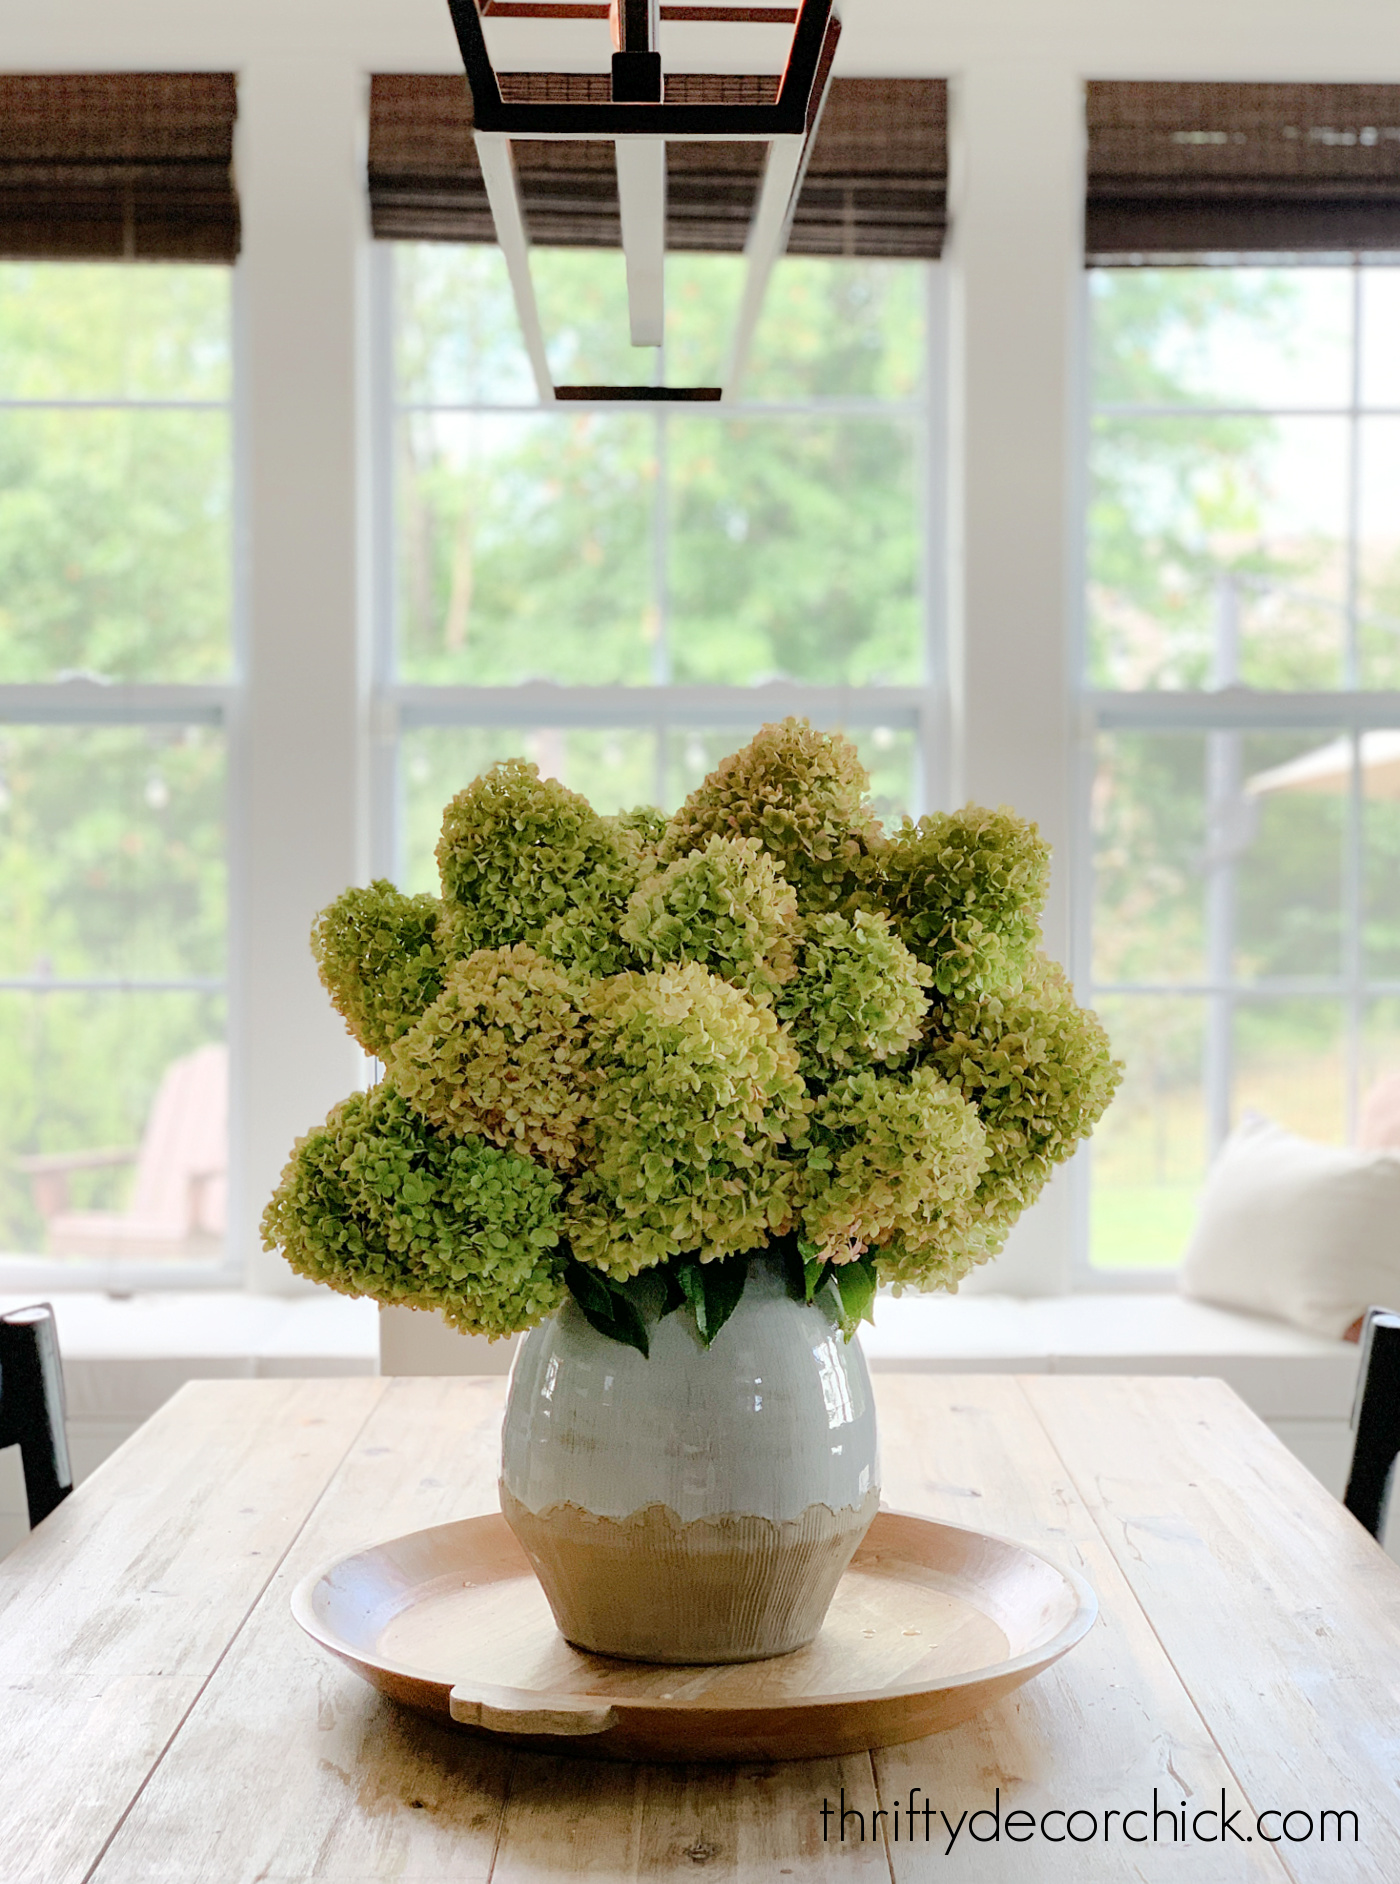
I found this white pitcher (only $10!) and had to have it. It's hard to pass up one with such pretty lines:
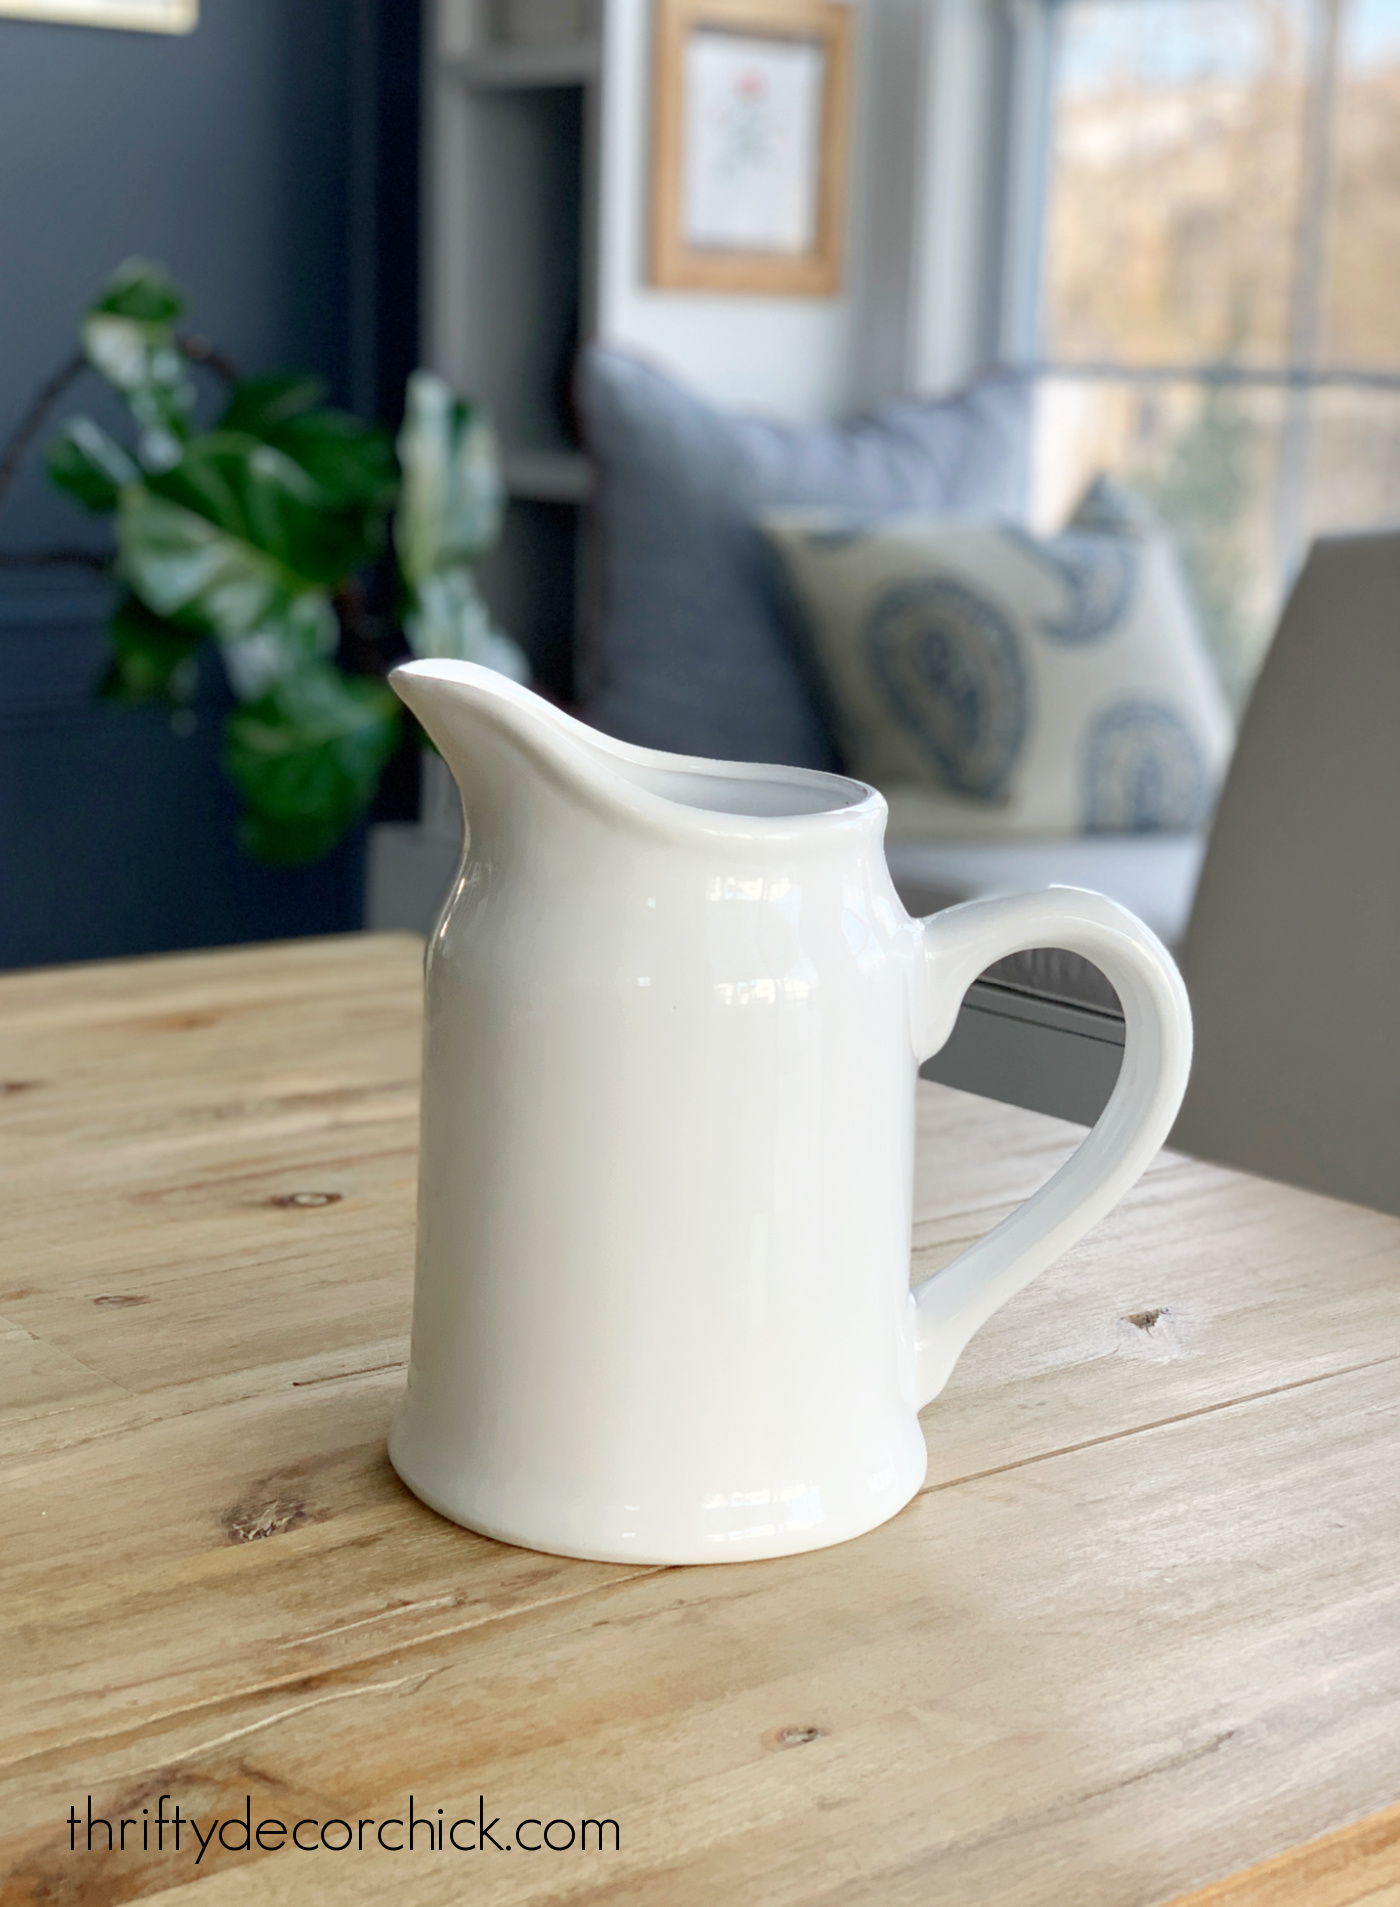
A simple white pitcher with a great silhouette makes a perfect vase!
I added a life-like artificial fern, this beaded garland and a sandlewood and cotton scented candle to create a little vignette on our table.
Centerpieces are always hard for me, but a tray like this one as a base makes it easy:
Read the full post
Via https://www.thriftydecorchick.com/2022/02/winter-refresh-with-pretty-home-decor.html Update store bought drapes with this easy DIY pinch pleated curtains tutorial!
This easy trick transforms your basic store bought drapes and makes them look MUCH more custom and expensive looking!
It is SUCH a great drapery hack! I don't know why I've waited so long to do this, it made a huge difference in how our drapes look.
I've shared a lot of curtain tips over the years -- there are so many ways to make store bought drapes look custom.
This is one of the best though!
This DIY pinch pleat curtain trick works especially well on thinner drapes that don't hold their shape well.
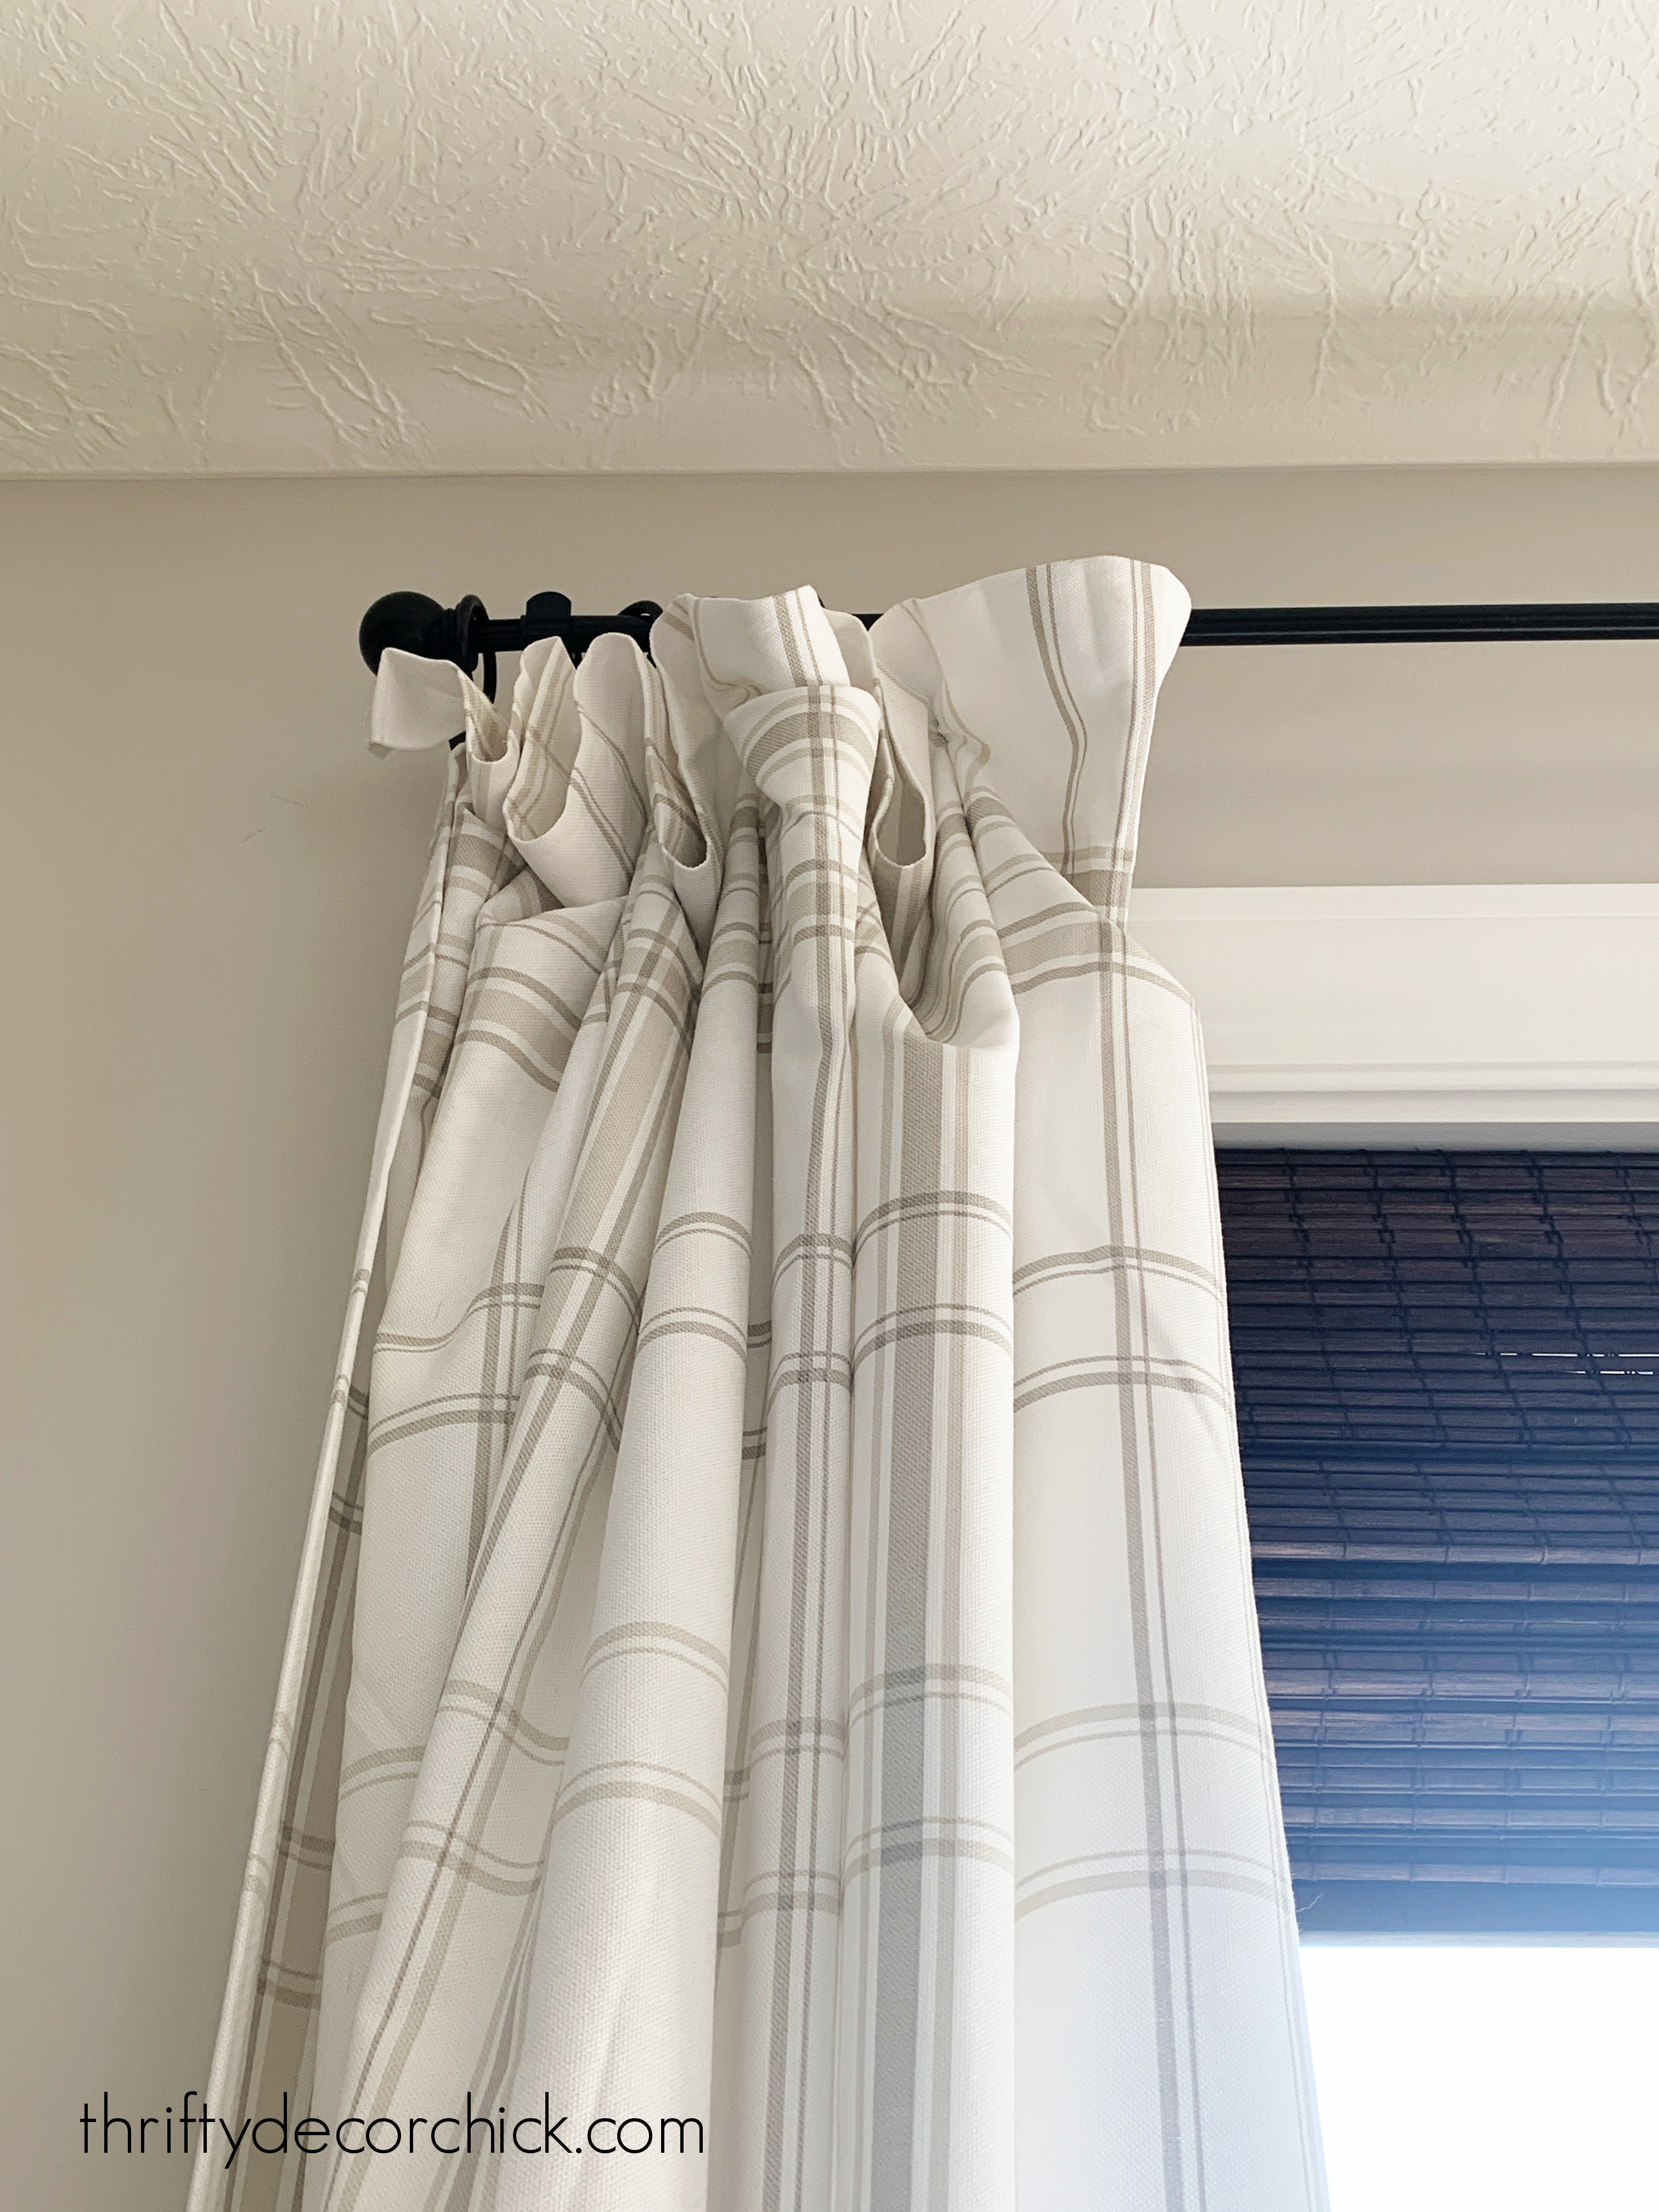
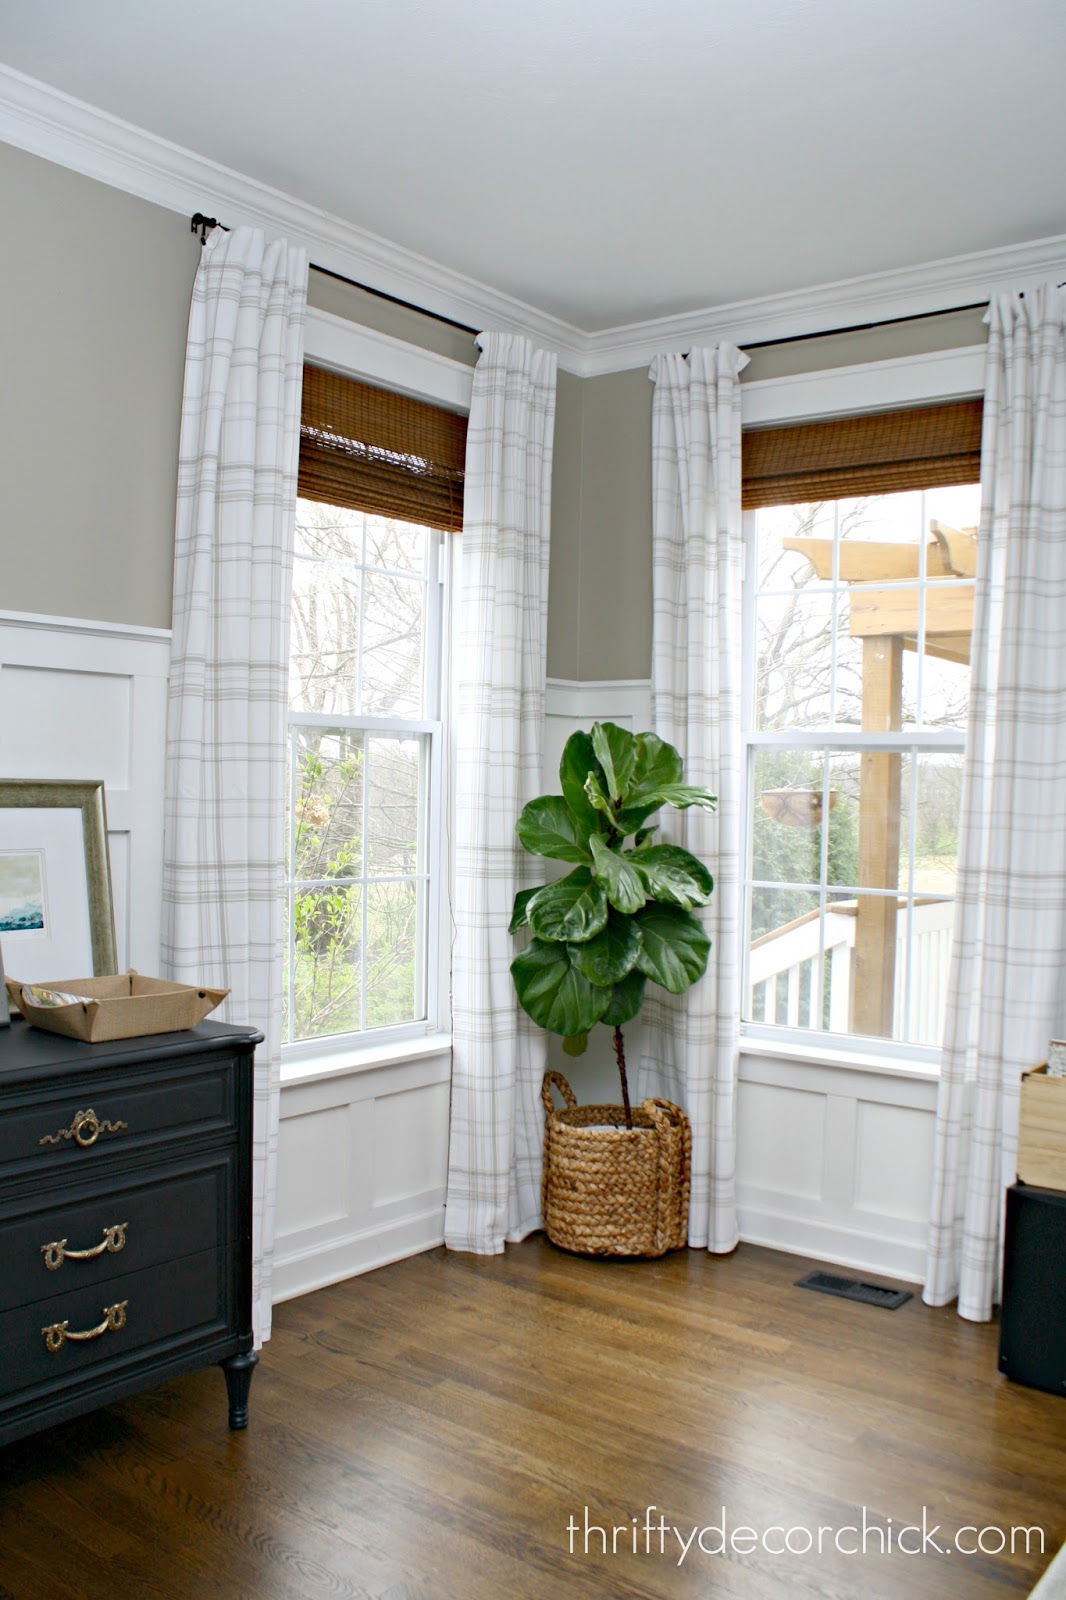
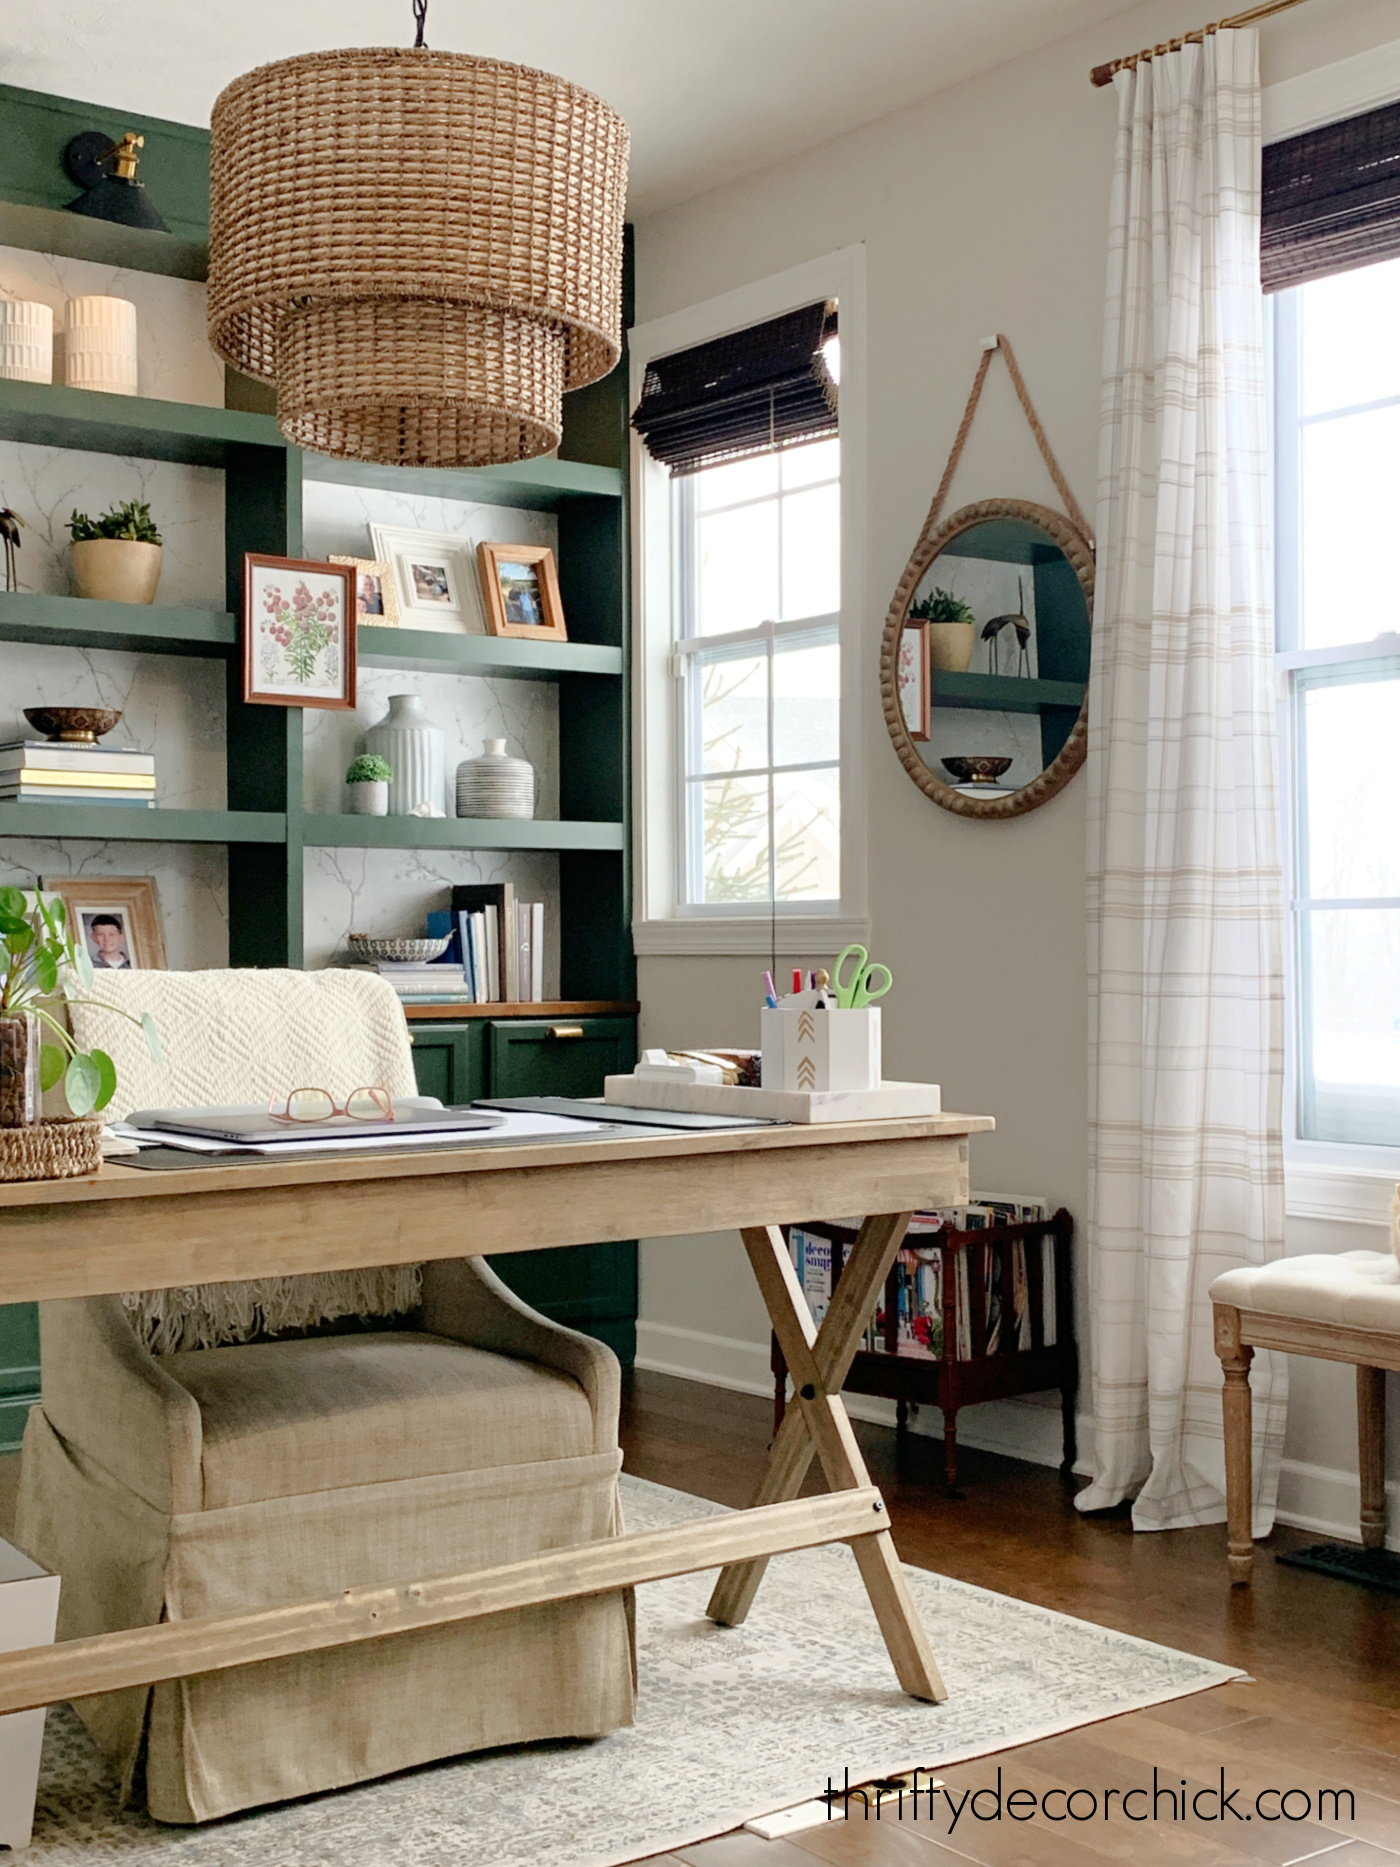
The curtains in my home office didn't look bad from far away:
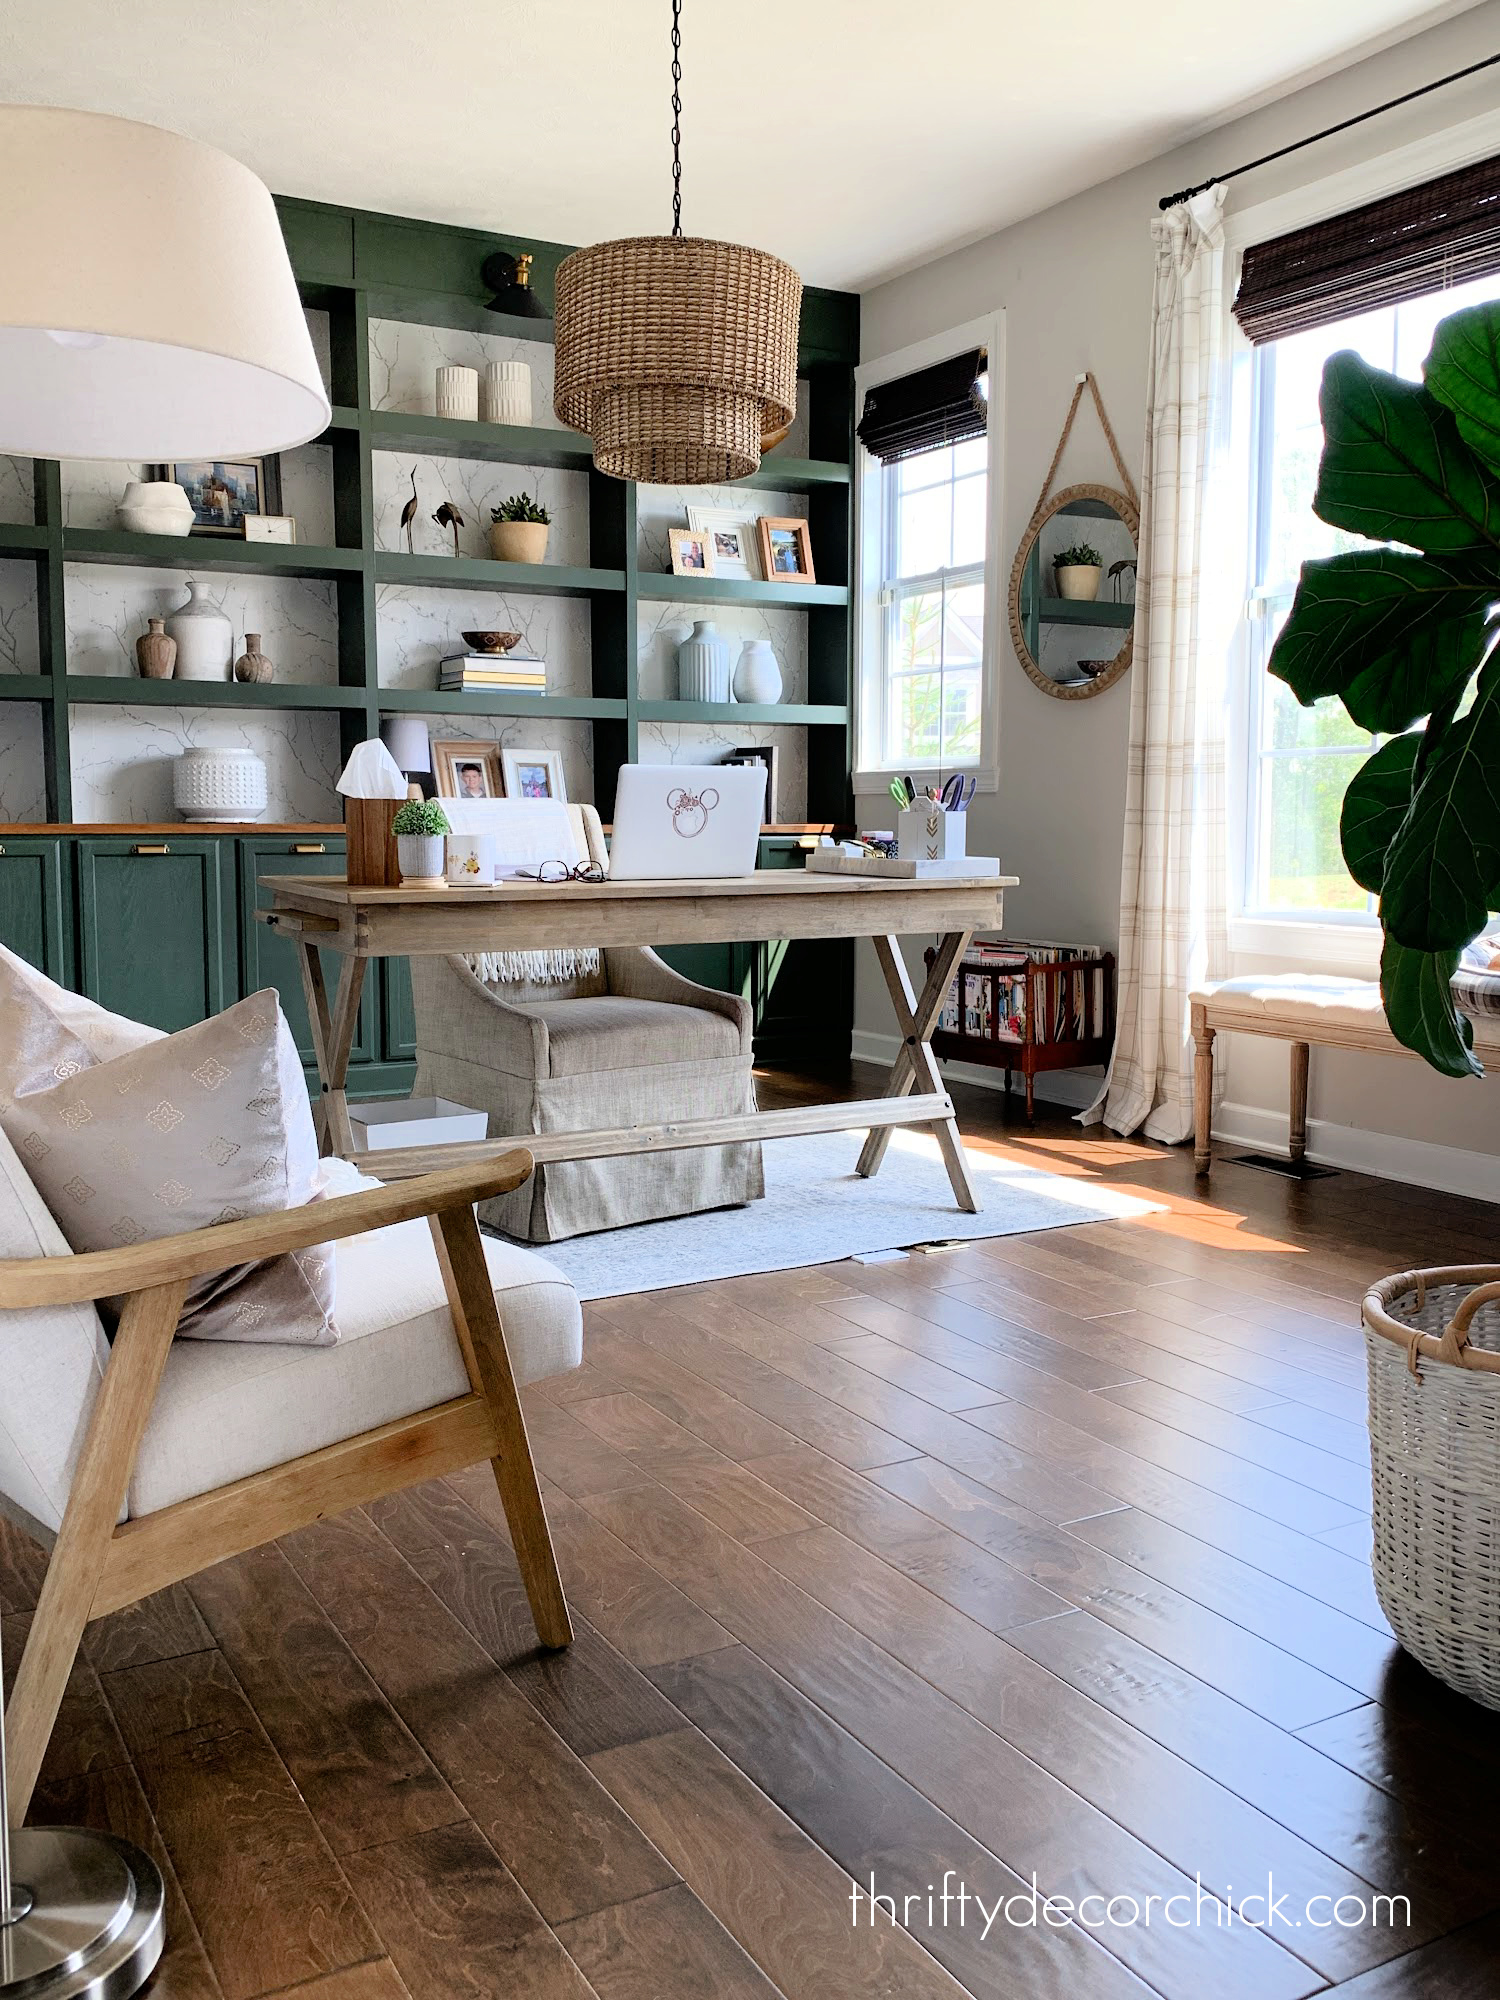
But if you got up closer you'd see what I was dealing with up at the top:
This post may contain affiliate links for your convenience.
See my policies and disclosure page for more information.
I found these cream and plaid drapes at HomeGoods years ago and shared how I made some easy custom touches.
They looked great when they hung in our old family room:
I've always used a little hack for giving my drapes a fake pleat -- if you clip the fabric from behind instead of the top of the fabric, you get a more custom look:
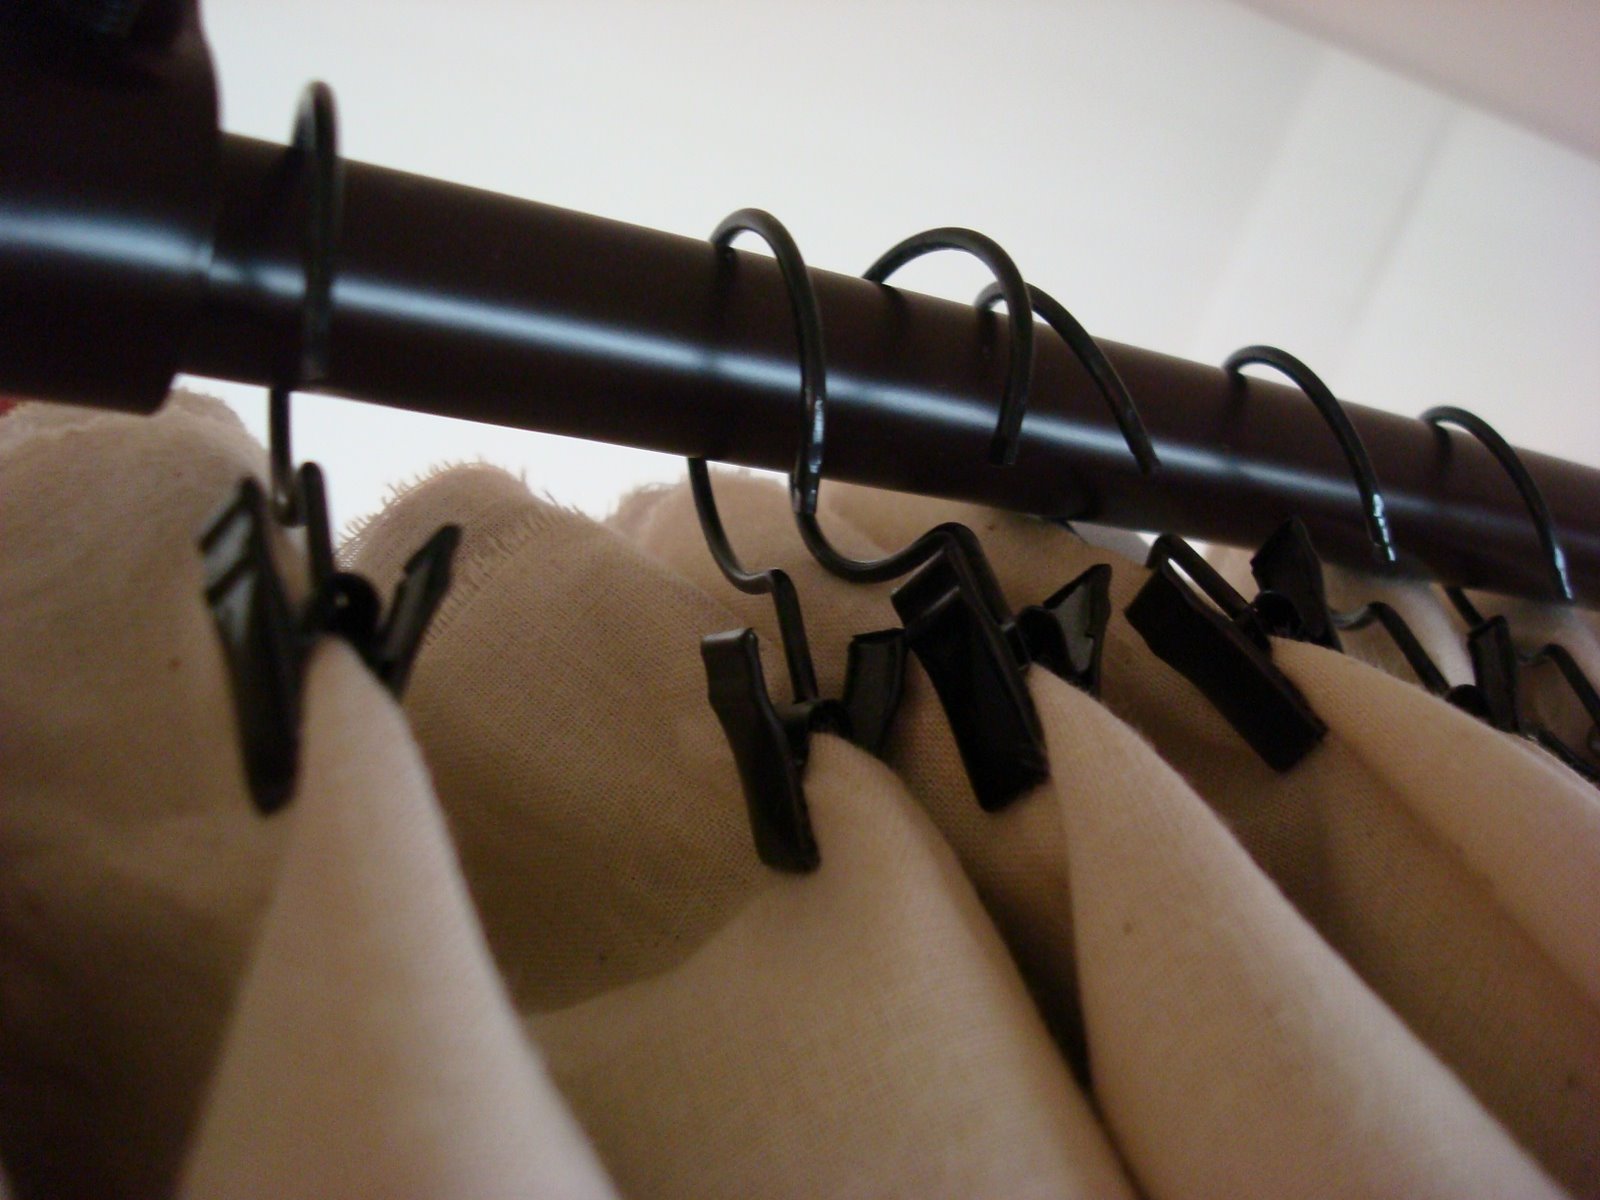
It gives the look of pinch pleat drapes, but this definitely works better with thicker fabrics.
My office drapes would look good for awhile, but the cotton fabric was just too thin to keep them standing nicely.
So after a few weeks, I'd up with the messy, slumped pleats like you see above.
I've known about this easy fix for years (since my decorating days!), but haven't ever taken the time to do it.
Now I'm kicking myself for not doing it sooner!
To get this custom look with store bought curtains, you'll need pleating tape and metal drapery hooks:

They are very affordable -- I got ten yards of the tape and 20 hooks for $24.
That's enough pleater tape to fix at least six standard curtain panels (most are around 54 inches wide). I did have to buy more hooks for another project.
It's so easy, and you don't have to know how to sew to do this. I'll explain both methods!
If you look close, you can see that the tape has a dotted guide line at the top:
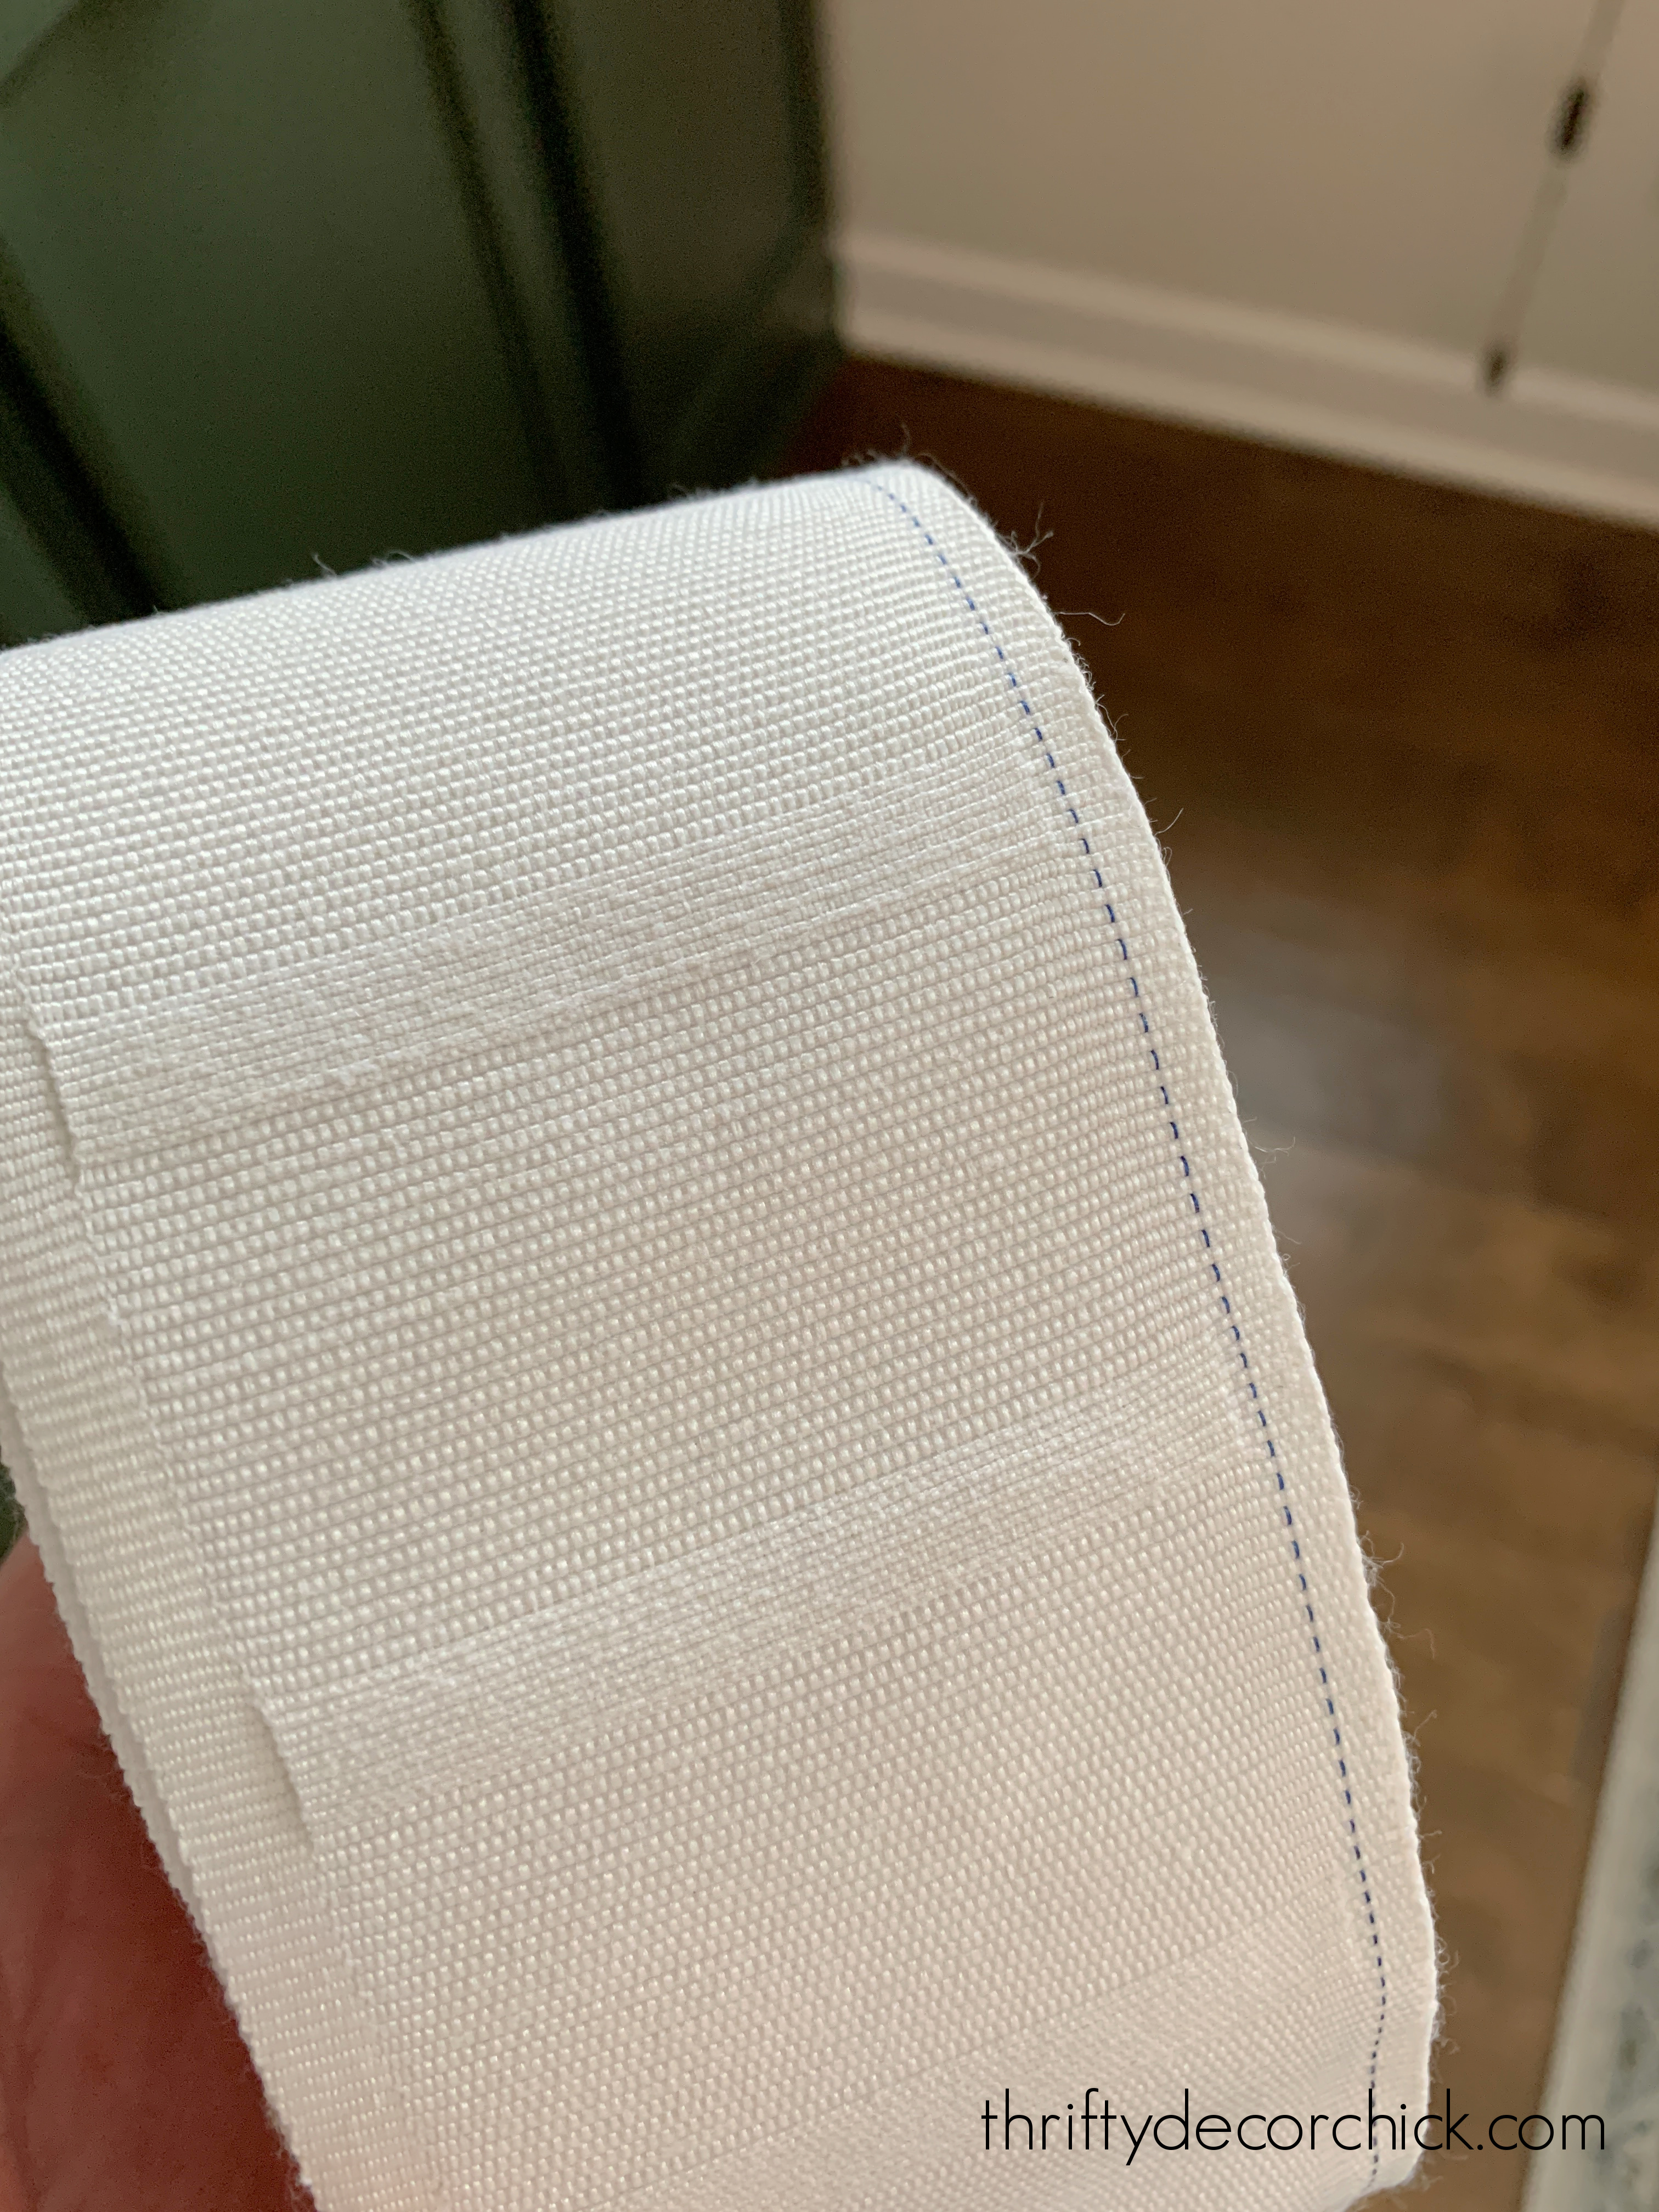
This gives you the line to follow as you're sewing. So nice!
I pinned the tape to the back of the top of the curtains and then ran it through the sewing machine:
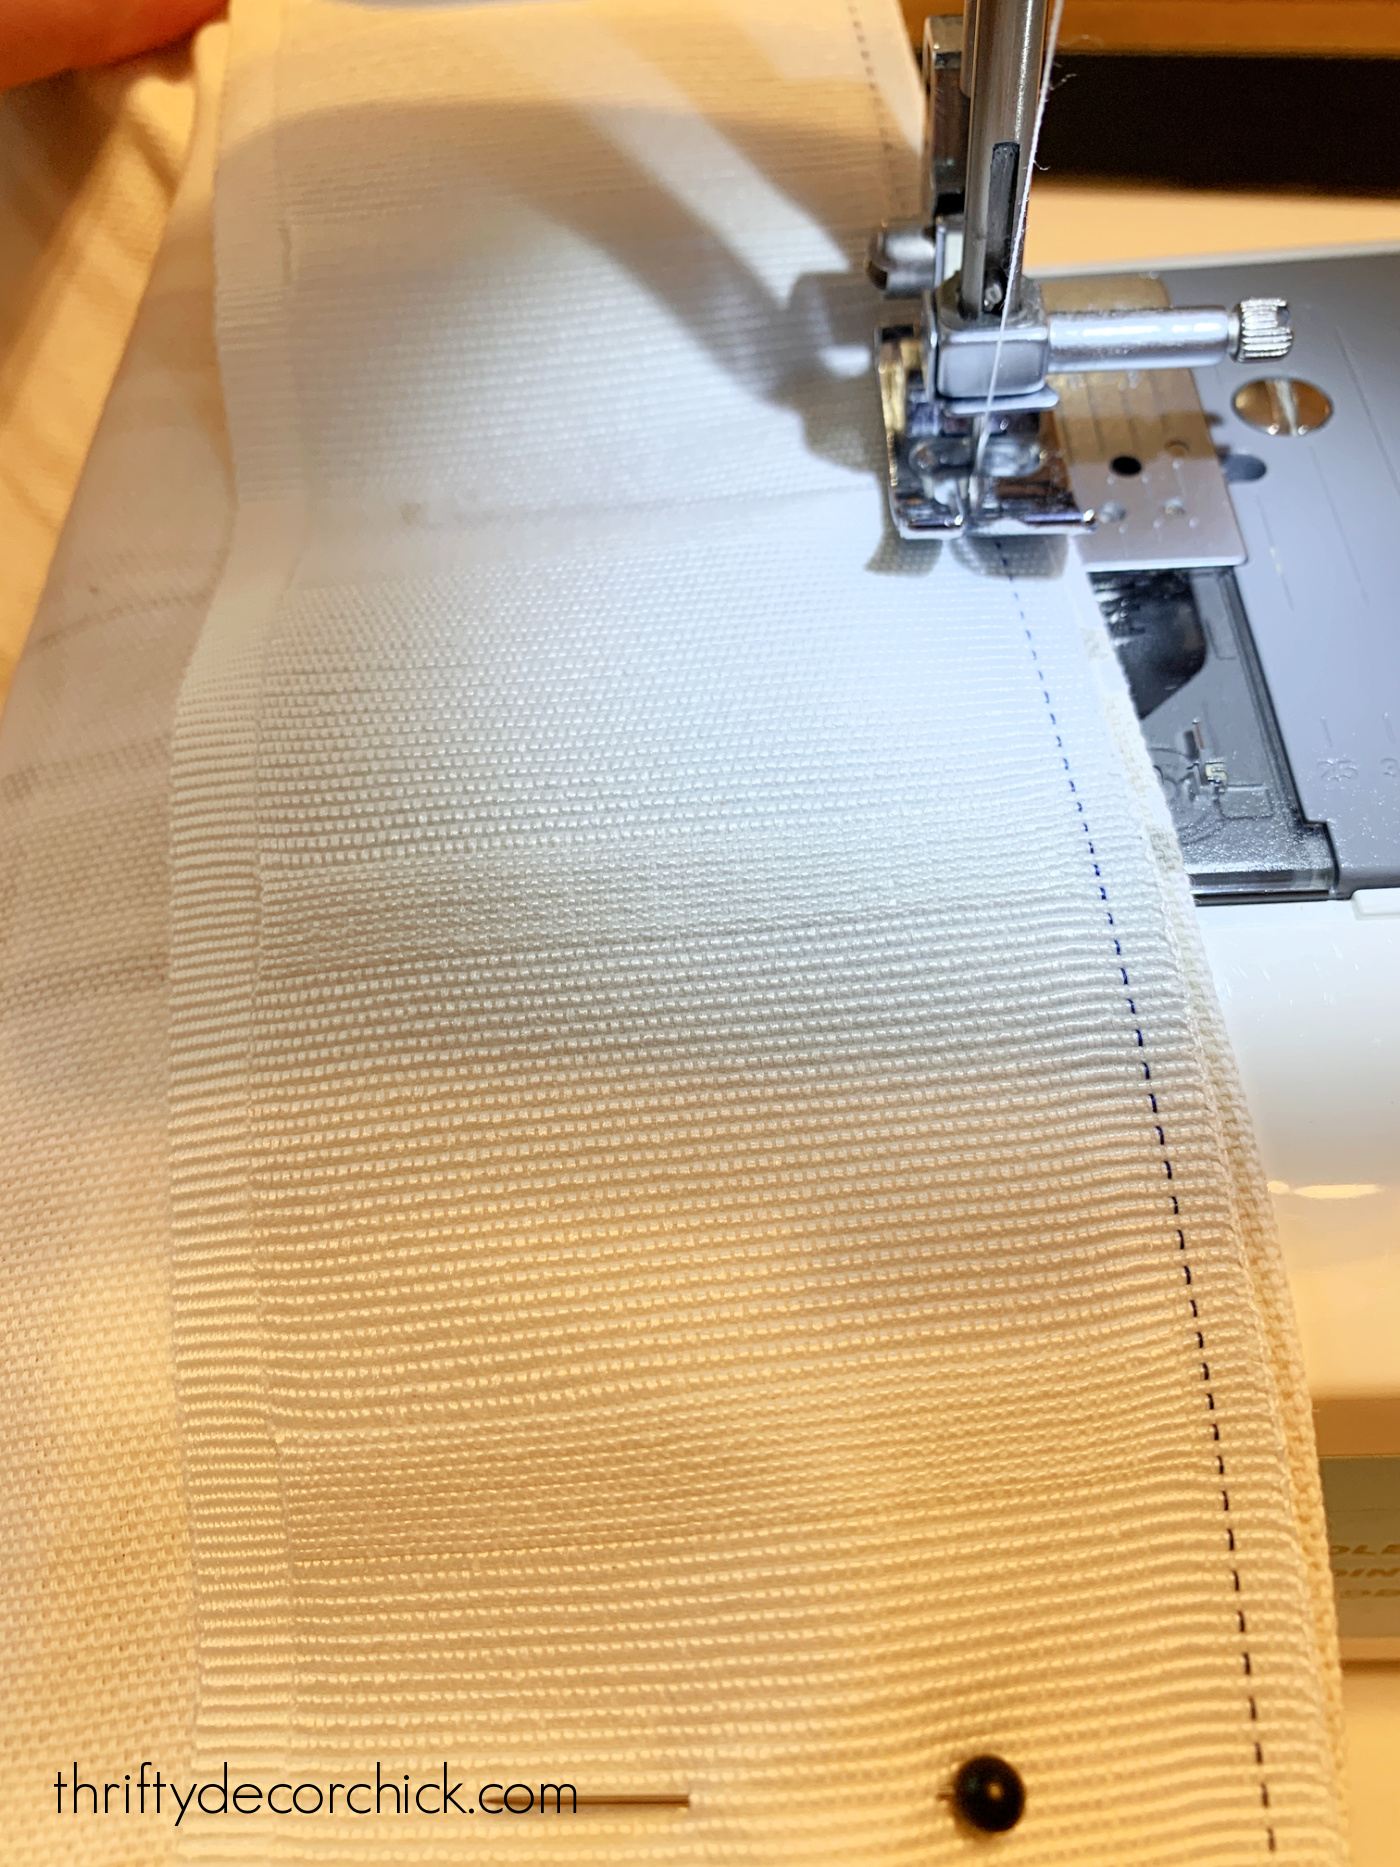
The little line was so helpful -- sewing a straight line is harder than it looks. ;) For me anyway.
I ended up sewing it along the sides and bottom of the tape as well, so it was extra secure.
Make sure you check the direction of your tape before sewing!
You need to be able to insert the drapery hooks from the bottom, so make sure those are not at the top of your drapes.
Then it's time to figure out how you want to place your pleat hooks. They slide right into the little pockets on the back of the pleat tape:

This is the only part that takes some time!
You'll want to figure out good spacing -- I like odd numbers when it comes to pleats so I used seven hooks:

You want to space them out at the same width in between. Mine weren't exactly perfect, but as long as you're somewhat close you won't notice.
There are a few ways to thread your metal hooks for a different look on the front of your fabric!
I used the most basic and easiest method of inserting the two outer prongs into two side-by-side slots:

You can see the simple pleat that gives you on the front. This is an inverted pleat that creates uniform spacing between each drapery ring.
It is the least fussy in my opinion.
I loved the other options too -- here it is with just the two inner prongs:

And with all four -- this is the classic pinch pleat look:

These pleats will soften just a bit with the fabric on top.
Of course I'm a crazy person and couldn't just take the drapes down and sew this tape on. Easy, right?
I took them down, decided they should be washed, then figured a new, larger drapery rod would look great, hung that, sewed a new bottom hem, then realized I needed to spray paint the old curtain rings:
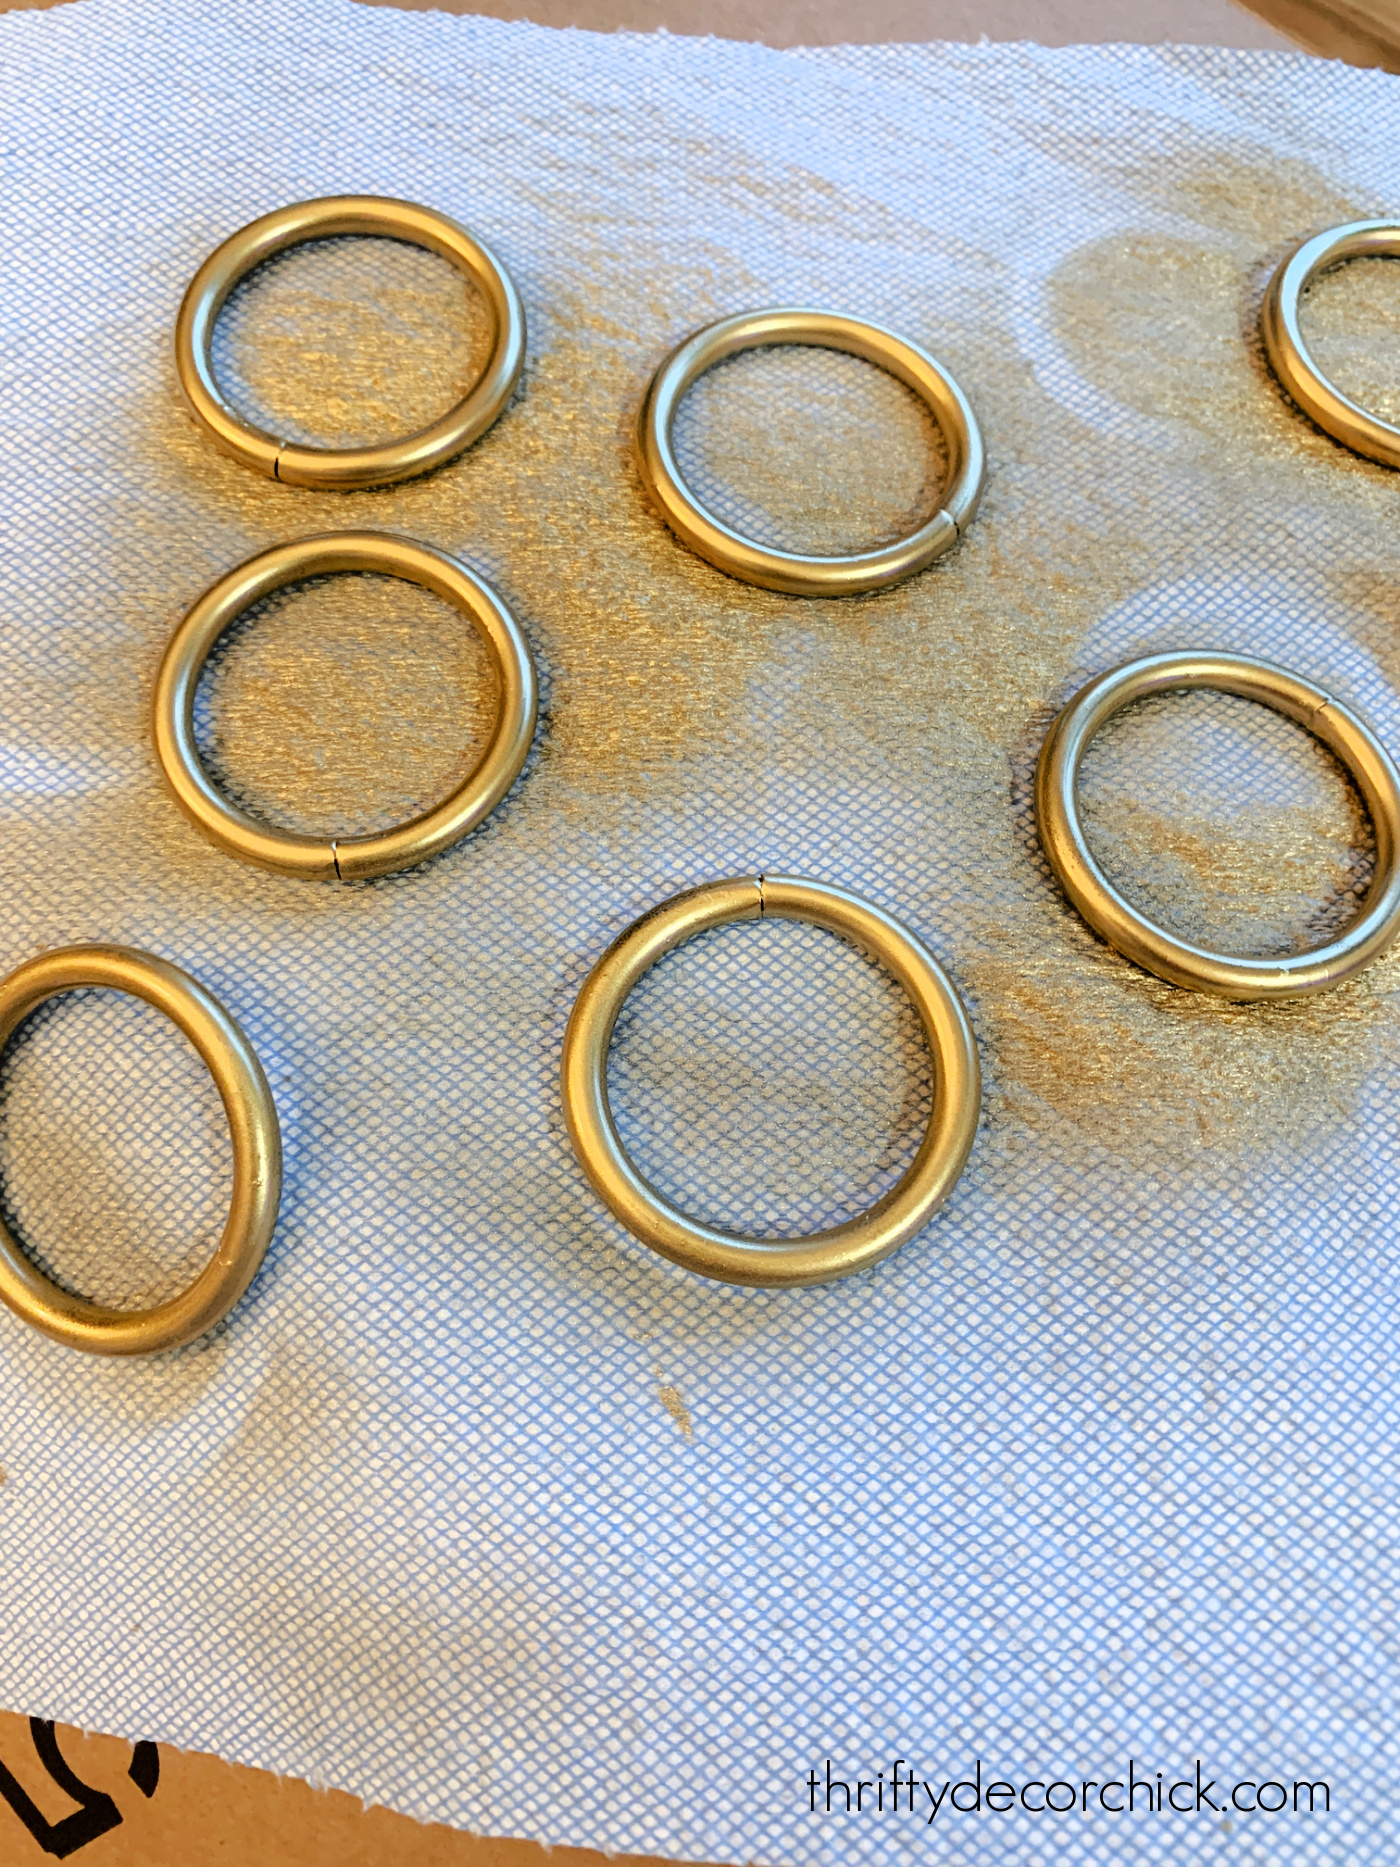
I used the bright shiny finish metallic spray paint from this best gold and brass spray paints post!
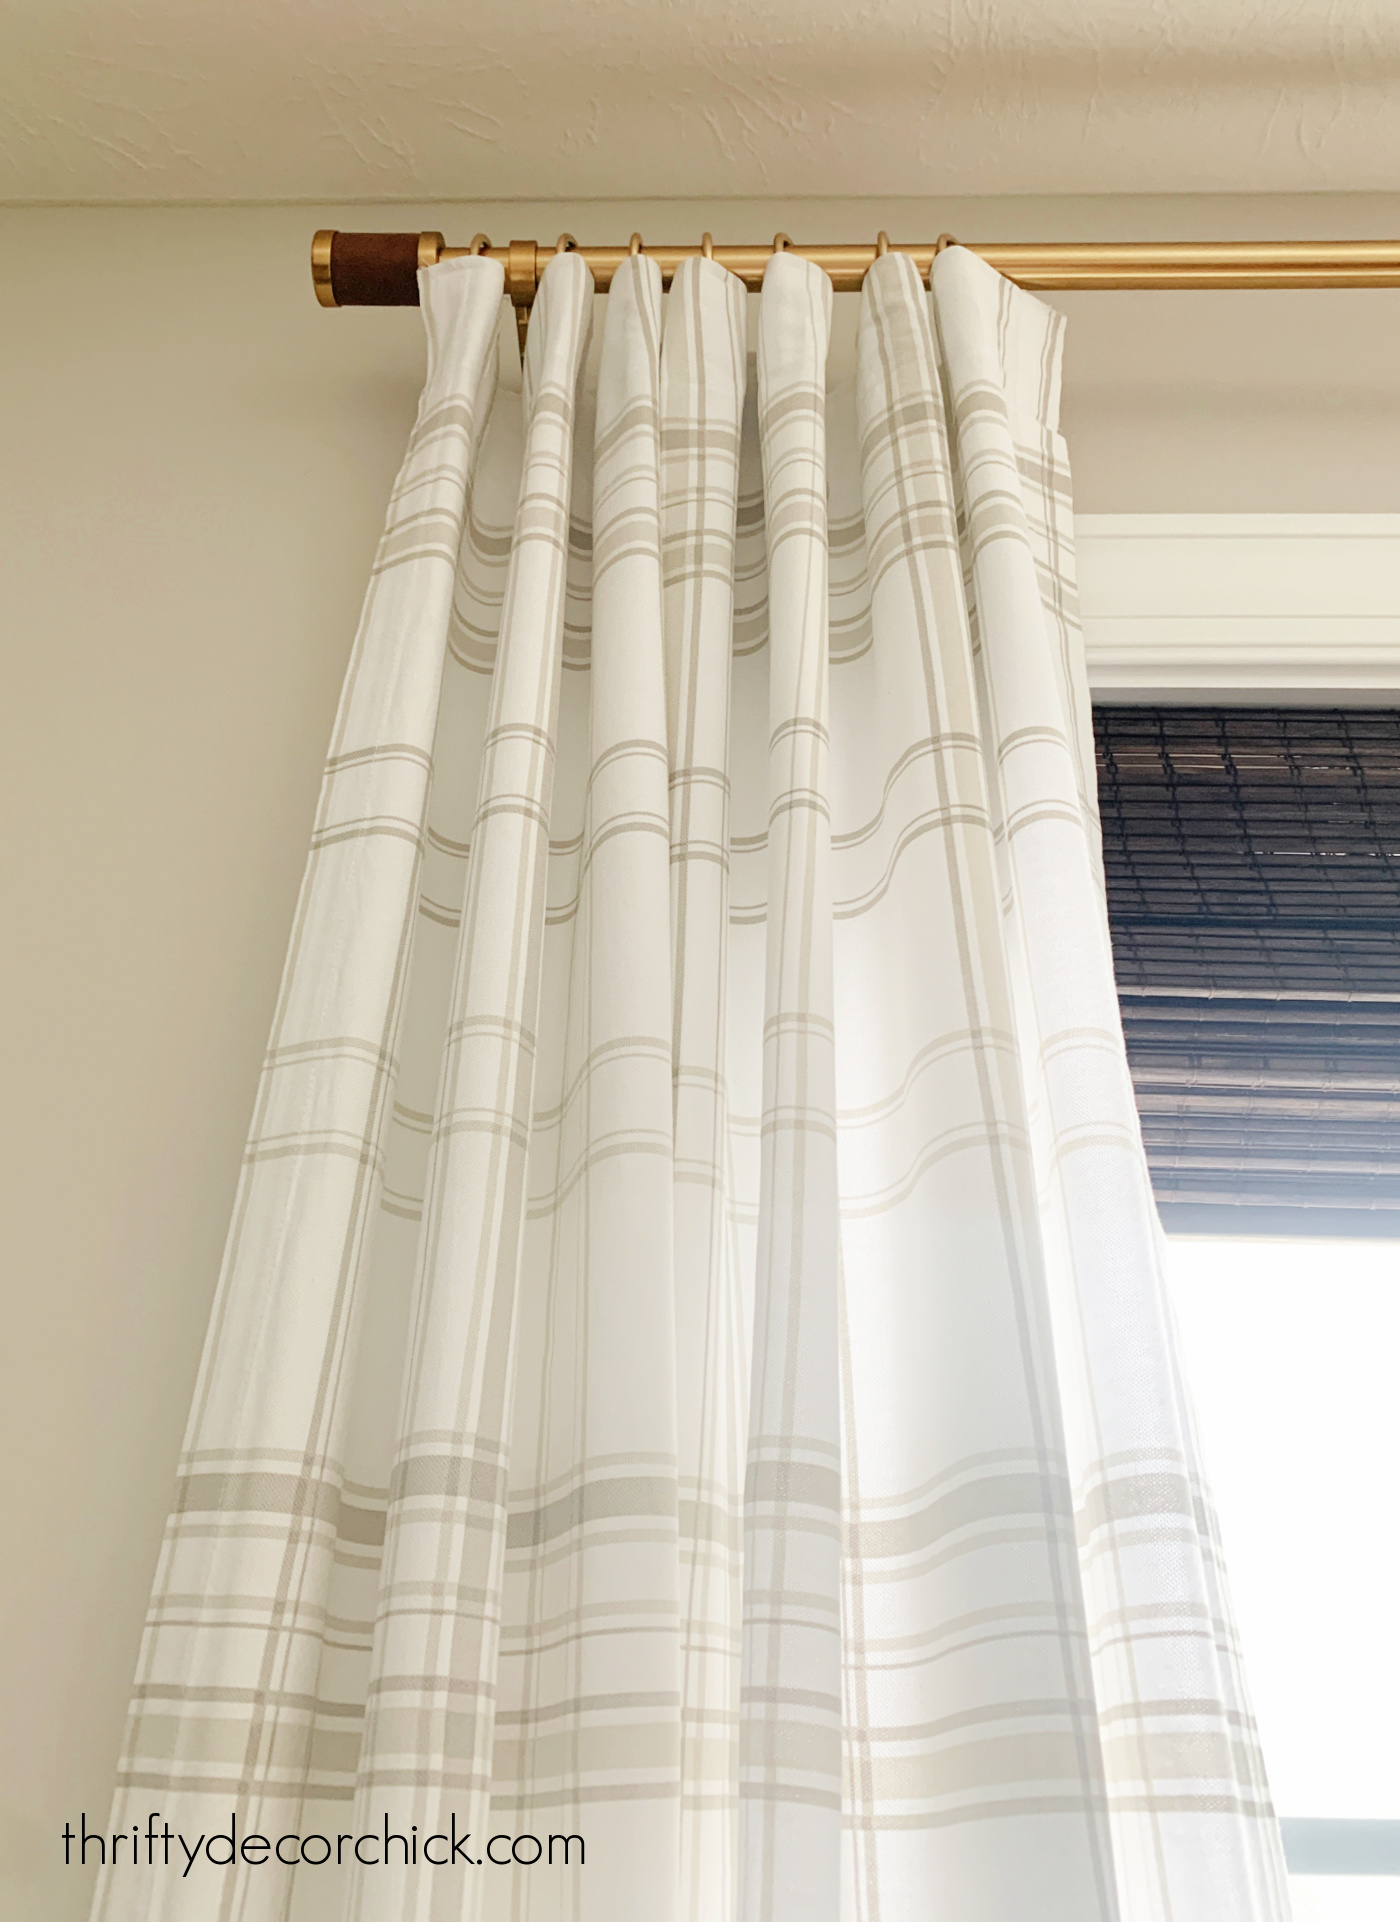
After ironing the drapes and getting them back up, I was SO pleased with how they looked.
WHAT a difference!!:
Let's take a look at the before again, shall we?:

So. much. better.
I found a similar drape set with this classic plaid pattern and the same design in more colors here. Make sure to check the length you'll need!
I don't know why I waited so long to do this. Sewing the tape on took no time at all. (Everything else I did took the time.):

I'm so glad I hung a new curtain rod!
It's brass with a leather accent from Target and I love it! It looks so much better:

If you don't sew or have a sewing machine, you can still add this pinch pleat look to your drapes!
Use a heavy duty hemming tape to attach the pleating fabric to the back of the fabric with an iron. Make sure to use the stronger version like this Stitch Witchery.
If you have a sewing machine, I do recommend using that. The weight of the pleating tape and the hooks will may pull on the hemming tape over time.
And it wouldn't be difficult to hand sew them either -- you really only need the top line to secure this to the back of the drapes.
Now I plan to do this DIY pleat treatment on the other sets of rod pocket curtains we have in the house.
I'm going to try the fancier triple pleat on our guest room windows. :)
This pleating tape can be sewn right over the pocket at the top or any tabs on the back of your store bought curtains.
The soft pleats give window treatments a higher end look for sure. It's one of the biggest bangs for the buck I've done to customize them:

It's a snowy day here so we've been hunkered inside. The animals love it!
I think I'm going to take the hem on these up just a little higher so they "kiss" the floor.
If you want that pleated, uniform look all the way down your drapes, check out this curtain training trick I shared years ago.
This is one of those little details that makes a big difference to the overall feel of the room.
I just love it!
Have you tried this DIY pinch pleat curtain hack? It looks SO much better!
Let me know any tips since I'm new to this trick. :)
Never miss a post by signing up to get posts via email.
Via https://www.thriftydecorchick.com/2022/02/DIY-pinch-pleat-store-bought-drapes.html |