|
Well this is a new one. I doubt this will become a common occurrence, but I'm sharing some recent fashion finds today! WHAT? I know.
I haven't shopped for clothes (beyond trips to TJ Maxx for work out clothes) in years. I got a few things online recently and now they are 100 percent targeting me on Facebook so I keep getting ads for more cute stuff. Ha! It's worked and have found some really comfy clothes that I wanted to share with you today! Some are Amazon finds and because they don't like us to share their images, I took pictures of myself. ? Yikes.
This post may contain affiliate links for your convenience.
See my policies and disclosure page for more information.

It's super roomy and SO soft and cozy. I think I'm going to get one in another color. I totally do that. :) This is the color beige.
This polka dot henley is so comfy and easy to wear:

It will look great with white jeans in the spring!
It's really long in the front and back so provides plenty of coverage:

They have a TON of colors and they also come in sleeveless as well.
By the way, my jeans are the Dream Jeans from American Eagle -- I have a couple different pairs and it feels like I'm wearing leggings. Love them!
My other finds are all from American Eagle as well. I used to shop there all of the time but hadn't been in in years till recently. This quarter zip sweatshirt is so comfy but has enough detail to give it some style:

I've gotten compliments on it every single time I've worn it (which has been a lot). They have a bunch of colors.
This long sleeve tee is buttery soft inside and out:

I would honestly sleep in it. So nice!!
I didn't get a pic of this one because I need to iron it and that wasn't happening. :) But it's also crazy soft and roomy:

It will be perfect for spring!
I had to share how I look 90 percent of the time...leggings and a sweatshirt. This oversized sweatshirt is another one from American Eagle:

If you love big, comfy sweatshirts, this is another one I love. I like having the front pocket. There you go! I love all of these new pieces and have been wearing them often. I'm pretty sure all of the AE items are on sale right now. Like I said, I don't know if I'll ever do this again, but I do love hearing about comfy clothes that look good and aren't crazy expensive. I thought I would share since I've found so many lately! Have a great weekend my friends! See more of our home here. To shop items in our home, click here! Never miss a post by signing up to get posts via email. Via https://www.thriftydecorchick.com/2020/02/i-am-not-fashion-blogger-but-come-see.html
0 Comments
Hey there! I'm back with a fairly quick DIY that I'm working on throughout the house. I LOVE the character it adds to our home!
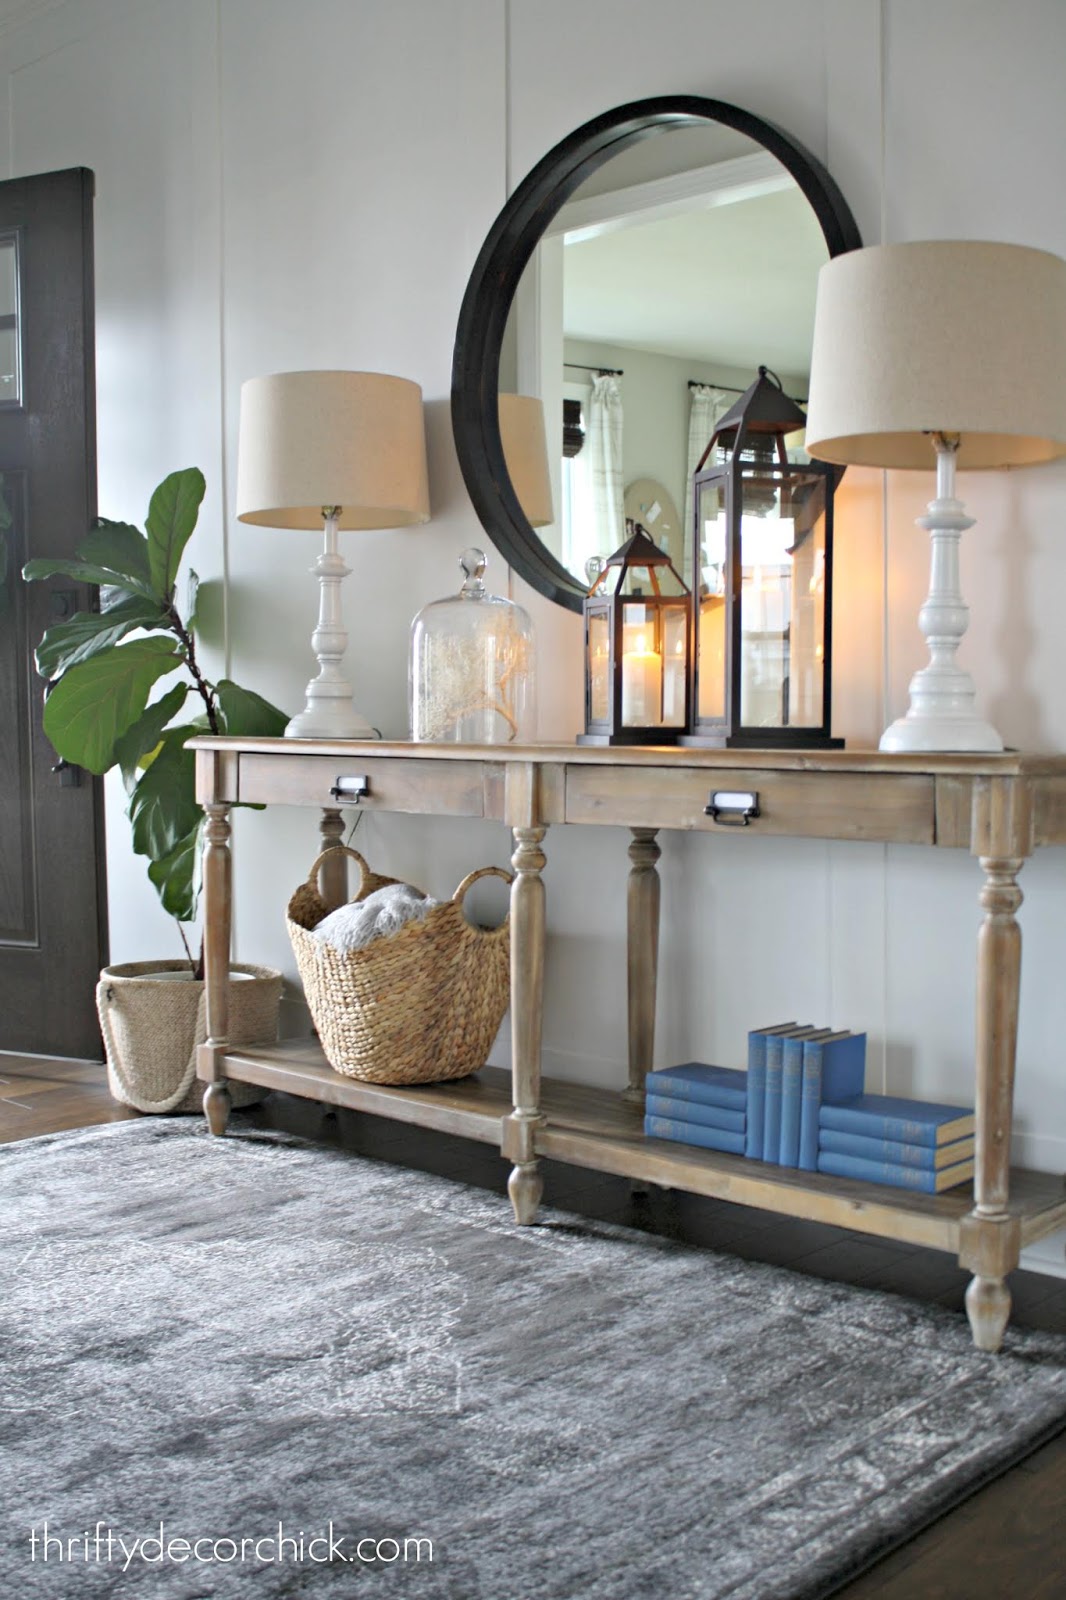
It didn't take too long after we moved in for me to start changing out some of the door trim in the house. I did this chunky Craftsman trim on all of our doors in the old house and loved it. I didn't have our builder do it here because I wasn't sure where I wanted it. We have WAY more doorways here -- mostly just open ones that lead from one space to another. I felt like having it on every single doorway would be too much. But some are just calling out for it, like this tall opening to our foyer: 
You have to go and see the before to see the difference that simple trim made!
This post may contain affiliate links for your convenience.
See my policies and disclosure page for more information.
On those larger doorways, I plan to replace all of the trim with thicker all around. But when working on the little wallpapered hallway last year, I realized I could try leaving the side trim and just replace the top:

It turned out GREAT and I was hooked! Now my plan is to continue the widest doorways with all new trim all around, and then finish these smaller ones with the accent of the Craftsman header only.
On the smaller, more standard doorways, I don't plan on changing out the trim at all. I think it will be a nice mix that adds just enough character around the house.
My next spot to tackle was this one between our kitchen and the mud room:

I took pictures of the actual process this time so I can show you the tool I use!
Adding the header is SO MUCH less work and time than replacing all of the trim, so it's a good option for anyone who wants to add some detail and height to doors.
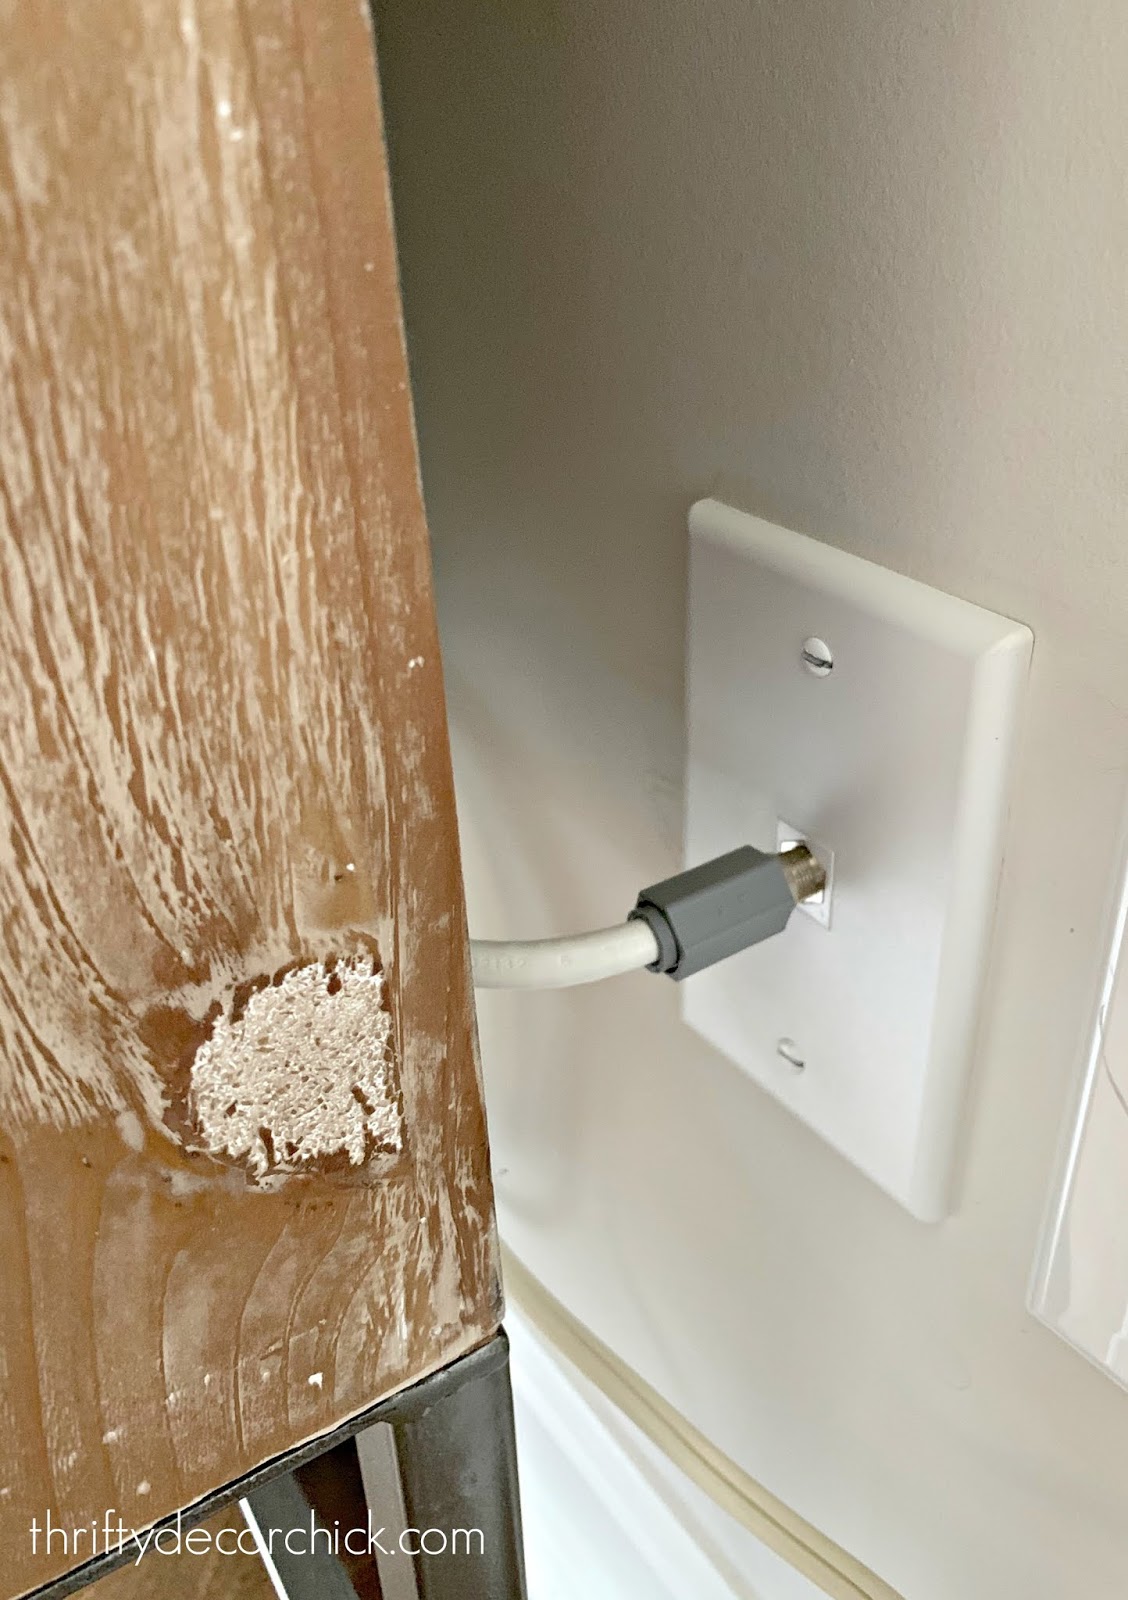
You'll need an oscillating tool to cut through your trim like so:

My old tool pooped out on me, so I picked up this one and it worked great!:

It charged fast and held the charge the whole time. As you can see, it was easier to use when I placed the saw attachment at an angle instead of straight on.
You'll need to use a razor blade to cut through any caulk on the inside and outside of the door trim, then you can start pulling it away from the wall. A crowbar does the trick:

Take your time as you do this -- you want to make sure you've cut all the way through the trim or it could start pulling more than you want away from the wall.
When I replace all of the trim I have to cut down the baseboards, recaulk all around and paint of course. This cuts that down big time because it's concentrated to just the header.
Sometimes I'll build my header first and then just place it on top of the trim. That's what I did this time:

I'll show you the exact trim pieces I used in a bit. First, here's the final result after a few coats of paint:

You'll need to caulk where the new and old meet to make it look like it started that way. I love how it looks together! I find it easier to paint this before install, and then do one more coat after filling the nail holes (I use a nail gun to attach it to the wall). Here's a look at the before and after:

Here's another view from this side:

I added the same rug from the family room in here too -- I LOVE these rugs!
And the view from the mud room:

Anyone see where I stopped painting this room? Haha! That's next on my list. Here's a visual on how to put these headers together -- you can build before install or put it together on the wall. Either way works great! (I find it easier to paint if you build them first): 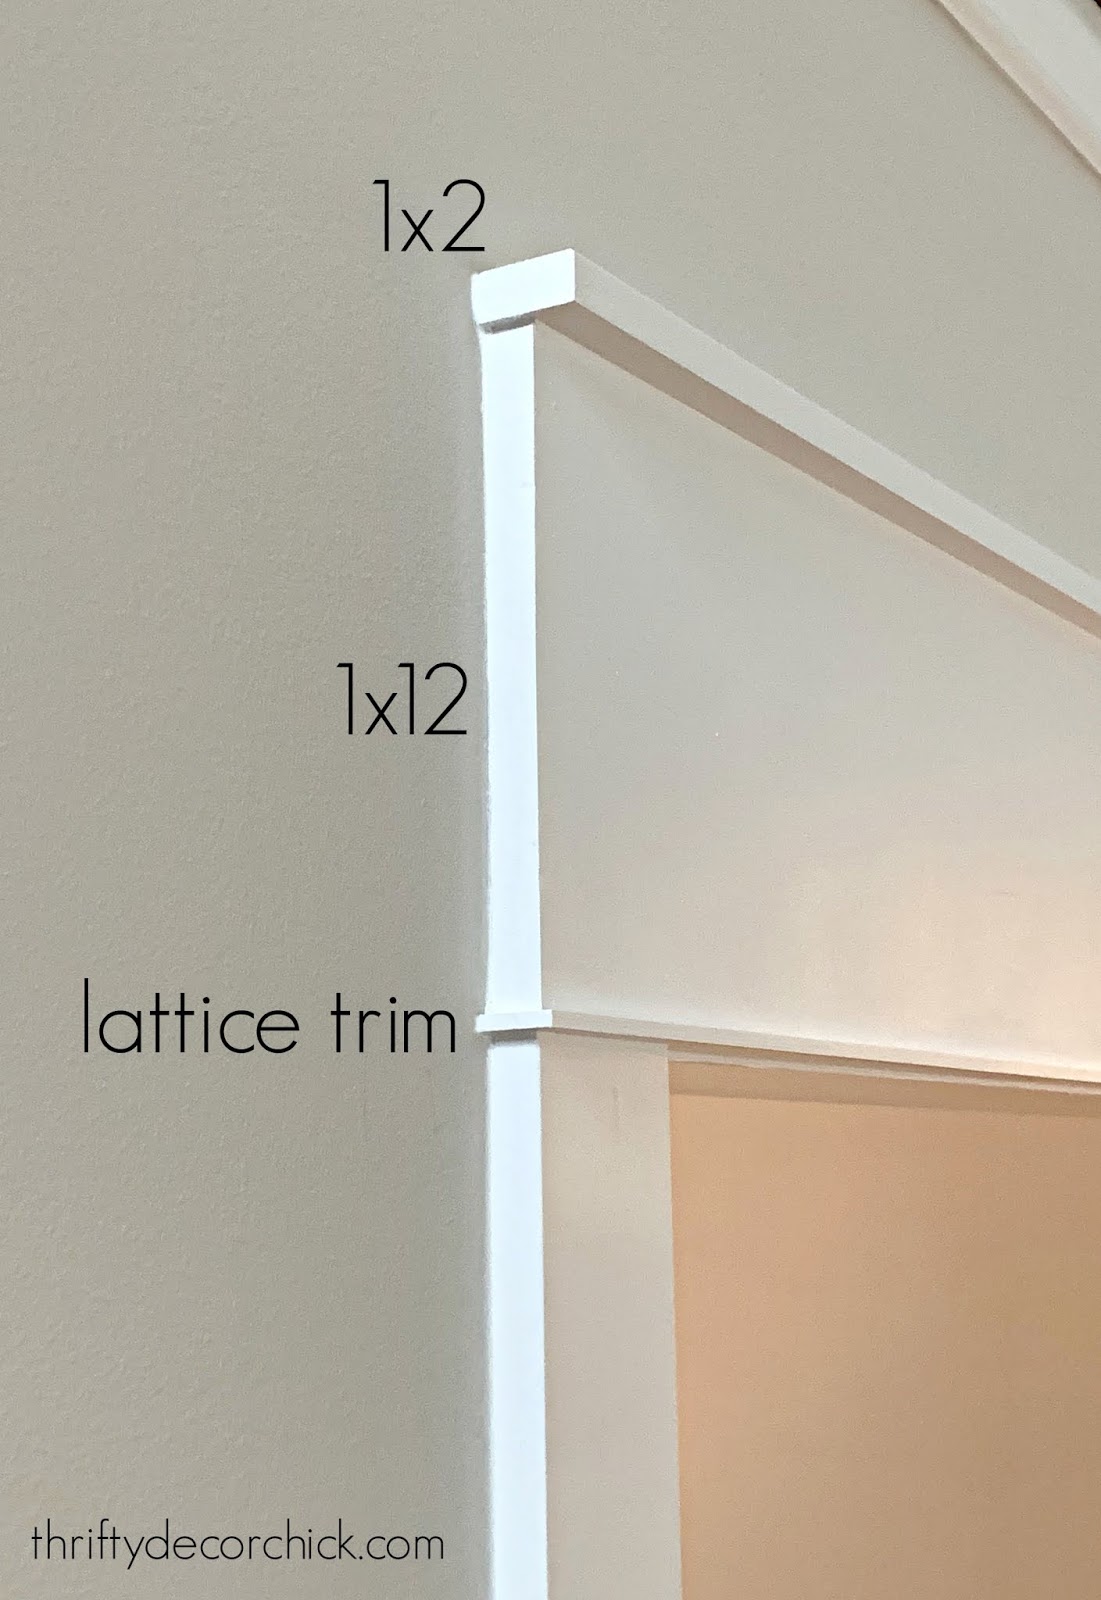
This is a side view of the one over our larger doorway. For the narrower spot in the kitchen I used a 1x6 since I didn't have as much space above.
I hope this gives you better visual of how to put these together! They are very simple to build and make a bigger difference than you'd think for such a small project. I spent $20 to replace the header on both sides of the kitchen doorway (I had some lattice leftover so that saved me a few bucks).
If you have any questions let me know! You can see how to create this chunky Craftsman trim on windows here!:

See more of our home here. To shop items in our home, click here! Never miss a post by signing up to get posts via email. Via https://www.thriftydecorchick.com/2020/02/a-small-doorway-update-that-adds-ton-of.html
Hey hey! I was going to share a DIY project with you today, but then I heard that National Margarita Day is this weekend and I had to switch topics. This is timely for that "holiday" but if you're like us, useful all year round.
I'll just say it -- we're kind of famous for our homemade margaritas. Famous...with our friends. ;) Our margs are highly sought after and absolutely DELICIOUS.
My husband perfected this recipe years ago after we found one in a restaurant that we loved. I'll share two other slightly different options as well. ALL are so good!

For us, the key to a delicious marg is the orange flavor. Lime is needed of course, but we prefer the freshness and taste of extra orange.
If you do too, this is the recipe for you! You'll need three different liquors. I took pics so you know what to look for:

The best margarita recipe
(we use a shot glass for each "part" but you can increase that size for a larger batch)
Two to four parts lime juice (if you can hand squeeze, even better)
Two parts tequila (we prefer Silver Patron)
One part Patron Citronge liqueur
One part Cointreau
Two tablespoons powdered sugar (our secret ingredient!) to taste
Oranges, lemons and/or limes to garnish
This is pretty self-explanatory, but there are a couple things to consider.
We love ours with crushed ice:

Salt your rim by dipping the glass in water, then dipping in salt all the way around. Play with different flavored salt! I love a spicy version.
It's quite easy and so good! The initial ingredients will be expensive, but will last you a long time:

There are times I'll change this just a bit. You can use agave nectar instead of powdered sugar. It's still very good!
I've also found a mix at Trader Joe's that I love:

I sometimes use this in place of the lime juice and powdered sugar. It's very good! Not as good as our recipe, but yummy!
There you go. I've been meaning to share this with you for years! Do you have a margarita recipe you love?
Here's an image to pin for later:

Have you tried my sangria recipe? It's another hit!: 
See more of our home here. To shop items in our home, click here! Never miss a post by signing up to get posts via email. Via https://www.thriftydecorchick.com/2020/02/how-to-make-perfect-margarita-im.html
Can you believe we've been in our home almost two and a half years already? It feels like we've been here much longer...it felt like home even before we moved in.
I forgot how long it takes to really get a new home the way you want it -- not just decor, but things placed where they work best, organization, figuring how we use the spaces. It's been a really fun process for me! There are things I LOVE about our home that I would recommend to anyone, and there are a few items I kick myself almost daily for doing the way I did. I thought I'd share them here in case you're considering any of these projects or building your own home! Let's start with the parts I love, shall we? I adore our whole house, so this is easy. But there are certain things in particular that would hard to go without now. 1. Master bath upgradesOur master bathroom is HUGE and I love it. I am SO thrilled with our big shower -- it is a dream come true! We had a tiny shower before and this still feels so luxurious: 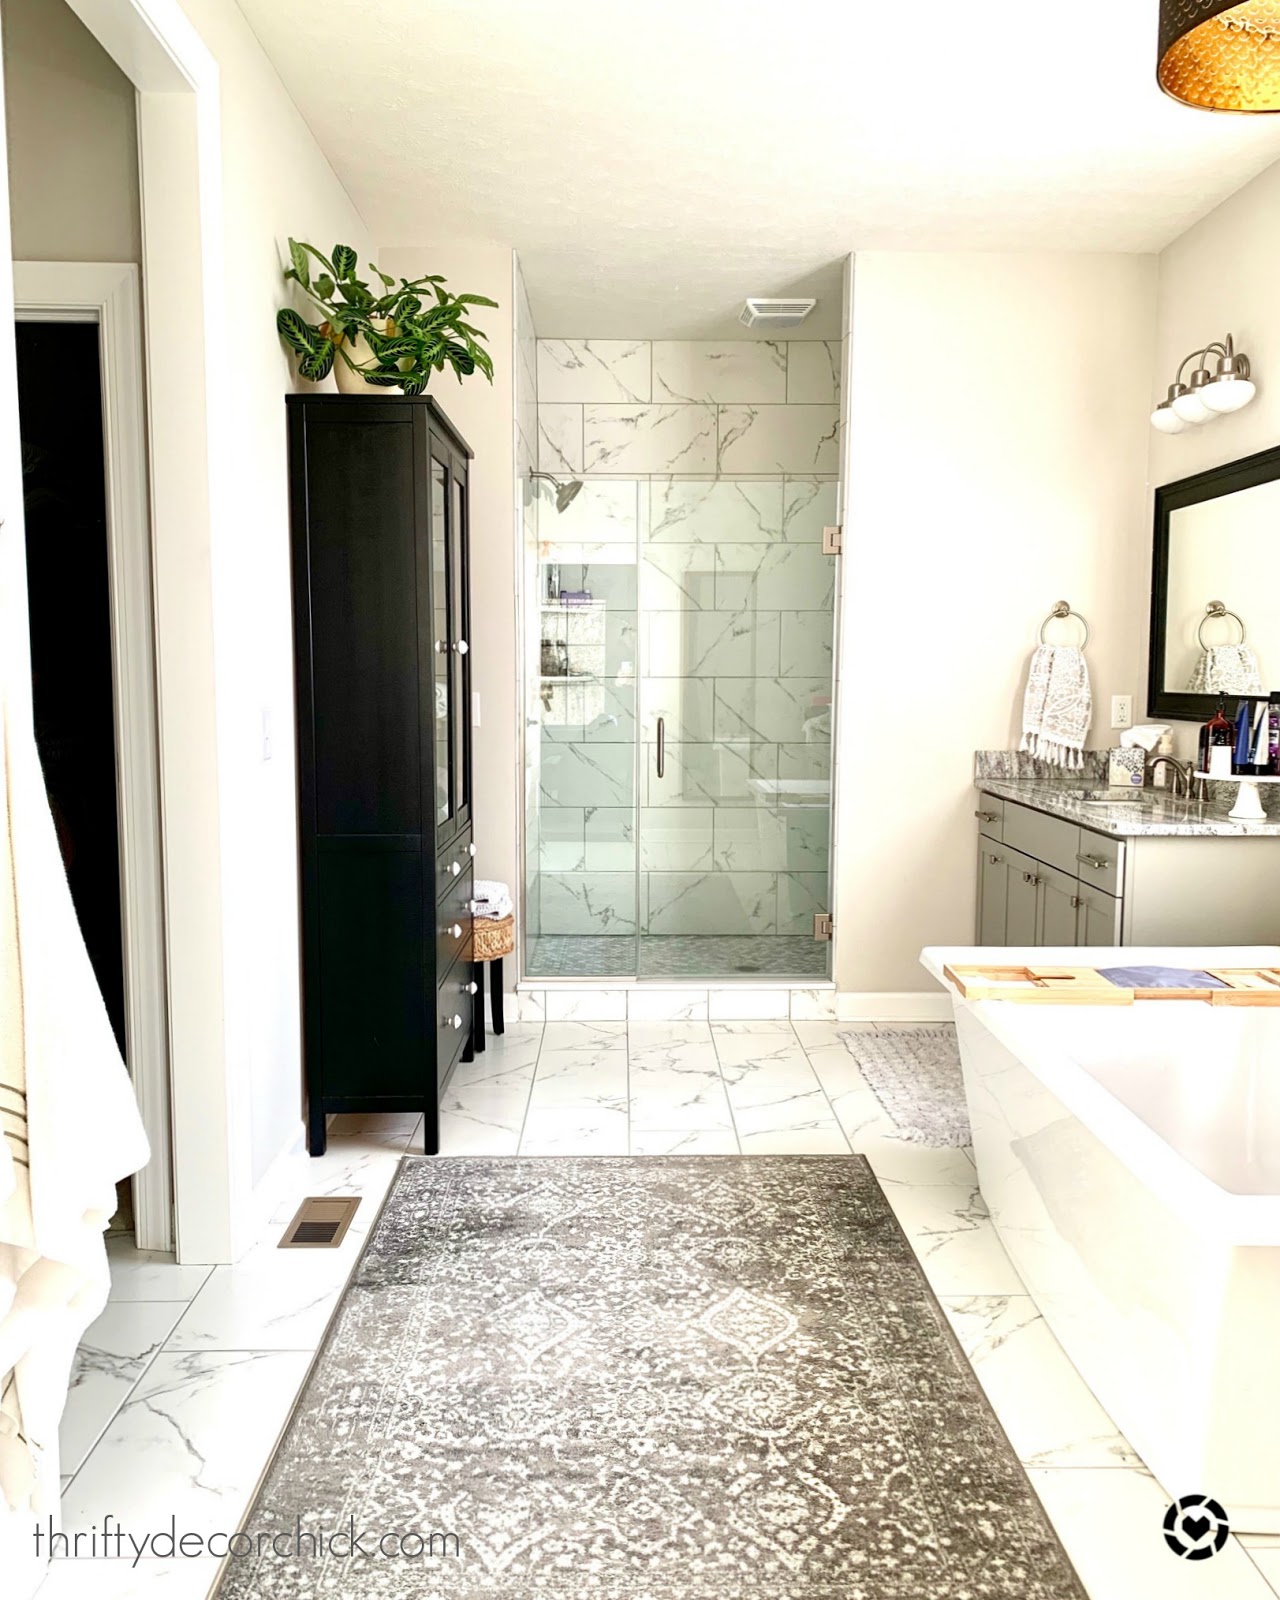
If you have the ability to add a bigger shower -- go for it!! You won't regret it. We didn't add double shower heads, it's an expense I'm glad we didn't add on. (Although I do kind of wish we added a rainhead fixture.)
**My husband thinks the bigger shower is colder -- I think it's just as toasty. Something to consider!
Another bathroom upgrade that I absolutely love is our soaking tub:

We had a corner jetted tub in the old house and loved it -- we actually used the jets quite often. We priced out a stand alone tub with jets because we thought we'd really miss it. It was going to be another three grand or something crazy like that, so that was a nope. Turns out I ADORE the deep soaking tub. I've taken more baths in this tub in two years than our old one in 14 years! It's so warm and toasty and I would never go back! :) 2. Our open layoutTen years ago or so the master on main floorplans were gaining in popularity. With a toddler at the time, I told my husband there was no way I'd consider it. Now, it's probably my favorite thing about this house. :) Living on (mostly) one level is amaaaaazing. :) Can you tell I like it? 
One thing I noticed immediately was how clean our master stays compared to our old one. We can easily take trash or dishes out where they belong. It's also much easier to keep up with laundry and just putting things away in general.
I know it's not an option for many with young kids, but if you're building a house and plan to stay there for a long time, I encourage you to think past the baby/toddler years. It's the number one recommendation I make to anyone building!
Also, overall the layout of this house just fits our lifestyle better. We entertain a lot and LOVE having the open layout. Our family room, kitchen and morning room are all one big space and it is ideal when we have friends or family over:

This post may contain affiliate links for your convenience.
See my policies and disclosure page for more information.
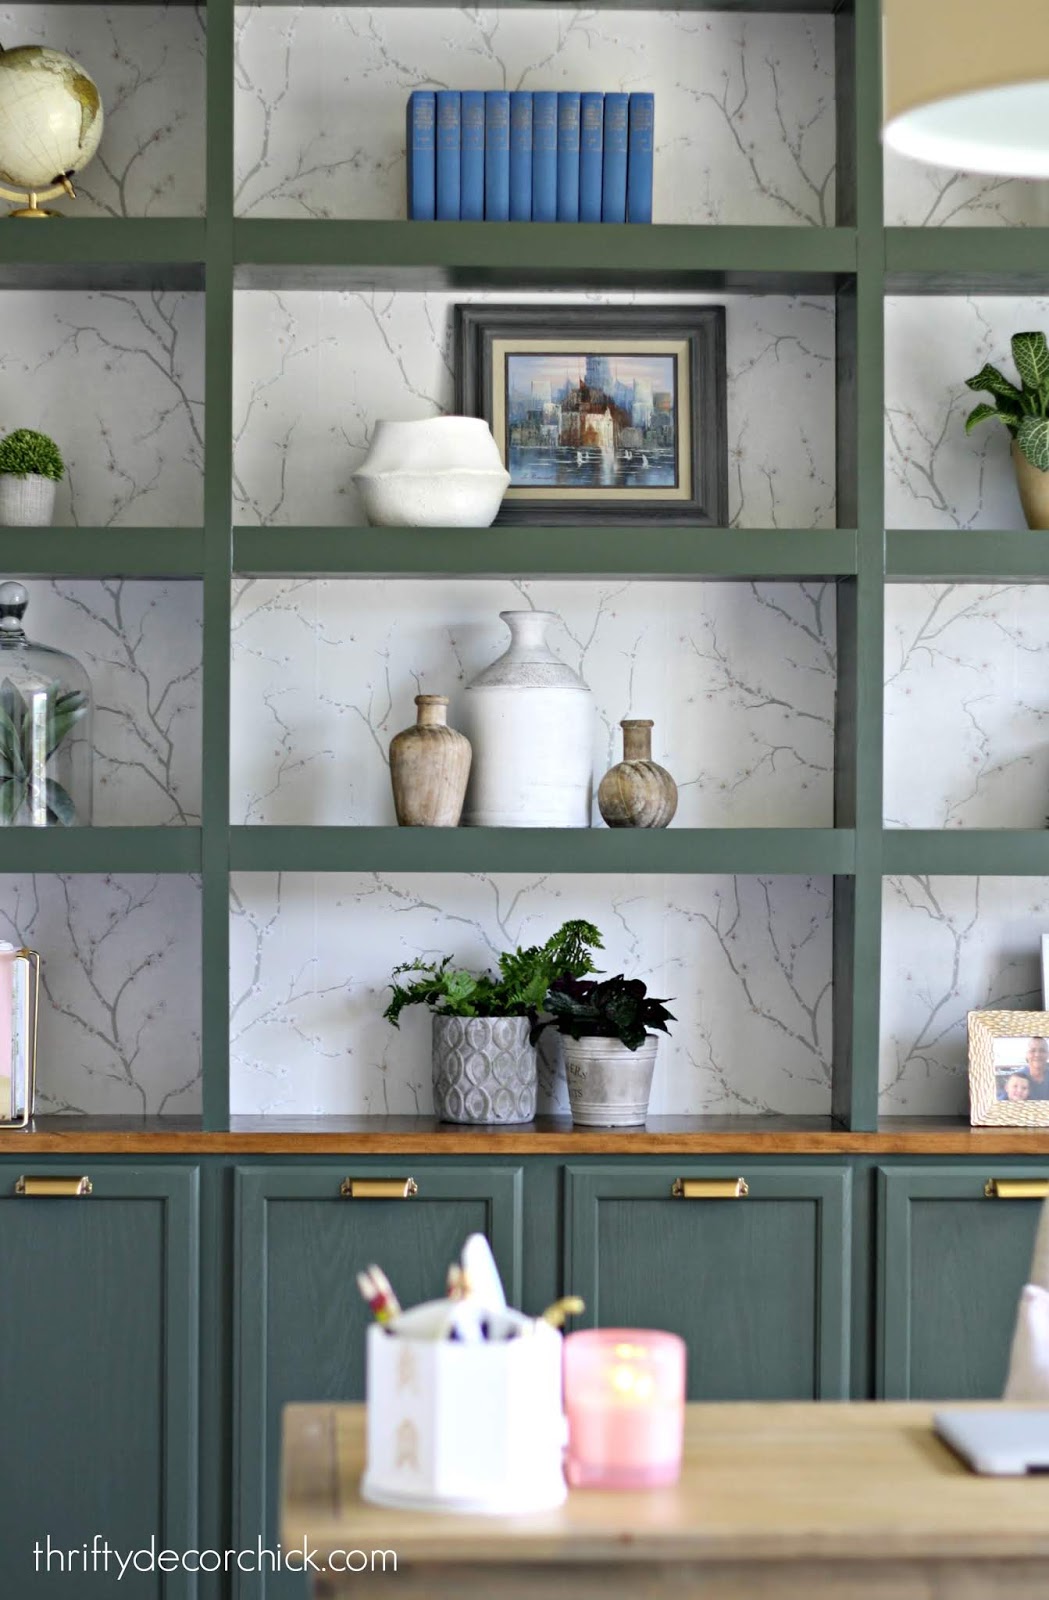
Instead of dining, living and family rooms, we just have the one large space. Because I turned our old dining room into a library, we used those rooms more than most do, but we would have preferred to have that square footage in the family space.
If you are building or renovating and want less rooms but more space, I don't think you'll regret one big living area.
3. Door handles instead of knobs
This is such a little thing but it's something I think about nearly every day!
I am SO glad I chose handles instead of knobs for our doors:

I picked them because I loved the look of them...no other reason. But we've learned they're so much easier to use.
I especially love the handle on the door from the mud room to the garage. It's SO nice when our hands our full -- we can just push it with our elbow and open the door. If you have little ones I'm not sure you'd love them (I'm sure they have some kind of baby proofing gadgets for them) but if not, I highly recommend the handles! (And they just look good! These have a bit of a curve to them but are the same matte black.)
|